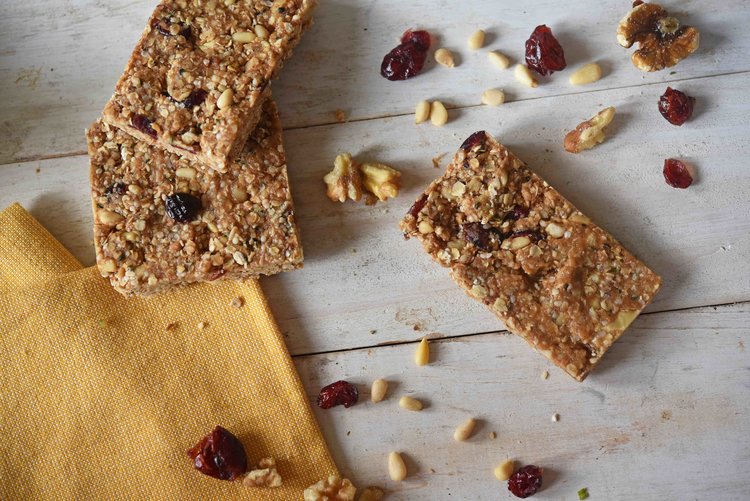
No-Bake Granola Bars

No-Bake Granola Bars_SMALL(1).jpg

It's back-to-school time!

For a lot of families that means struggling to find time to make food that is healthy but also something your kids WILL eat.

This week, my goal is to bring you some nutritious recipes (well, maybe with the exception of one 😉) that both kids and adults will enjoy.

No-Bake Granola Bars 2(1).jpg

I love a good granola bar, so I thought that might be the perfect thing to kick off the weeksimple to make and great for school lunches or after school snacks.

A while back I started testing recipes in search of a great one I could make and keep on hand...

No-Bake Granola Bars 3(1).jpg

I tried baked ones, different combos of ingredients, and in the end found this relatively simple one the best by far.

No-Bake Granola Bars 4(1).jpg

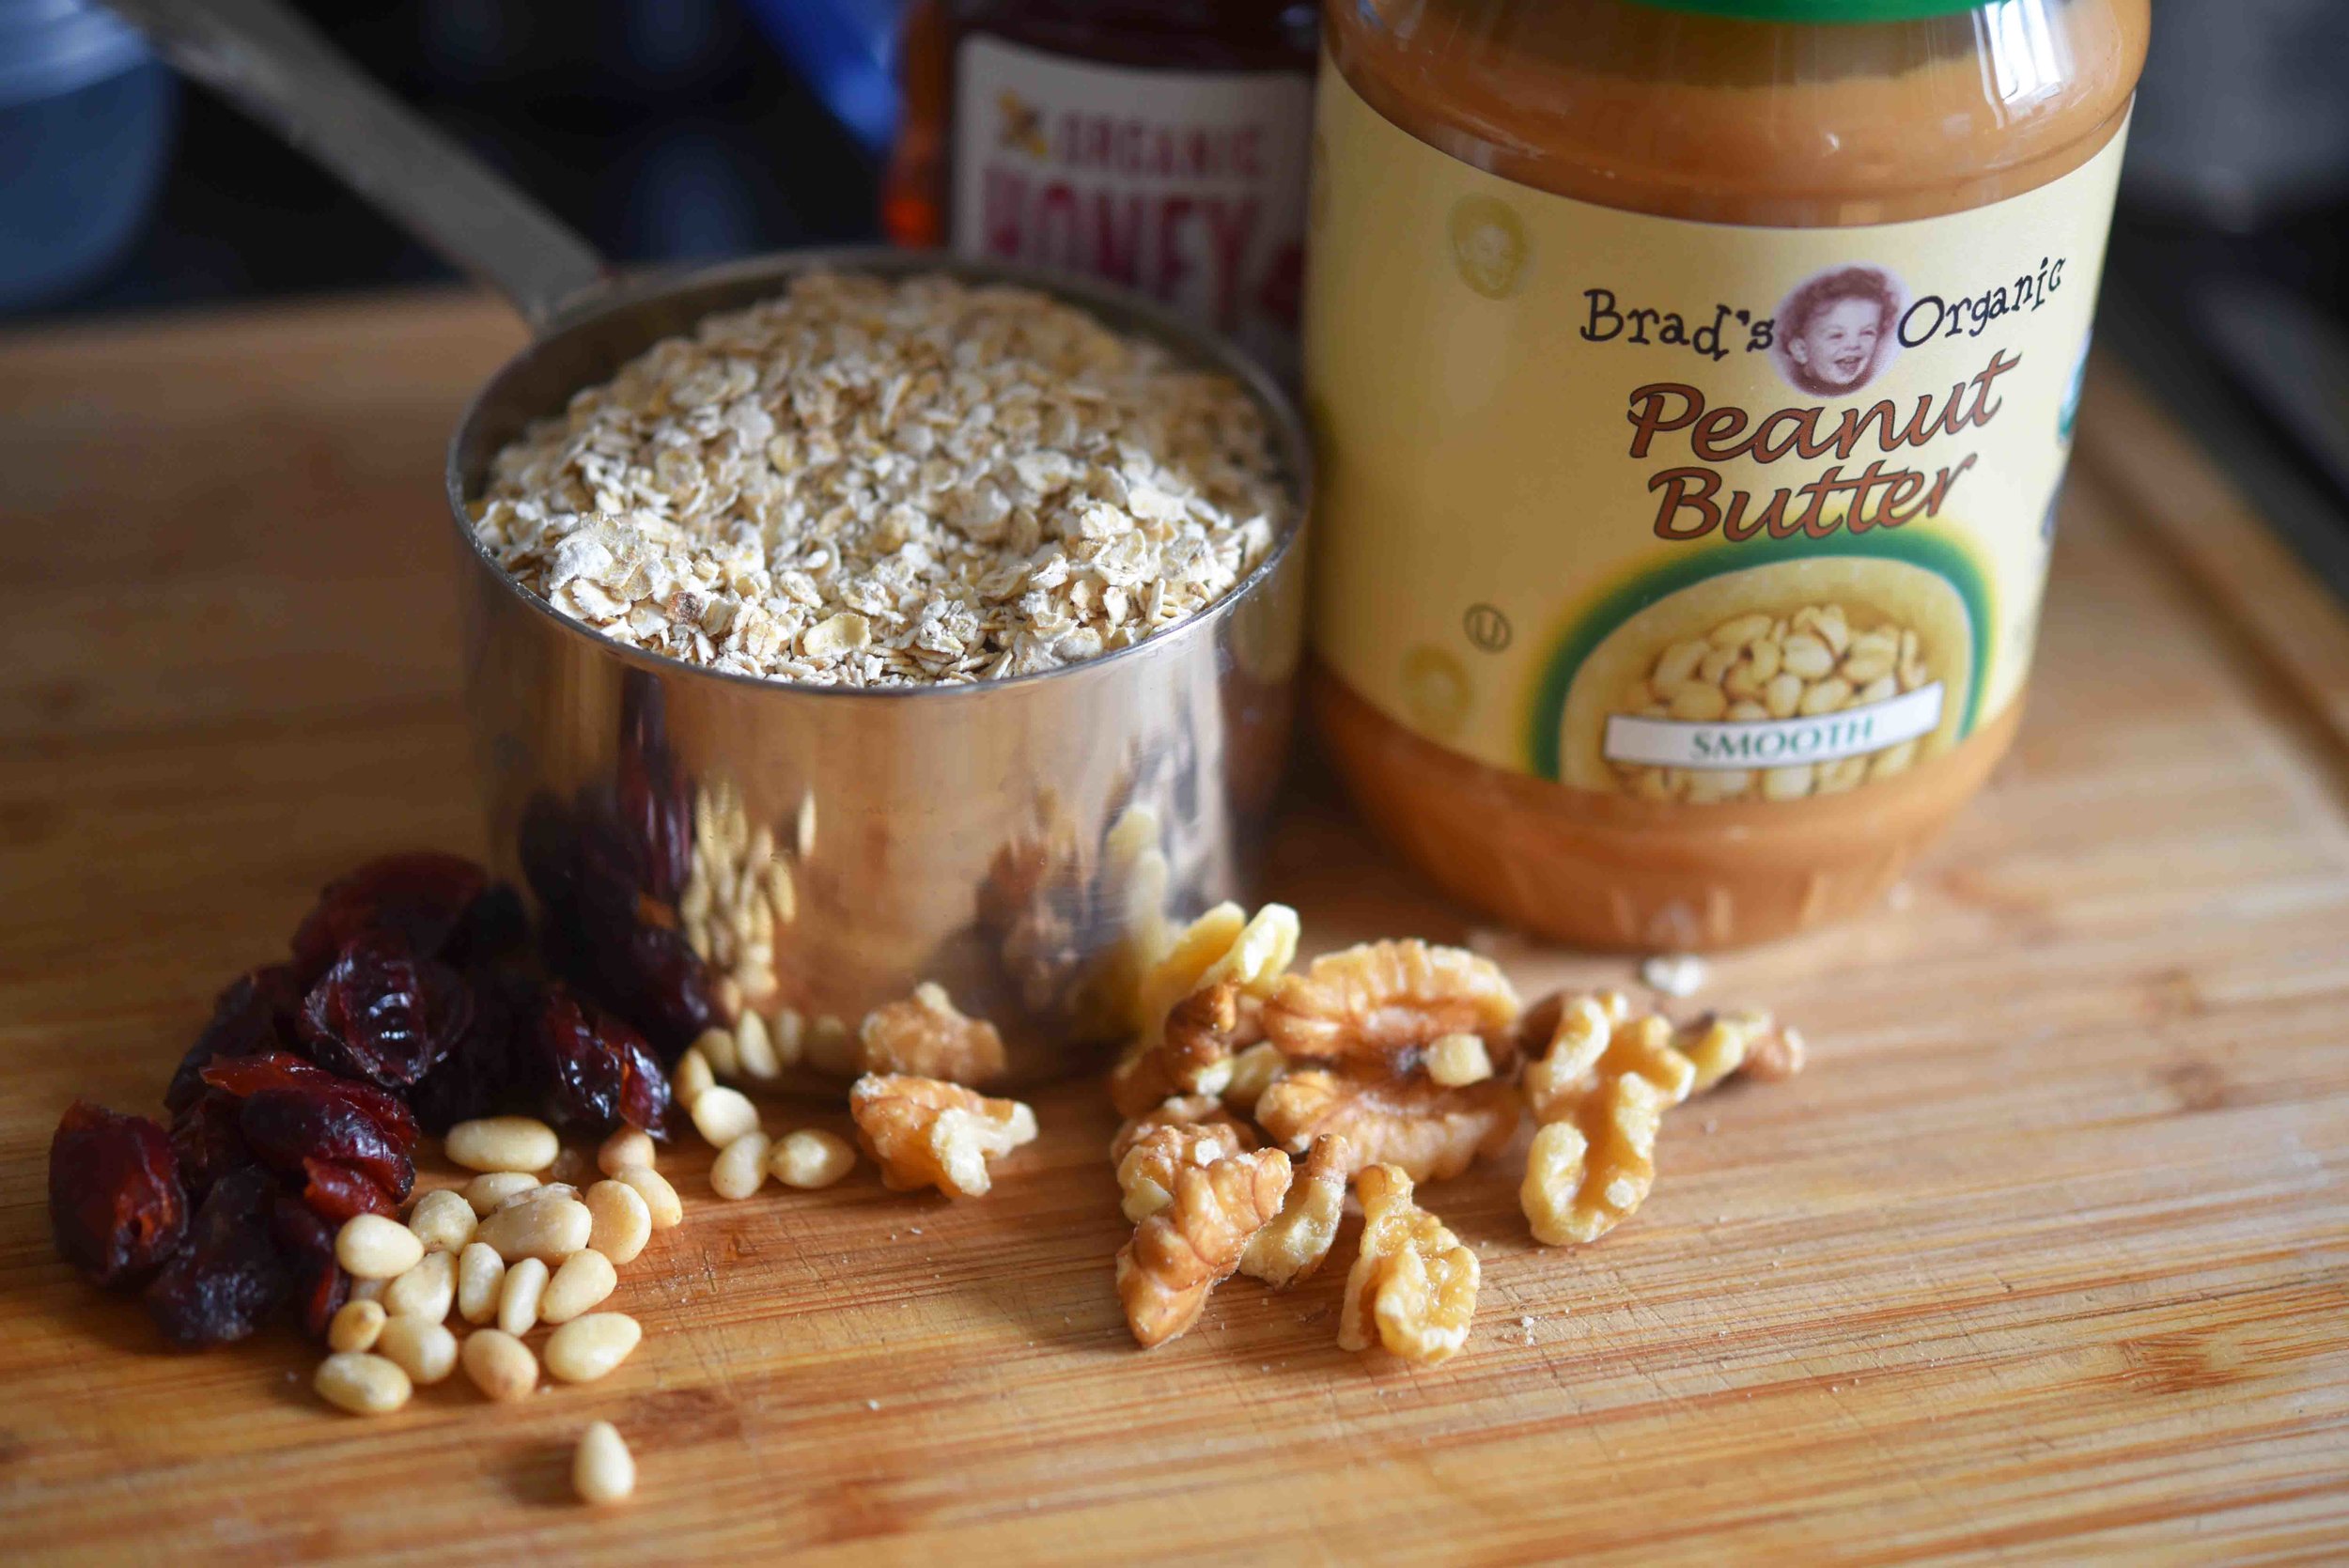
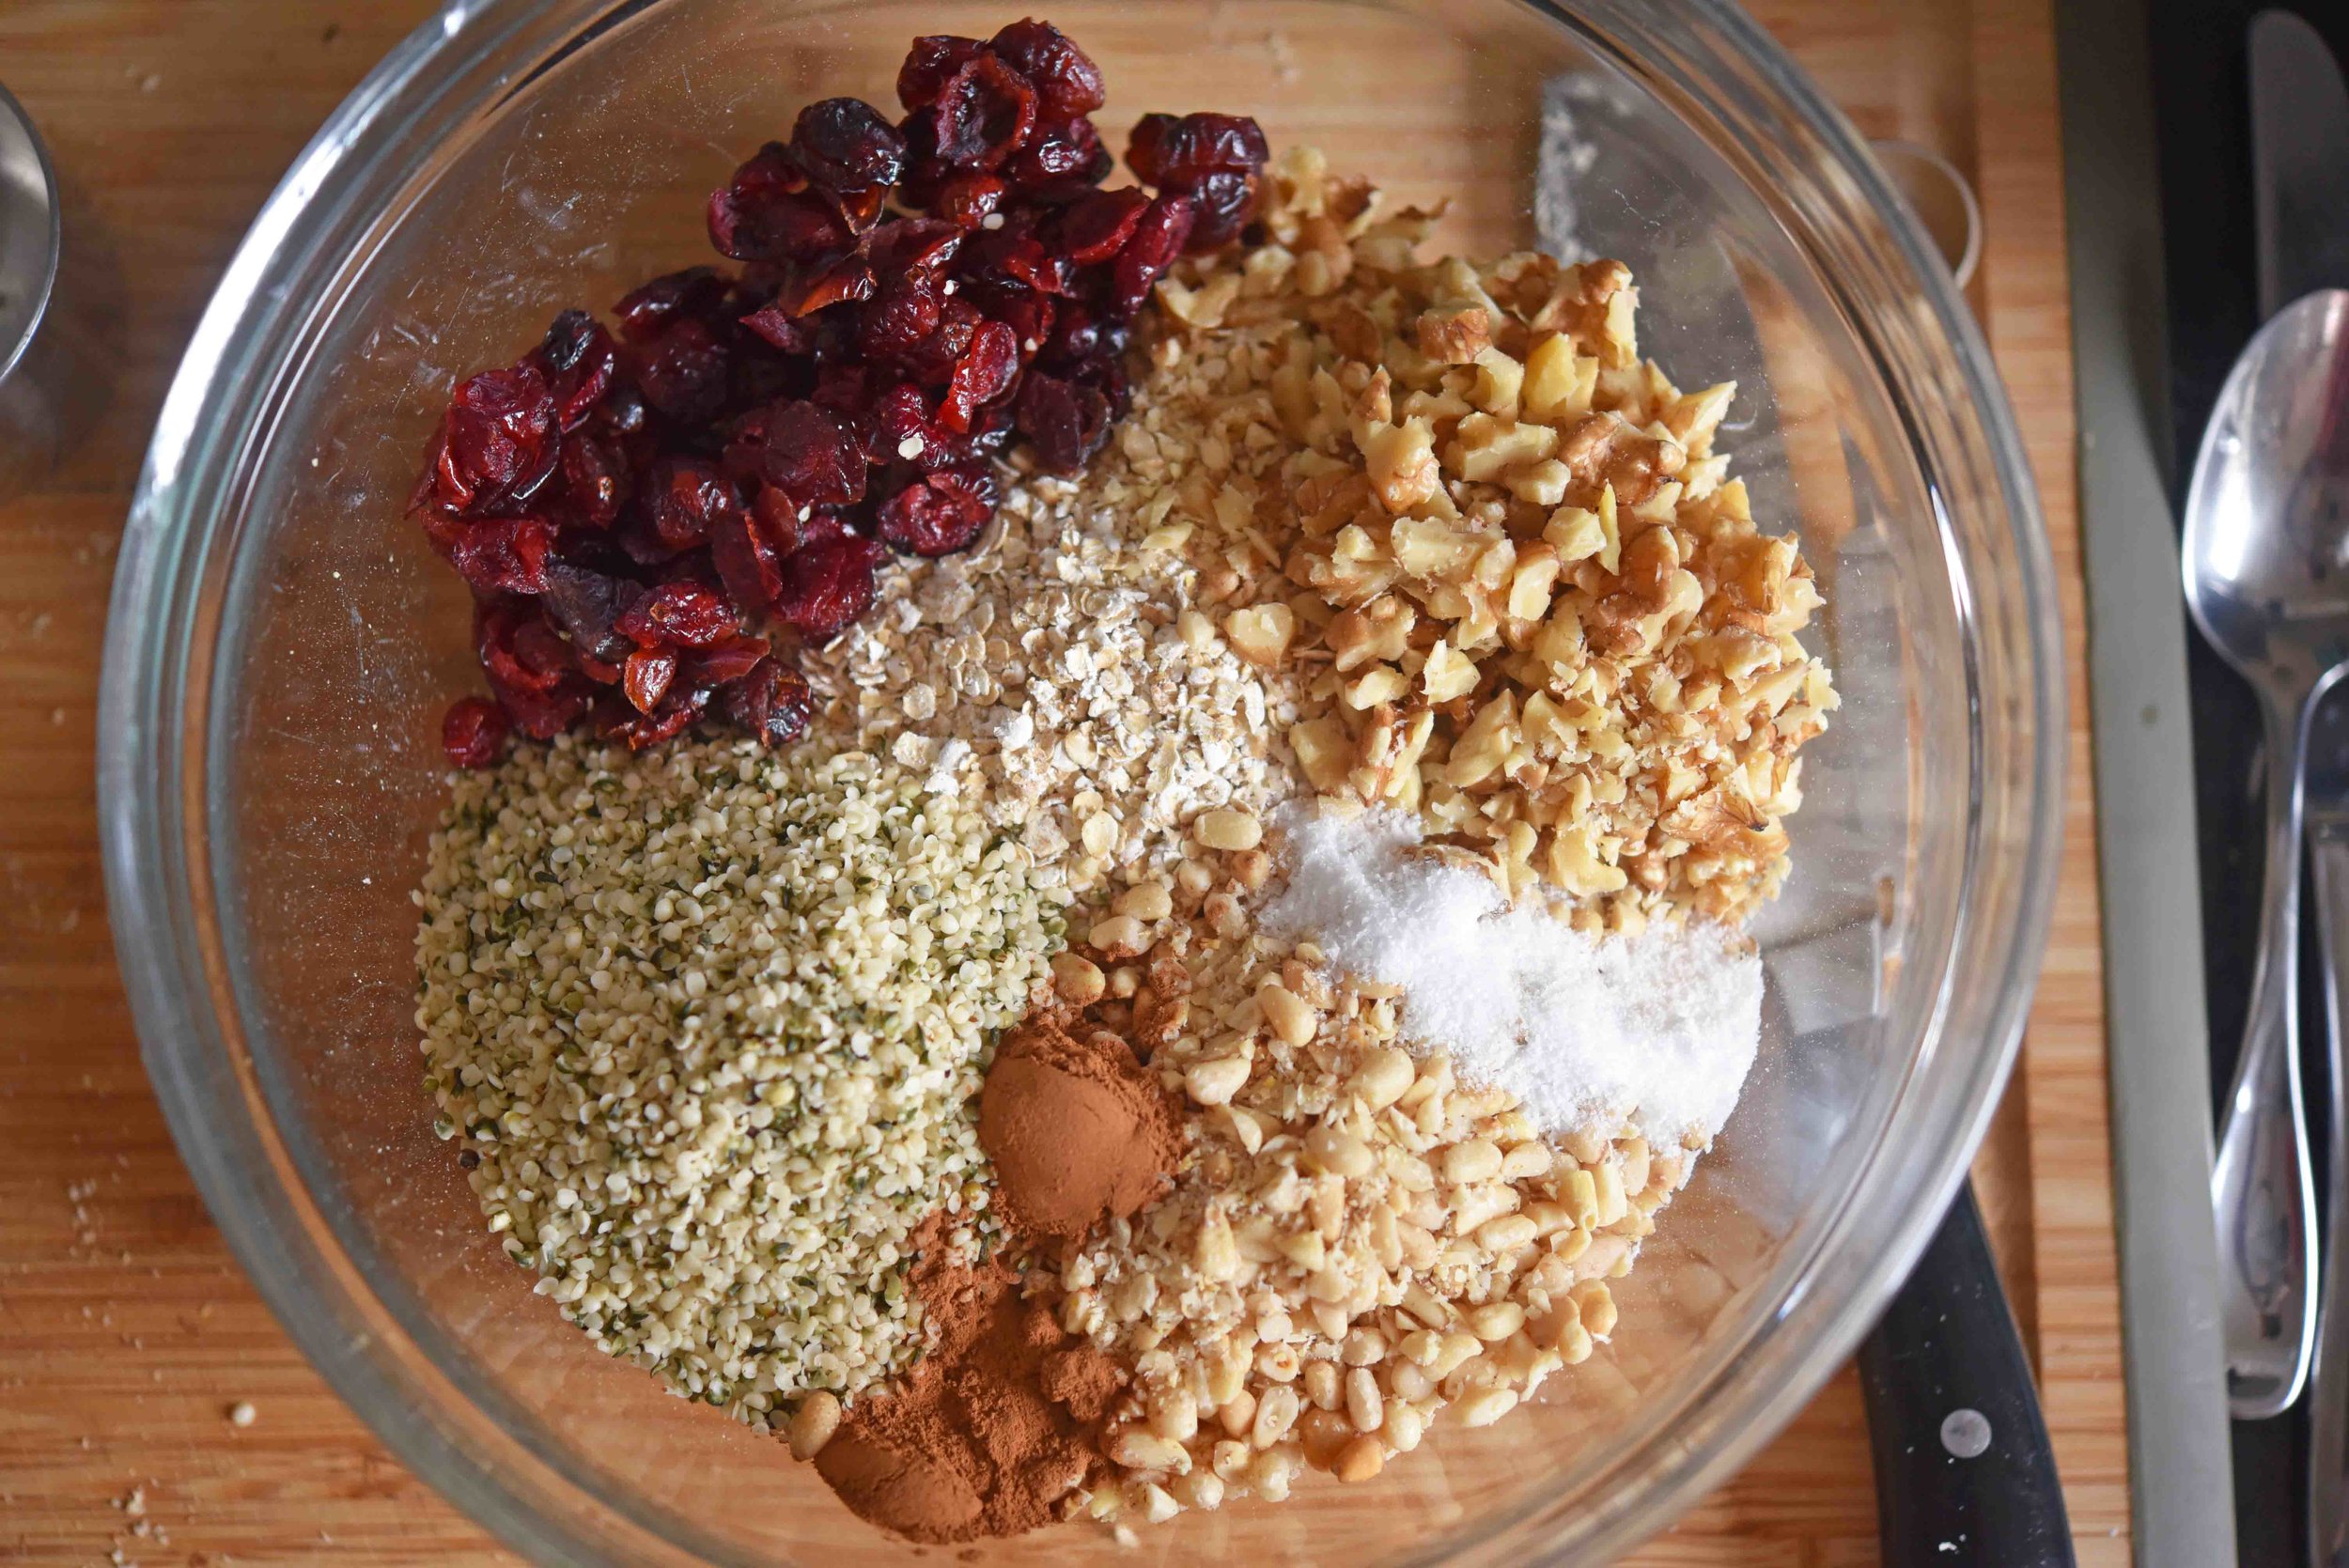
I’m using two kinds of nuts, some hemp seeds, oats, cranberries, and a little cinnamon.

Then I'm folding in peanut butter and honey to make a chewy bar that has some texture, but is still soft enough for my toddler.

No-Bake Granola Bars 5(1).jpg

It’s kind of amazing what mixing just a couple of ingredients can do...

And with NO BAKING!

No-Bake Granola Bars 7(1).jpg

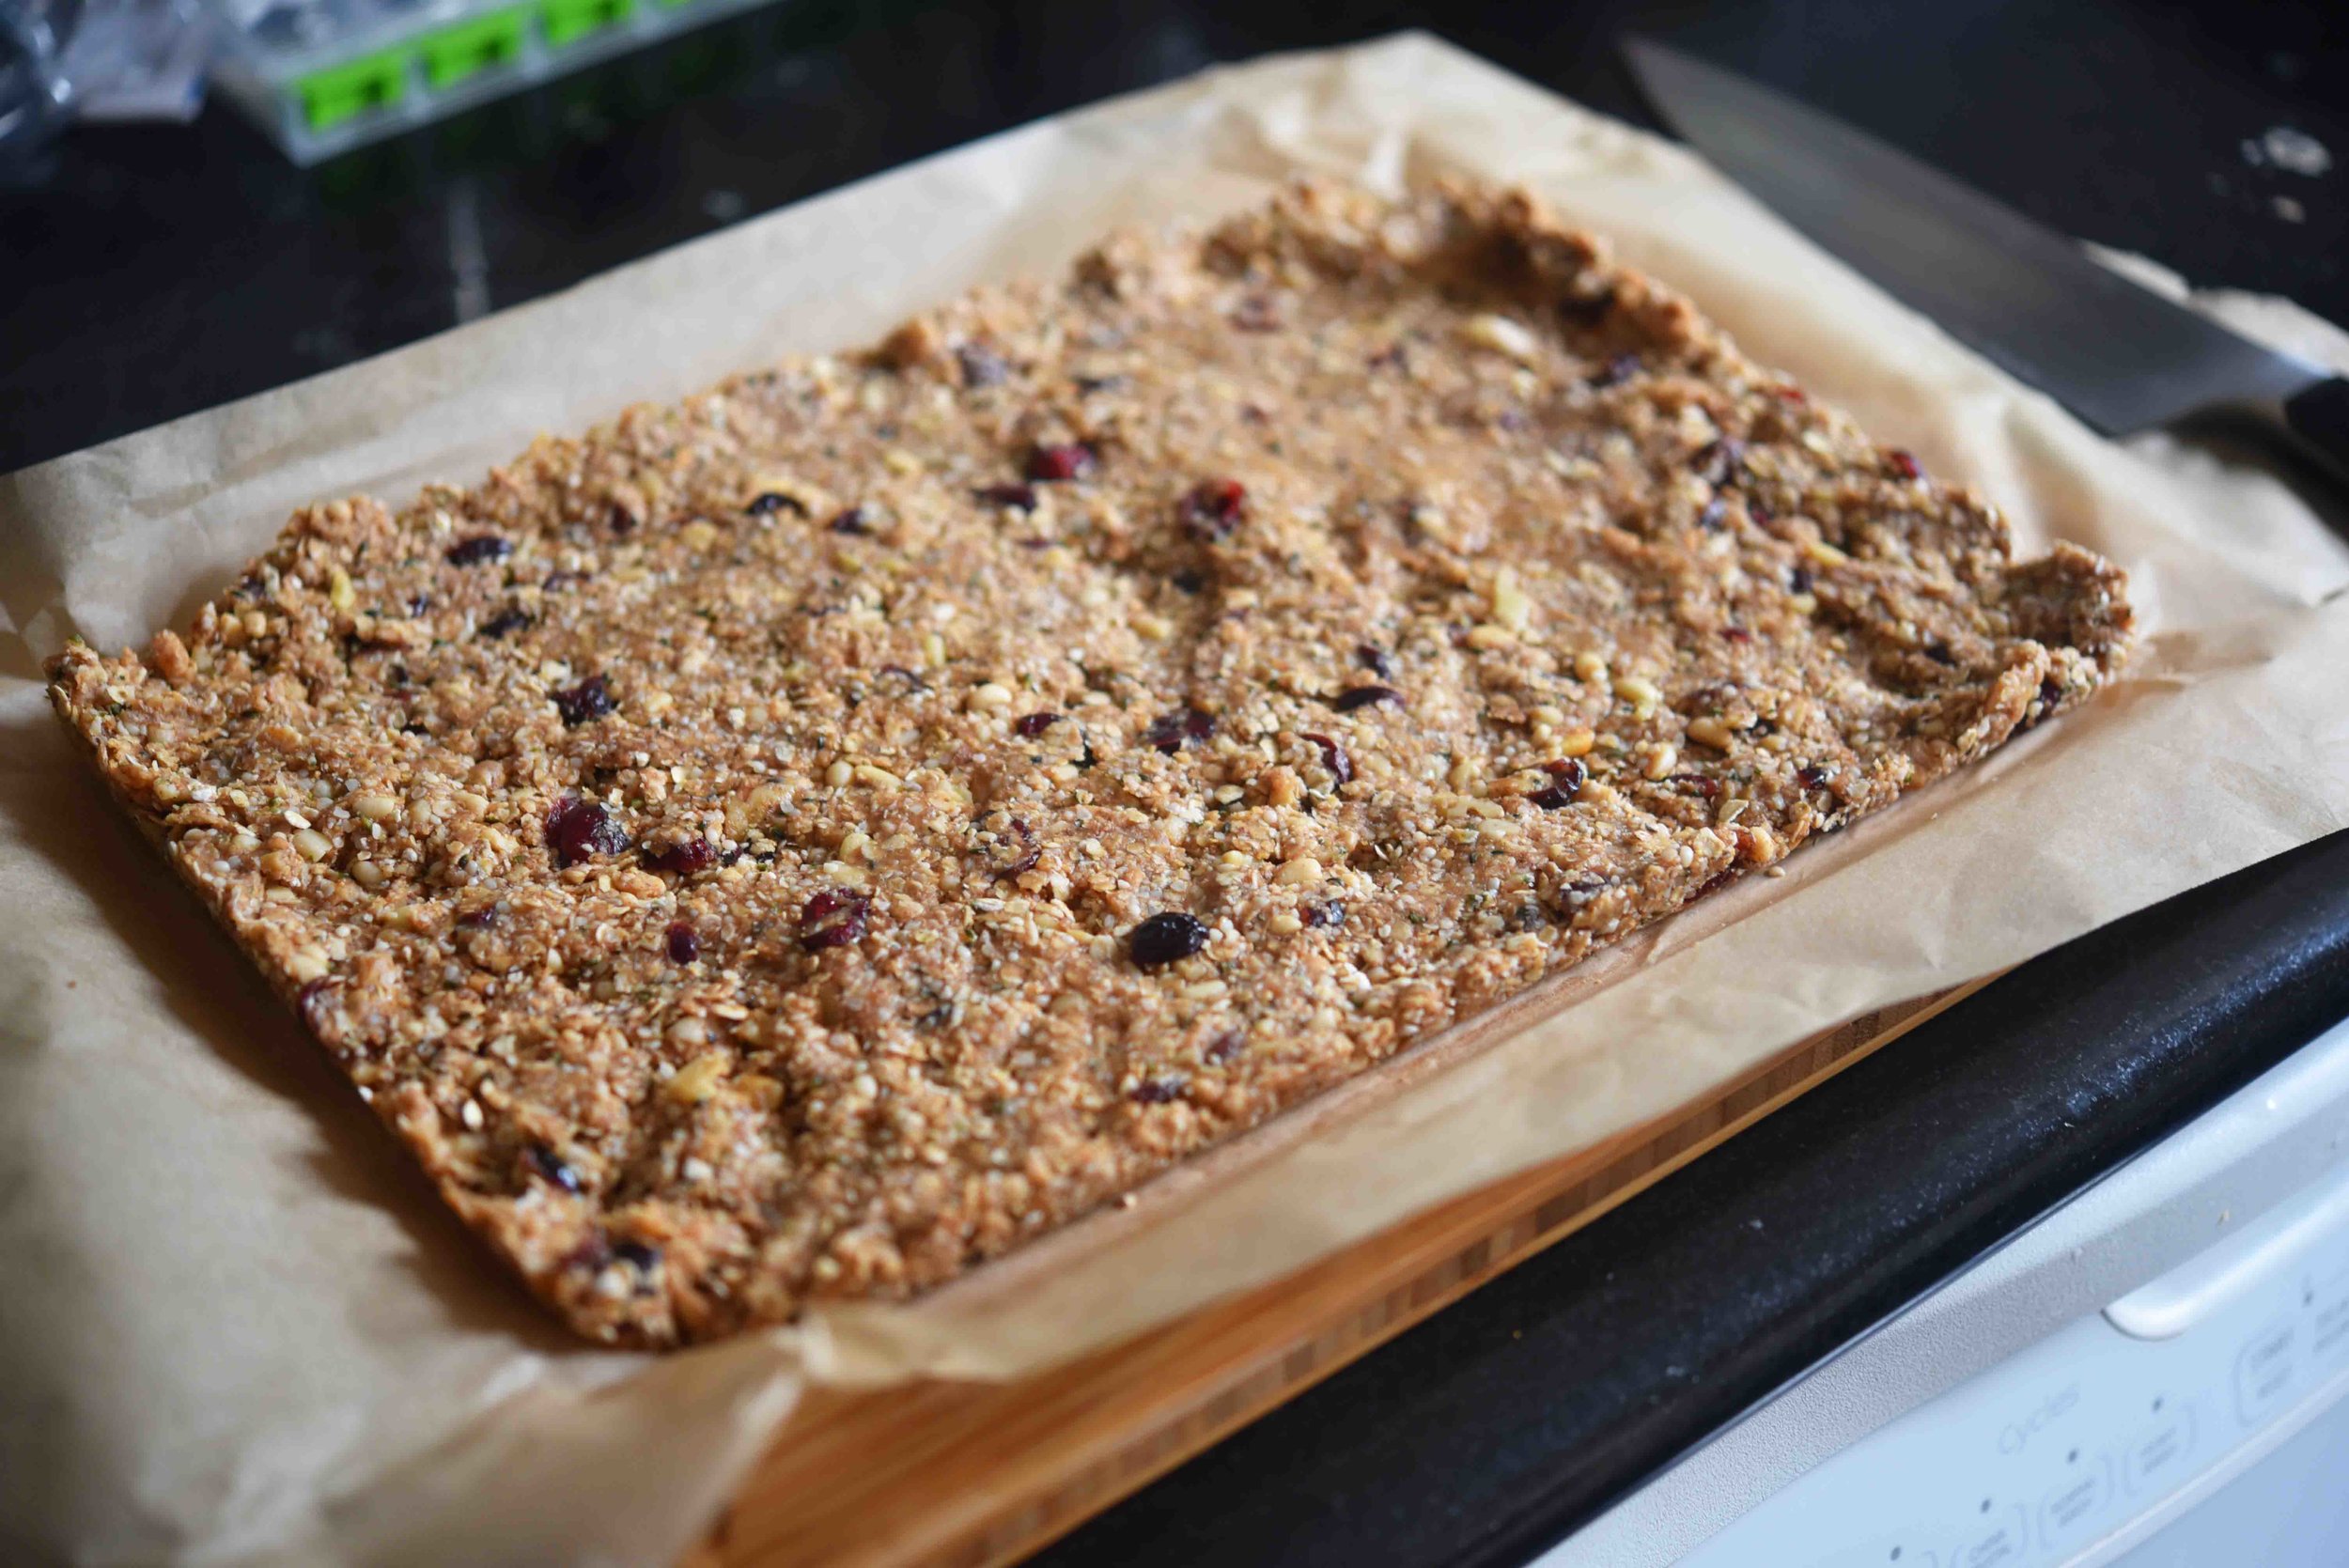
I made mine in a 9 by 13-inch pan (you press the granola bar mixture into a dish to form them into bars), but after eating a pan's-worth this week, I would say that you might want to try them in something a little smaller. That will allow them to be so thicker and hold together even better.

Really though, no matter what shape you make, they will be your family's new favorite snack!

No-Bake Granola Bars 8(1).jpg

No-Bake Granola Bars

makes: 16 bars

Ingredients:

  • 2 cups instant oats
  • ½ cup finely chopped pine nuts
  • ½ cup finely chopped walnuts
  • ½ cup hemp hearts
  • ½ cup dried cranberries
  • 1 teaspoon ground cinnamon
  • ¼ teaspoon kosher salt
  • ¾ cup honey
  • ⅓ cup smooth peanut butter

Directions:

  1. Line a baking dish, no bigger than 11 by 17 inches or 8 by 8 inches, with parchment paper, leaving the paper hang out about 2 to 3 inches over two of the sides (which will allow you to easily lift the finished granola bars from the dish); spray the parchment paper with cooking spray.
  2. In a large bowl, combine the oats, pine nuts, walnuts, hemp hearts, cranberries, cinnamon, and salt, then set aside.
  3. Add the honey and peanut butter to a small saucepan and cook them over medium heat until they are fully combined and just beginning to bubble—about 3 to 5 minutes.
  4. Pour the honey mixture over the oat mixture and stir to coat the dry ingredients evenly and fully.
  5. Firmly press the oat mixture evenly into the pan to ensure the granola bars stay together well; spraying your hands with cooking spray is helpful to prevent the mixture from sticking to them. Chill for at least two hours before cutting.
  6. Remove the granola bars from the pan using the edges of the parchment paper. Cut them into your desired size and enjoy! To store, place in an airtight container in the refrigerator.
: @NikkiDinki

: @NikkiDinkiCooking
No-Bake Granola Bars 9(1).jpg
 

Find more recipes like this in Meat on the Side!


You might also like these recipes:

Coconut Bacon


On my show Junk Food Flip, Bobby Deen and I go around and transform comfort food into delicious dishes that you can actually eat every day.


Read More

Butternut Squash + Apple Stuffing

Butternut Squash + Apple Stuffing_SMALL(1).jpg

What’s more satisfying than stuffing?!

Bread, veggies, stockYUM!

Butternut Squash + Apple Stuffing 2(1).jpg

So it's obvious there will be stuffing on the Thanksgiving table, but now the question is...

What veggies do you put in there?

Butternut Squash + Apple Stuffing 3.jpg

What will give you both sweet and savory flavors, along with different textures?

Butternut Squash + Apple Stuffing 4.jpg

Butternut squash immediately popped into my head, even though I can’t say I’ve seen a lot of squash in stuffing.

Butternut Squash + Apple Stuffing 5.jpg

After trying it out though, I know it's the right choice!

The squash is hearty and dense and sweetly contrasts the tartness of the apples and the strong, sharp onions.

Butternut Squash + Apple Stuffing 6.jpg

Good stuffing is nothing fancyit’s all about the right combination of ingredients to make a satisfying comfort food.

Butternut Squash + Apple Stuffing 7.jpg

And when you strike that perfect chord, it's definitely music to your ears…and stomach!

Butternut Squash + Apple Stuffing 8.jpg

Butternut Squash + Apple Stuffing

servings: 6 to 8

Ingredients:

  • One 8-ounce loaf crusty bread, cut into 1-inch dice (about 6 cups)
  • 2 tablespoons unsalted butter
  • 2 tablespoons olive oil
  • 1 medium butternut squash (about 2 pounds), peeled, seeds removed + chopped into ½-inch dice (about 5 cups or 1½ pounds)
  • 1 teaspoon kosher salt
  • ½ teaspoon ground black pepper
  • 2 medium green apples (such as gala apples), chopped into ½-inch dice (about 2 cups)
  • 1 medium yellow onion, coarsely chopped (about 1 cup)
  • 2 stalks celery, coarsely chopped (about ½ cup)
  • 1 teaspoon finely chopped fresh thyme leaves, more for a garnish
  • 1 teaspoon finely chopped fresh sage
  • 3 cups turkey (or chicken or vegetable) stock
  • Crushed pink peppercorns for a garnish

Directions:

  1. Preheat the oven to 400°F. Spread the bread cubes on a baking sheet and toast them until they are dried out—8 to 10 minutes. Remove them from the oven and set aside, but leave the oven on.
  2. In a large skillet over high heat, add the butter and oil. Once the butter has melted, add the squash along with ½ teaspoon of the salt and ¼ teaspoon of the pepper, then cook without stirring until the bottoms of the squash pieces are very dark—12 to 15 minutes. Stir slightly to flip the squash pieces and cook 5 minutes more, then stir again to flip the squash and cook an additional 5 minutes; when you are finished with this process, all sides of the squash should be evenly very dark.
  3. Reduce the heat to medium-high and to the squash mixture add the apples, onion, celery, thyme, sage, and remaining ½ teaspoon salt and ¼ teaspoon pepper. Then add 1 cup of the stock and simmer until the onion and celery are soft—about 5 minutes.
  4. In a large bowl, combine the toasted bread, cooked veggies, and the remaining 2 cups of stock. Once mixed, transfer to a two- to three-quart baking dish sprayed with cooking oil. Bake until the top of the stuffing is crisp and golden brown—20 to 25 minutes. Before serving, garnish with the thyme leaves and pink peppercorns.
: @NikkiDinki

: @NikkiDinkiCooking
Butternut Squash + Apple Stuffing 1.jpg
 

Find more recipes like this in Meat on the Side!


You might also like these recipes:

Beet Cranberry Sauce

Beet-Cranberry-sauce-6.gif

Cranberries have a zingy tartness that brings all of the other foods on your Thanksgiving Day plate to life.

And although the canned stuff may be an old staple on your table, consider clearing some space for this simple--but spectacular!--homemade version.

I start with a traditional cranberry sauce and add some beets that have been put through the blender.

Then I strain out all of that vibrant juice.

The beets add a deeper, richer flavor to the sauce--while still allowing the cranberries to shine.

And if you are a hardcore beet lover, then consider the "Extra Beety" version (also below), a fun beet-forward take that uses chunks of beets instead of just the beet juice! 

Beet Cranberry Sauce

servings: 3 Cups

Ingredients:

  • 1 large red beet (about 6 ounces), diced
  • One 12-ounce bag fresh cranberries
  • 1 cup granulated sugar
  • Zest + juice of 1 orange
  • ½ teaspoon kosher salt

Directions:

  1. Place the beet and 1¼ cups water in a blender and blend until very smooth with only some pulp remaining. Strain the pulp from the beet juice and transfer only the juice to a medium pot.
  2. To the same medium pot, add the cranberries, sugar, orange zest, orange juice, and salt. Cover the pot to avoid splattering and cook over medium heat until the mixture reaches a jam-like consistency—about 25 minutes.
: @NikkiDinki

: @NikkiDinkiCooking

"Extra Beety" Cranberry Sauce

servings: 3 cups

Ingredients:

  • 2 large red beets (about 12 ounces total)
  • One 12-ounce bag fresh cranberries
  • 1 cup granulated sugar
  • Zest + juice of 1 orange
  • 1 teaspoon kosher salt

Directions:

  1. Wrap the beets (all together) in aluminum foil and bake them until you can easily insert a fork into the center of the flesh—45 to 60 minutes. The time can vary greatly depending on the size of your beets, but the good news is that overbaking won’t hurt them at all. Once they are finished cooking, immediately remove the skin from the beets by rubbing each with paper towels and chop the beets into ¼-inch pieces.
  2. Then, to a medium pot, add the beets, cranberries, sugar, orange zest, orange juice, and salt. Cover the pot to avoid splattering and cook over medium heat until the mixture reaches a jam-like consistency, but with some texture still remaining in the cranberries—about 25 minutes.
: @NikkiDinki

: @NikkiDinkiCooking
 

Find more recipes like this in Meat on the Side!


You might also like these recipes:

Mushroom Gravy

My “Meat On The Side” philosophy, at its simplest, is about eating less meat and more veggies.

But if you want to get a little more complex, it's also about infusing vegetables into your meals--not just to make those meals more nutritious, but to elevate those dishes--to make them better.

For this mushroom gravy, I’m creating a super-rich, bold mushroom stock that will heighten your traditional turkey pan gravy to a gravy that tastes like it was made by a master chef!

And if you'd like to make a vegan version--which will still taste better than almost any gravy you've ever tasted--you can thicken it up without adding the turkey drippings.

Oh, and yes, you heard me right…VEGAN!

Your vegan or vegetarian guests will love this seemingly magic gravy they can pour over everything!

And you can still make a separate version with your pan drippings for the rest of the group.

Just sauté up some Portobello mushrooms with browned onions, garlic, thyme and, rosemary.

Add some rehydrated dried porcini mushrooms…

...Strain…

...And thicken with an oil and flour roux (vegan version), or add some flour to your turkey pan to create a traditional turkey dripping roux.

Then the only thing left to do is to prepare yourself (and your guests!) to lick this gravy straight off the plate!

Mushroom Gravy

servings: 2 1/2 cups gravy

Ingredients:

  • ½ cup dried wild porcini mushrooms (0.7 ounce package)
  • 3 tablespoons olive oil
  • 1 medium Vidalia onion, finely diced
  • 1 teaspoon kosher salt
  • ¼ teaspoon ground black pepper
  • One 8-ounce package sliced Portobello mushrooms
  • 4 cloves garlic, minced
  • 1 teaspoon chopped fresh thyme leaves
  • ½ teaspoon chopped fresh rosemary leaves
  • ¼ cup sherry vinegar
  • 1 cup vegetable, turkey or chicken stock
  • 2 tablespoons all-purpose flour

Directions:

  1. Place the porcini mushrooms in a small bowl and cover them with 2 cups of boiling water. Set them aside and allow them to soak for 15 minutes.
  2. Meanwhile, heat 1 tablespoon of the olive oil in a large skillet over medium-high heat. Add the onion, salt, and pepper and cook until the onion browns (you want some color on them)—about 6 minutes. Then add the Portobello mushrooms and continue cooking the veggies until the mushrooms are very brown—about 6 minutes. Next, add the garlic, thyme, and rosemary and cook for 1 minute more.
  3. Pour in the sherry and then scrape the bottom of the skillet vigorously with a wooden spoon or spatula to loosen any brown bits so that they are incorporated into the mixture in the skillet. Cook until most of the liquid has evaporated—about 2 minutes.
  4. Next, add the vegetable stock along with the mushrooms and liquid from Step 1, being careful not to pour all the mushroom broth liquid into the skillet as there will be sediment at the very bottom of the bowl that you will not want to use. Cook until slightly reduced—about 4 minutes.
  5. Strain everything and then set the vegetables to the side (save them for another use or simply serve them as a side dish). Be sure to push on the mushrooms as you are straining in order to remove as much liquid from them as possible.
  6. Add the remaining 2 tablespoons of oil and the flour to a large pan over medium heat and whisk to combine, then allow to cook for 1 minute. Add the mushroom broth, whisking as you go, and cook until thickened—about 5 minutes. OR (for the non-vegan version), add the mushroom broth to your turkey pan once you remove the turkey. Scrape the bottom of the pan with a wooden spoon to loosen up any brown bits, allowing them to become part of the broth. Then pour the broth and brown bits into a liquid measuring cup (or glass bowl) and let it sit until the fat separates from the broth (placing the measuring cup in the refrigerator will speed up this process). Once separated, remove 2 tablespoons of the fat from the top of the measuring cup and add it back to your turkey pan over medium heat, along with the flour (you can discard any additional remaining fat in the measuring cup, but be sure to reserve the broth). Whisk the flour and fat mixture to combine and allow it to cook for 1 minute. Then whisk in the mushroom broth from the measuring cup and cook until thickened—about 5 minutes. *Read the “Keep It Simple” note for ideas about how to make this for a large group.

Notes:

  • Keep It Simple - This is a very rich gravy that you can stretch for a large group—especially if you are combining it with turkey drippings and/or using a turkey or chicken stock instead of veggie stock.
  • Also, for each additional cup of stock you use in this recipe, you will also need to use an additional 1 tablespoon of flour and 1 tablespoon of drippings/oil. For example, if you use 2 cups of stock instead of the 1 the recipe calls for, you will also need to increase the flour to 3 tablespoons and the drippings or oil to 3 tablespoons. Keep extra stock or water on hand to thin if necessary.
  • Find more information on mushrooms at thrivecuisine.com.
: @NikkiDinki

: @NikkiDinkiCooking
 

Find more recipes like this in Meat on the Side!


You might also like these recipes:

Rosemary + Garlic Roasted Parsnips

I think we can all agree that a good Thanksgiving Day table includes a plethora of side dishes.

I love Thanksgiving because millions of people end up eating a “Meat On The Side” meal without really thinking about it.

As much as turkey is considered the star of the meal, most of our plates end up with just a little slab or two of it--the rest of the plate is filled up with vegetable side after vegetable side.

And even though I love the way our plates automatically become veggie-focused, many of these Thanksgiving Day sides can start to taste a little repetitive.

They all seem to be on the softer, mushier side and they all seem to be doused in cinnamon and nutmeg.

So I propose bringing some spicy, chewy, vibrant roasted parsnips to the party!

They have a delightful texture and are perfectly seasoned with rosemary, garlic, and paprika.

And if your main meal menu is already full, consider serving them as an appetizer.

There is nothing like a parsnip chip and a warm cocktail!

Rosemary + Garlic Roasted Parsnips

servings: 1 ½ cups of parsnips; serves 2-3

Ingredients:

  • 3 medium parsnips (about 1½ pounds)
  • 2 tablespoons olive oil
  • 1 tablespoon minced fresh rosemary
  • 1 teaspoon garlic powder
  • 1 teaspoon sweet paprika
  • 1 teaspoon kosher salt
  • ¼ teaspoon ground black pepper

Directions:

  1. Preheat the oven to 450°F. Peel the parsnips and then cut them into ¼- to ½-inch-thick rounds.
  2. In a large bowl, toss the parsnips with the oil, rosemary, garlic powder, paprika, salt, and pepper. Spread them out on a baking sheet, and bake them for 10-15 minutes. Flip the parsnips and bake them until they are brown and crispy—another 10-15 minutes. If your rounds are of varying sizes, some may be done before others; simply remove the smaller rounds as they become brown and crispy and allow the larger rounds to continue to bake. Enjoy warm!
: @NikkiDinki

: @NikkiDinkiCooking
 

Find more recipes like this in Meat on the Side!

You might also like these recipes:

Red Cabbage + Raspberry Grilled Cheese

So great being on The Wendy Williams Show today! Check out the clip--and the recipe!--for my Red Cabbage + Raspberry Grilled Cheese.

Red Cabbage + Raspberry Grilled Cheese

servings: 2 Sandwiches

Ingredients:

  • 2 tablespoons olive oil
  • 6 cups lightly packed shredded purple cabbage (12 ounces)
  • 1 teaspoon kosher salt
  • ¼ cup raspberry jam
  • ¼ cup champagne vinegar
  • 8 ounces Fontina fontina cheese, sliced
  • 4 slices sourdough bread
  • 2 tablespoons unsalted butter, at room temperature

Directions:

  1. Heat the oil in a large skillet over medium heat. Stir in the cabbage and salt and cook until tender but not mushy, —3 to 4 minutes. Stir in the jam and vinegar and cook until most of the liquid has evaporated and the cabbage is completely tender, —2 to 3 minutes more. Remove the skillet from the heat.
  2. Heat a second large skillet over medium-low heat. Butter 1 side of each slice of bread. Place 2 pieces of bread, butter- side- down, on a plate. Top each with 3 alternating layers, : first of cheese, then cabbage, and then the rest of the cheese, dividing them equally, and then finish off with another slice of bread, butter- side- up. Place the sandwiches in the skillet and cook them until browned on the bottom, —3 to 5 minutes. Then fFlip them over and cook until the other side is has browned and the cheese is has melted, —3 to 5 minutes more, gently pressing the sandwiches as they cook. Cut in half and serve.

Notes:

  • You can really customize this sandwich: just use what you have in the pantry. Any sliced bread works fine, you can substitute any jam flavor that you like, and instead of champagne vinegar feel free to use red wine vinegar, white wine vinegar, or apple cider vinegar.
  • Purple cabbage is also known as red cabbage and may be labeled that way.
  • I can usually find purple cabbage freshly shredded by the store in my produce section. You can also use green cabbage for a similar taste but a slightly less exciting color.
  • Because of the sweetness of the cabbage and the fact that it’s a grilled cheese, this sandwich should be a hit! Not convinced? Use half that amount of cabbage mixture for super- picky eaters; the cheese will melt all around it, mostly concealing our little secret.
: @NikkiDinki

: @NikkiDinkiCooking
 

Find more recipes like this in Meat on the Side!


YOU MIGHT ALSO LIKE THESE RECIPES:

Spicy Brussels Sprout + Lentil Soup

So great being on The Wendy Williams Show today! Check out the clip--and the recipe!--for my Spicy Brussels Sprout + Lentil Soup.

Spicy Lentil + Brussels Sprout Soup

servings: 4 Makes about 8 cups of soup

Ingredients:

  • 2 tablespoon olive oil
  • 1 ½ cups yellow onion (1 medium onion), finely chopped
  • 1 cup red pepper (1 large pepper), finely chopped
  • 1 cup carrots (about 3 medium carrots), finely chopped
  • 1 cup celery (2 stalks of celery), finely chopped
  • 4 cloves garlic, minced
  • 2 ½ teaspoons kosher salt *check
  • ¼ teaspoon ground black pepper
  • 8 cups veggie or chicken stock
  • 1 ½ cups brown or green lentils
  • 1 pound Brussels sprouts (7-9 large Brussels sprouts), shredded (2.5 cups packed)
  • 1 ½ tablespoons chipotle peppers in adobo sauce*
  • 1 avocado, pitted + chopped into ¼- to ½-inch dice
  • Juice of 1 lime
  • 2 tablespoons finely chopped cilantro

Directions:

  1. Heat the oil in a large pot over medium heat, and add the onion, peppers, carrots, celery, garlic, 1 teaspoon of the salt, and the pepper. Cook this mixture until the veggies are tender—about 7 minutes.
  2. Then add the stock, lentils, 1 ½ cup packed shredded Brussels Sprout, chipotles, and another 1 teaspoon of salt to the pot and bring to a simmer. Cook 35-40minutes until the lentils are al dente. Taste soup and add salt if necessary and more stock or water if soup is too thick
  3. Meanwhile, in a medium bowl, toss the remaining 1 cup of Brussels sprouts, the avocado, lime juice, and remaining ½ teaspoon of salt together until well combined.
  4. To serve, divide the soup into serving bowls and top it with the Brussels sprout mixture from Step 4 and some cilantro.

Notes:

  • Puree or finely chop the entire can of chipotles in adobo and use 1.5 tablespoons for this recipe. Store the remaining in the bottom of a Ziploc bag in the freezer and cut of tablespoon amounts as needed.
: @NikkiDinki

: @NikkiDinkiCooking
 

Find more recipes like this in Meat on the Side!


YOU MIGHT ALSO LIKE THESE RECIPES:

Pumpkin Butter

It’s the day before Thanksgiving, which means my 10-day "Meat On The Side Countdown to Thanksgiving" is officially coming to an end.

Aw, no need to cry! I know, I know--it’s a sad day--but I promise there will be more Meat on the Side recipes in the very near future!

And as a celebration of our last ten days together, I'm giving you one more recipe--quick and easy enough that you'll still have time to make it before Thanksgiving dinner tomorrow! 

I’m showing you how to whip up a pumpkin-infused butter, perfect for slathering on all those biscuits, dinner rolls, and crescent rolls.

Just start by letting some regular unsalted butter come to room temperature.

Whip it up in your food processor and then combine it with pumpkin puree, vanilla, maple syrup, and pumpkin pie spice.

Suddenly you have a unique holiday butter that makes everything taste special. 

Enjoy!

And Happy Thanksgiving to you and yours!

Pumpkin Butter

servings: 1 1/2 Cups

Ingredients:

  • 1 cup pumpkin puree
  • 2 sticks unsalted butter, at room temperature
  • 1 tablespoon maple syrup
  • ½ teaspoon pumpkin pie spice
  • ½ teaspoon vanilla extract

Directions:

  1. Add the pumpkin puree to a small pot over medium heat and cook, stirring frequently, until it reduces by almost half—about 15 minutes.
  2. Meanwhile, whip the butter in a food processor until it is smooth. Add the cooked pumpkin puree along with the maple syrup, pumpkin pie spice, and vanilla extract to the food processor. Continue to puree until this mixture is smooth and combined.
  3. Transfer the butter from the food processor to an airtight container for storage in your refrigerator. When you are ready to use it, allow it to warm to room temperature, then spread on your favorite bread or toast.
: @NikkiDinki

: @NikkiDinkiCooking
 

Find more recipes like this in Meat on the Side!


You might also like these recipes:

Zucchini Salsa


Recently I was honored to appear on the Food Network television show The Kitchen.


The show includes five amazing co-hosts who introduce viewers to a bunch of awesome recipes, cocktails, and crafts.


Before showing up, I knew I had to bring my A-game—and a recipe that would make people sit up and listen.


Read More

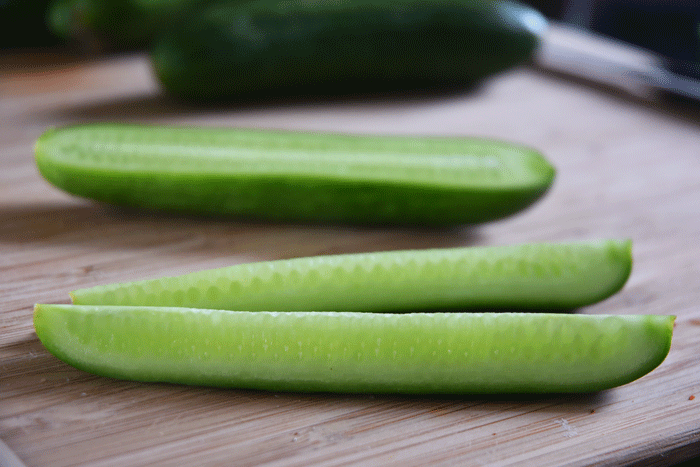
Cucumber Chips


Currently, I have one measly cucumber in the garden.


Due to some bug problems and a bit of an overcrowding situation in my center planter box, Mr. Cucumber isn't quite thriving.
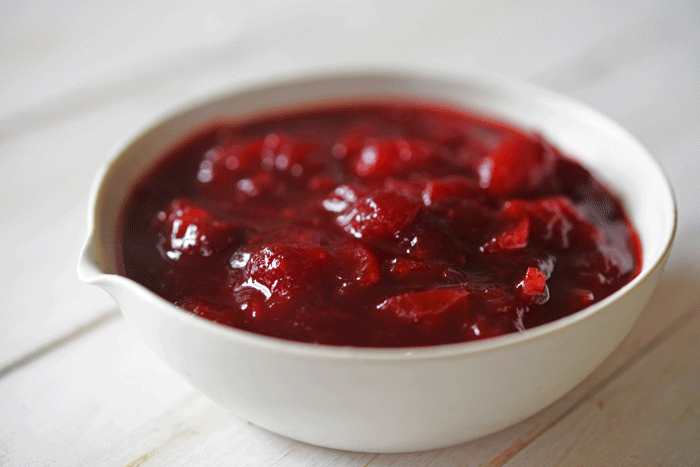


However, in the past--and definitely at the farmers market--there is usually a cucumber explosion this time of year.


Read More

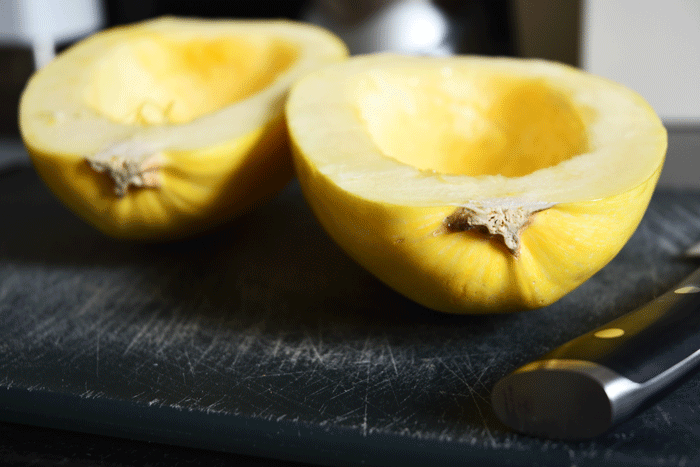
How to Prep + Cook Spaghetti Squash


Spaghetti squash is definitely in my top five of favorite vegetables (please don’t tell the others, they get crazy jealous!).
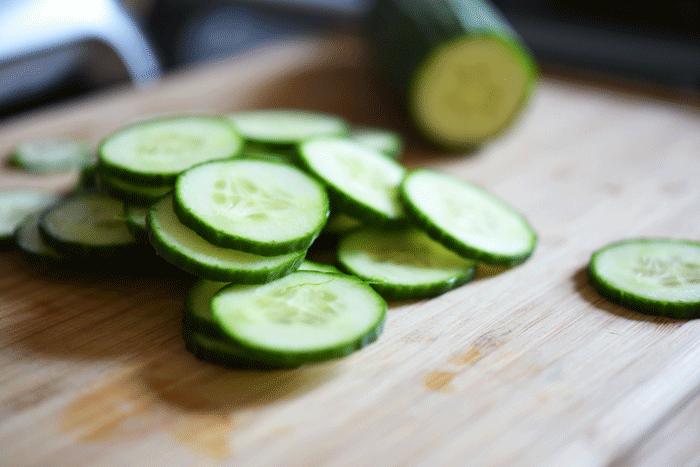
 

But breaking into this hard gourd can be intimidating.


The key is to cut off the top (and bottom if it’s not flat) of the squash and cut straight through with a serrated knife.


Scoop out the insides and you are ready to bake.


Read More

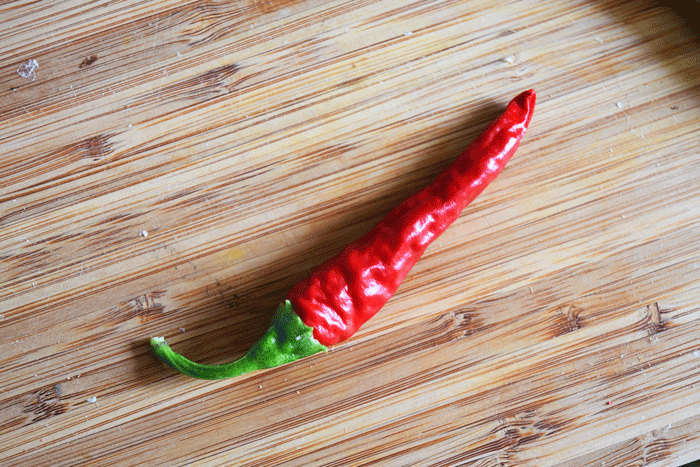
Ricotta with Chili Honey


Ok, time to come clean, everyone has done it, I’m talking about that time that you took a store bought cake, pie or appetizer, gussied it up a bit and passed it off as your own.


Hey, we don’t all have the time to make a 6 layer cake to bring to Thanksgiving! And sometimes, even when you do, your beautiful creation doesn't make it through the cab ride to your in-laws, and by the time it reaches the dessert table it an official #FoodFail (I only cried a little)


Read More

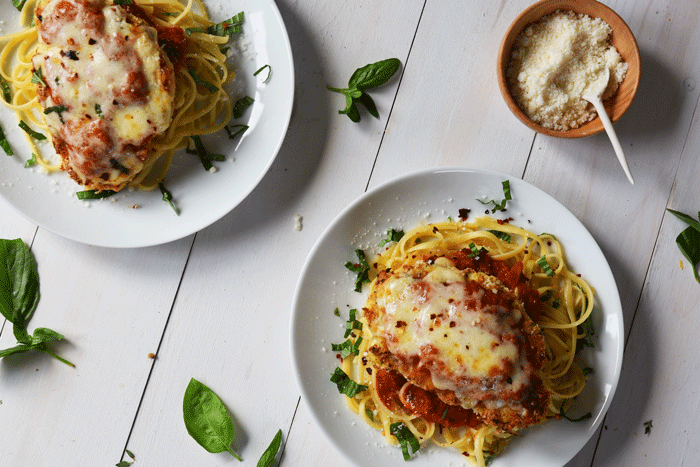
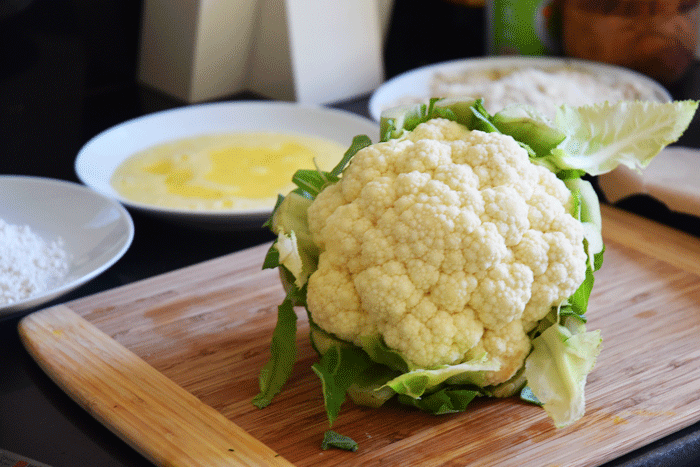
Cauliflower Parm


You know the commercial where Payton Manning sings “Chicken Parm you taste so good” in the Nation Wide advertisement?


Well that’s my husband, well the loving chicken parm part, not the being a professional athlete part.


Read More

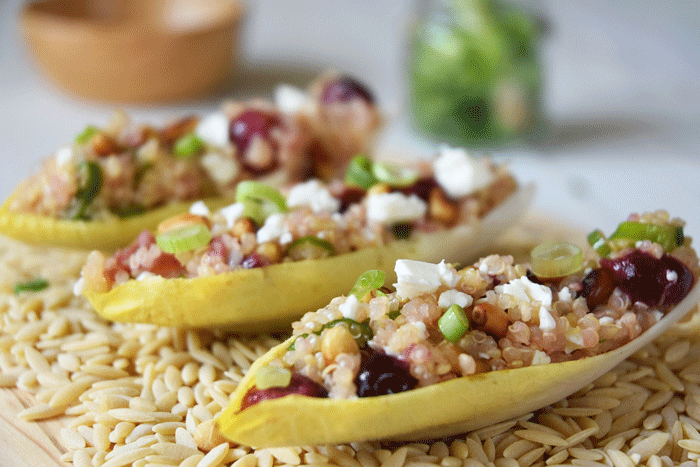
Quinoa-Stuffed Endive with Roasted Grapes + Feta


Let’s face it, quinoa has taken over the grain industry (even though it’s actually a seed). It’s well deserved rise to fame, who wouldn’t want loads of protein and fiber in their starchy side dish, and I do mean LOADS.


It’s true it really good for you, and since it’s been trending on twitter since 2011 you can now find it almost anywhere (P.S. Amaranth (link to popped amaranth recipe) is trending next, time to buy stock).


Read More

Spaghetti Squash Tacos with Sweet + Spicy Pepper Salsa


I'm pretty obsessed with spaghetti squash, not as obsessed as I am with cheese, or positioning the fan in my bedroom just right so it cools just my feet while I sleep, but pretty darn close.


It's so sweet, the texture is awesome and it can be morphed into so many things.


Read More

Creamed Corn + Blueberry Pasta


Summer is my season; I am perpetually cold unless it’s 90 degrees outside and I’m pretty sure that I am a better swimmer than I am a walker sometimes. One of my greatest joys in life is my terrace garden with all my plants and my bird friend Harold.


Although I don’t like to admit it either, we have to face it, summer is coming to an end (can’t type… crying too much).


Read More

Chili Spiced Cucumbers


I’m obsessed with parties, and any party of mine is bound to have an endless array of appetizers. In order to get the variety I want and not lose my mind making my 10th labor-intensive app, I always like to include some appetizers of the “silly easy” variety.


And these cucumbers are just that, they get a bath of lime juice, a sprinkle of chili powder and sugar, and a hit of salt, resulting in a crisp, tangy, spicy, salty treat that takes minutes to make.


Read More

Parmesan Zucchini Crisps


If you're a gardener then you have definitely had one of those moments where you look around your garden and think “What the heck am I going to do with all these zucchinis.”


For my new book Meat on The Side I tackled this question with tons of zucchini recipes including egg sandwiches with squash and crostini's where the zucchini replaced the bread.


Read More

Carrot Dog


Recently (thanks to my new show Junk Food Flip) I have been thinking a lot about how to flip classic dishes, especially the meat heavy dishes.


As you know by now (because I've mentioned it about a million times) I like to cook in a way I call Meat On The Side; the idea is that veggies are the star of the plate, not the meat.


Read More