Golden Milk Overnight Oats

Overnight Oats BIG.jpg

Golden Milk Overnight Oats

servings: 1

Ingredients:

  • 1 cup rolled oats
  • ¾ cup almond milk
  • 2 tablespoons honey
  • 1 teaspoon turmeric
  • ½ teaspoon vanilla
  • ½ teaspoon ground ginger
  • ½ teaspoon cinnamon
  • Pinch of kosher salt
  • ⅓ cup fresh blueberries
  • 2 tablespoons coarsely chopped walnuts
  • 1 tablespoon chia seeds

Directions:

  1. Add the oats, almond milk, honey, turmeric, vanilla, ginger, cinnamon, and salt to a jar (or bowl). Shake vigorously to combine (or stir well).
  2. Place the jar in the refrigerator and let it sit overnight, or for at least 2 hours.
  3. To serve, remove the oats from the refrigerator and top them with the blueberries, walnuts, and chia seeds (this can be done the night before, if desired).
: @NikkiDinki

: @NikkiDinkiCooking
 

Find more recipes like this in MORE VEGGIES PLEASE!


You might also like these recipes:

Carrot Pumpkins

Carrot Pumpkins_SMALL(1).jpg

I like to celebrate Halloween as much as the next person, but I’m not the type to spend hours crafting or piping pumpkins onto everything I make.

Carrot Pumpkins 1.jpg

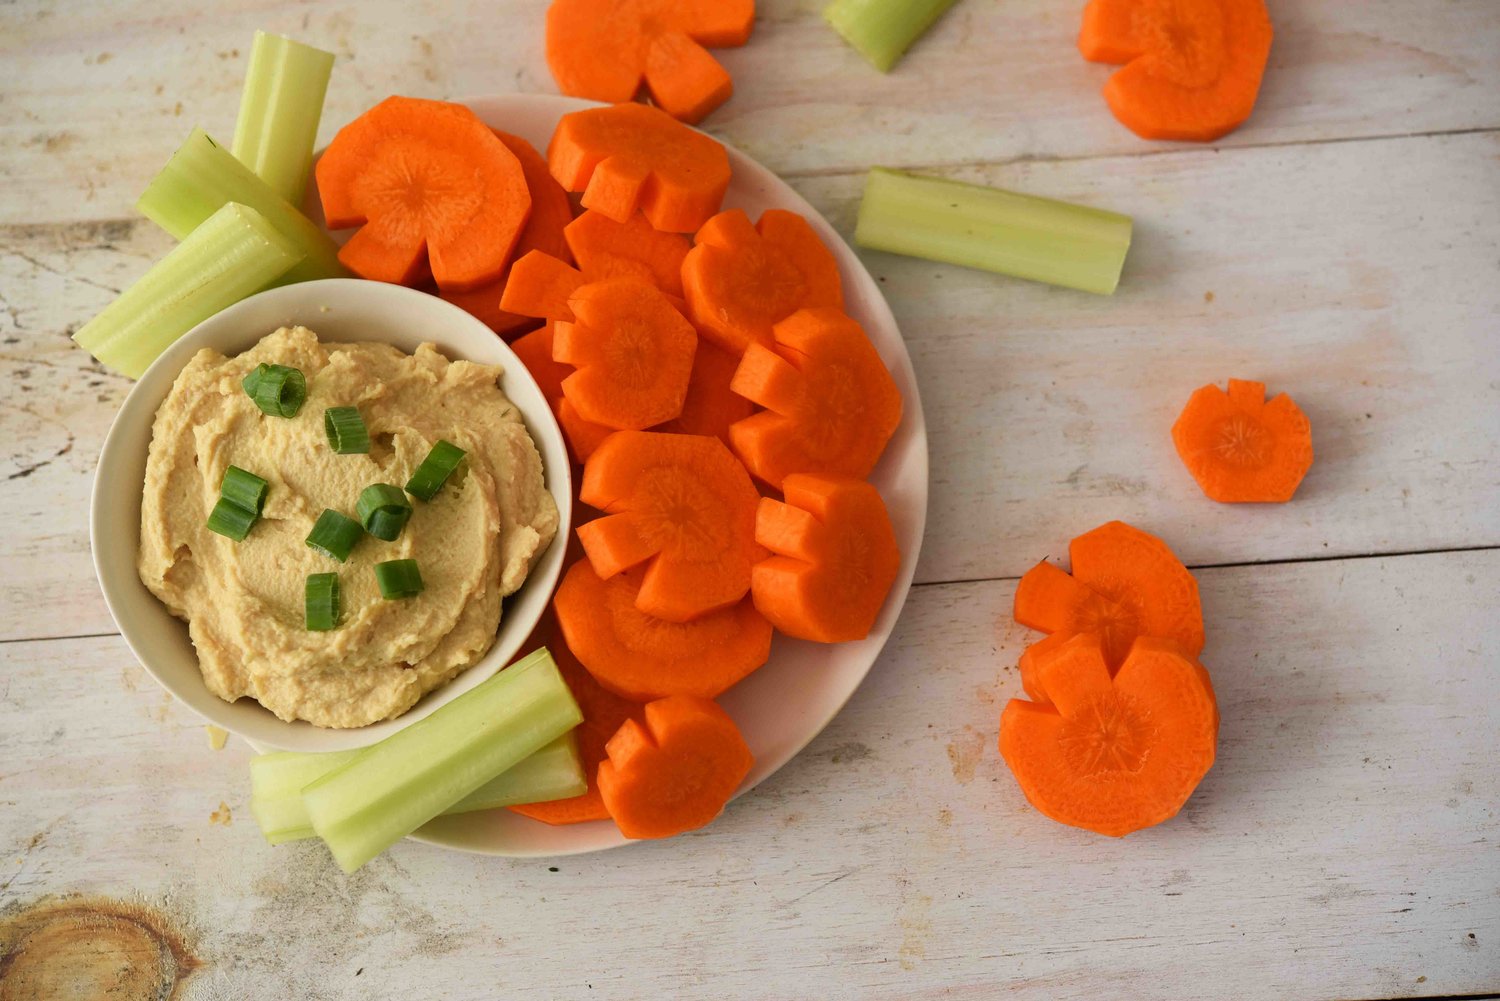
But what I do love is to take a carrot, make a couple of simple cuts in it, and suddenly have a pumpkin patch on my plate!

Carrot Pumpkins 2.jpg

These pumpkin carrots could not be simpler!

Carrot Pumpkins 3.jpg

Look for thick carrots, then cut two “V”’s lengthwise down the tops of the sides.

Carrot Pumpkins 4.jpg

Cut the carrots into rounds, then let yourself feel like one of those Pinterest moms as your kids go to school with NO BORING CARROTS in their lunches.

They've got PUMPKIN carrots!

Carrot Pumpkins 5.jpg

Carrot Pumpkins

servings: 1 cup

Ingredients:

  • 2 medium carrots

Directions:

  1. Peel the carrots and cut off their tops. Place the carrots on a cutting board and cut two short vertical lines into the tops of each carrot, about ¼ inch from one another; the cuts should go about ⅓ of the way through the carrots’ diameters and should extend the length of the carrots (see cross section of carrot below).
  2. Next make two diagonal cuts into the tops of the carrots that intersect the first two cuts, creating long, triangle-shaped strips that, when removed, create pumpkin shapes when you look at cross-sections of the carrots (see below).
  3. If needed, use a vegetable peeler to refine the shapes of the carrots so that they look more like pumpkins. Cut each carrot width-wise into ¼-inch slices, discarding the smallest ends.
  4. Serve with your favorite hummus or veggie dip and enjoy!
: @NikkiDinki

: @NikkiDinkiCooking
Carrot Pumpkins 6.jpg
 

Find more recipes like this in MORE VEGGIES PLEASE!


You might also like these recipes:

Cucumber Zucchini Salad

Cucumber Zucchini Salad_BIG.jpg

A friend of mine wrote an article about having a ton of zucchini in her family's garden when she was growing up.

So much, in fact, that her family resorted to dressing their excess of squashes in "outfits" and leaving them on a "lucky" neighbor's doorstep (read more).

Cucumber Zucchini Salad 2.jpg

I suppose that is one (uh...ahem) effective way to deal with an excess of zucchini in your garden.

However, may I gently suggest another?

Cucumber Zucchini Salad 3.jpg

To bring another vegetable into the conversation, cucumbers are similar to zucchini.

For instance, both vegetables are delicious raw as well as cooked.

With this in mind, I'd like to point out that anything cucumbers can do, zucchinis can do also!

Cucumber Zucchini Salad 4.jpg

So instead of making the same old cucumber salad (don't get me wrong, those cucumber salads can be delicious!), I decided to bring our mutual friend, Mr. Zucchini, to the pickling party.

Cucumber Zucchini Salad 5.jpg

The best think about this Cucumber Zucchini Salad is that it takes only a few minutes to make and only a few more to marinate.

Cucumber Zucchini Salad 6.jpg

In the end, you have a light, refreshing salad with crunchy cucumbers and zucchini that are seriously a match made in heaven.

And as a bonus, it’s like -20 calories (okay, not really, but I'm sure it's close)!

Cucumber Zucchini Salad 7.jpg

Cucumber Zucchini Salad

servings: 4 cups

Ingredients:

  • 1 English cucumber (about 12 ounces)
  • 1 medium zucchini (about 8 ounces)
  • ½ small red onion (about 2 ounces), very thinly sliced
  • 1 teaspoon kosher salt
  • ½ cup apple cider vinegar
  • 2 tablespoons granulated sugar
  • ½ teaspoon red pepper flakes

Directions:

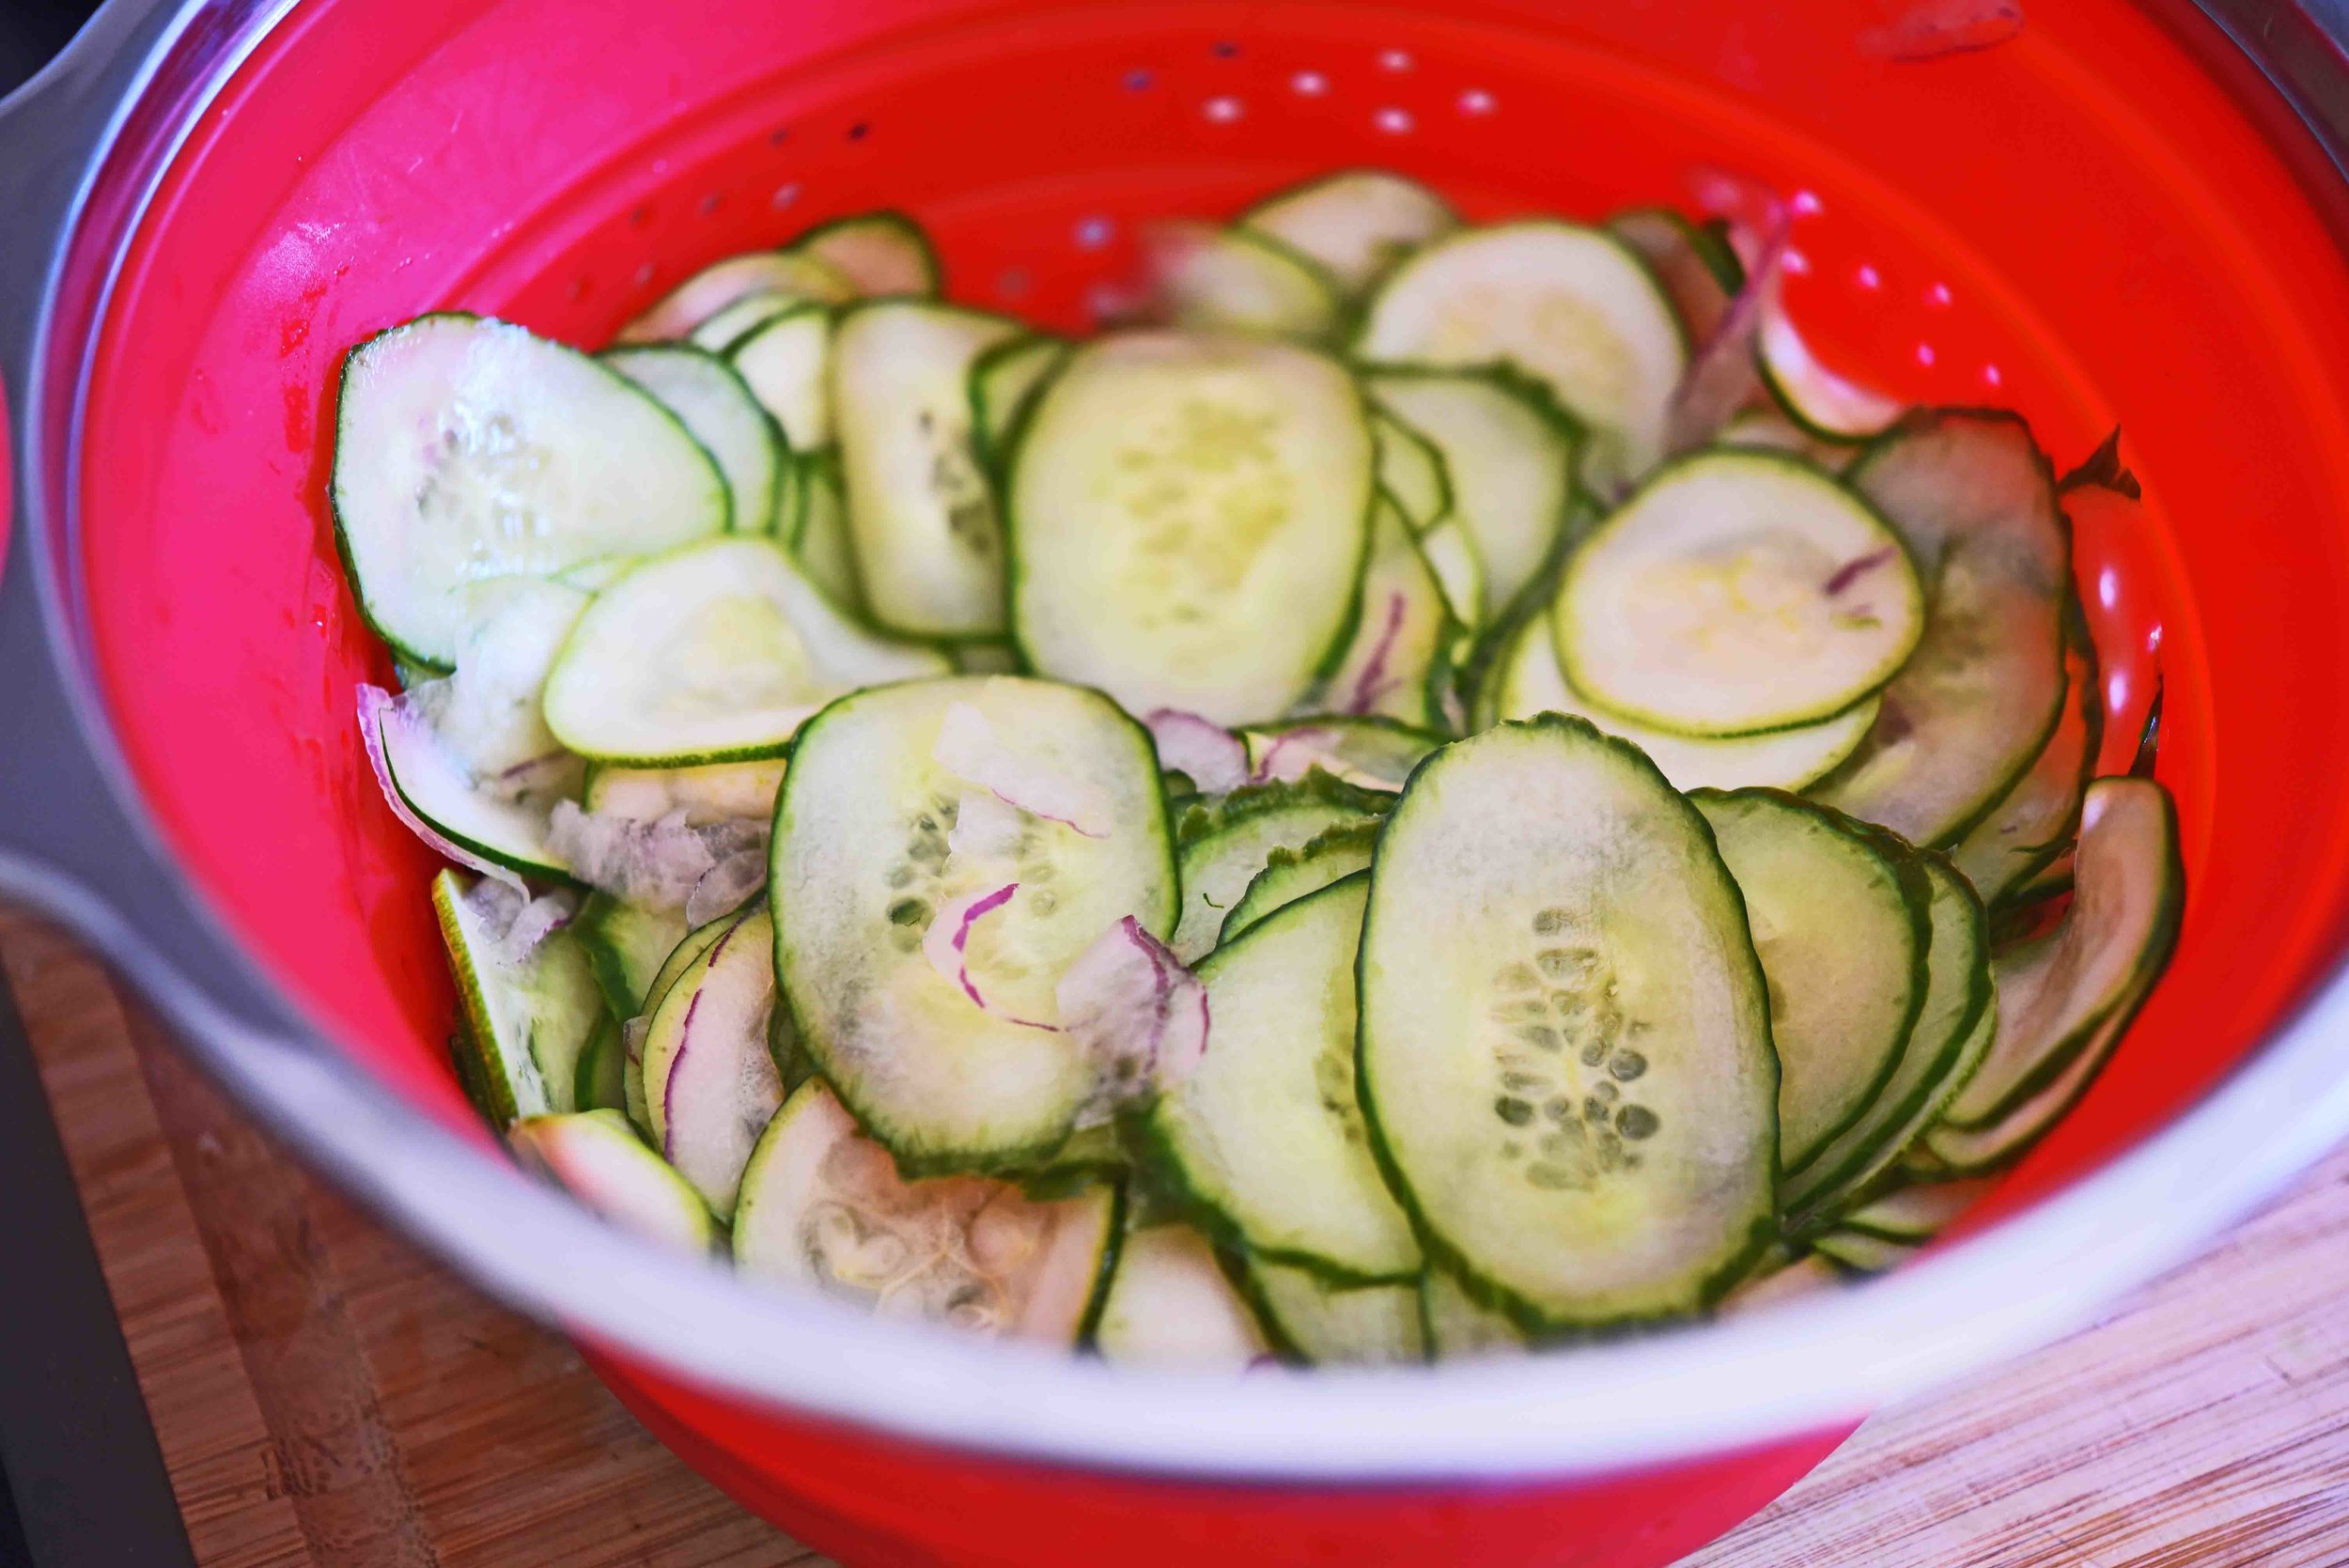
  1. Using a mandoline or a sharp knife, cut the cucumber and zucchini into very thinly sliced rounds. When you are finished slicing, you should have about 2 cups of cucumber and 1½ cups of zucchini.
  2. In a medium size bowl, toss the cucumber and zucchini slices with the onion and salt, allow this mixture to sit for 30 minutes, then transfer it to a colander to drain off the excess liquid. Return the veggie mixture to the bowl and set aside.
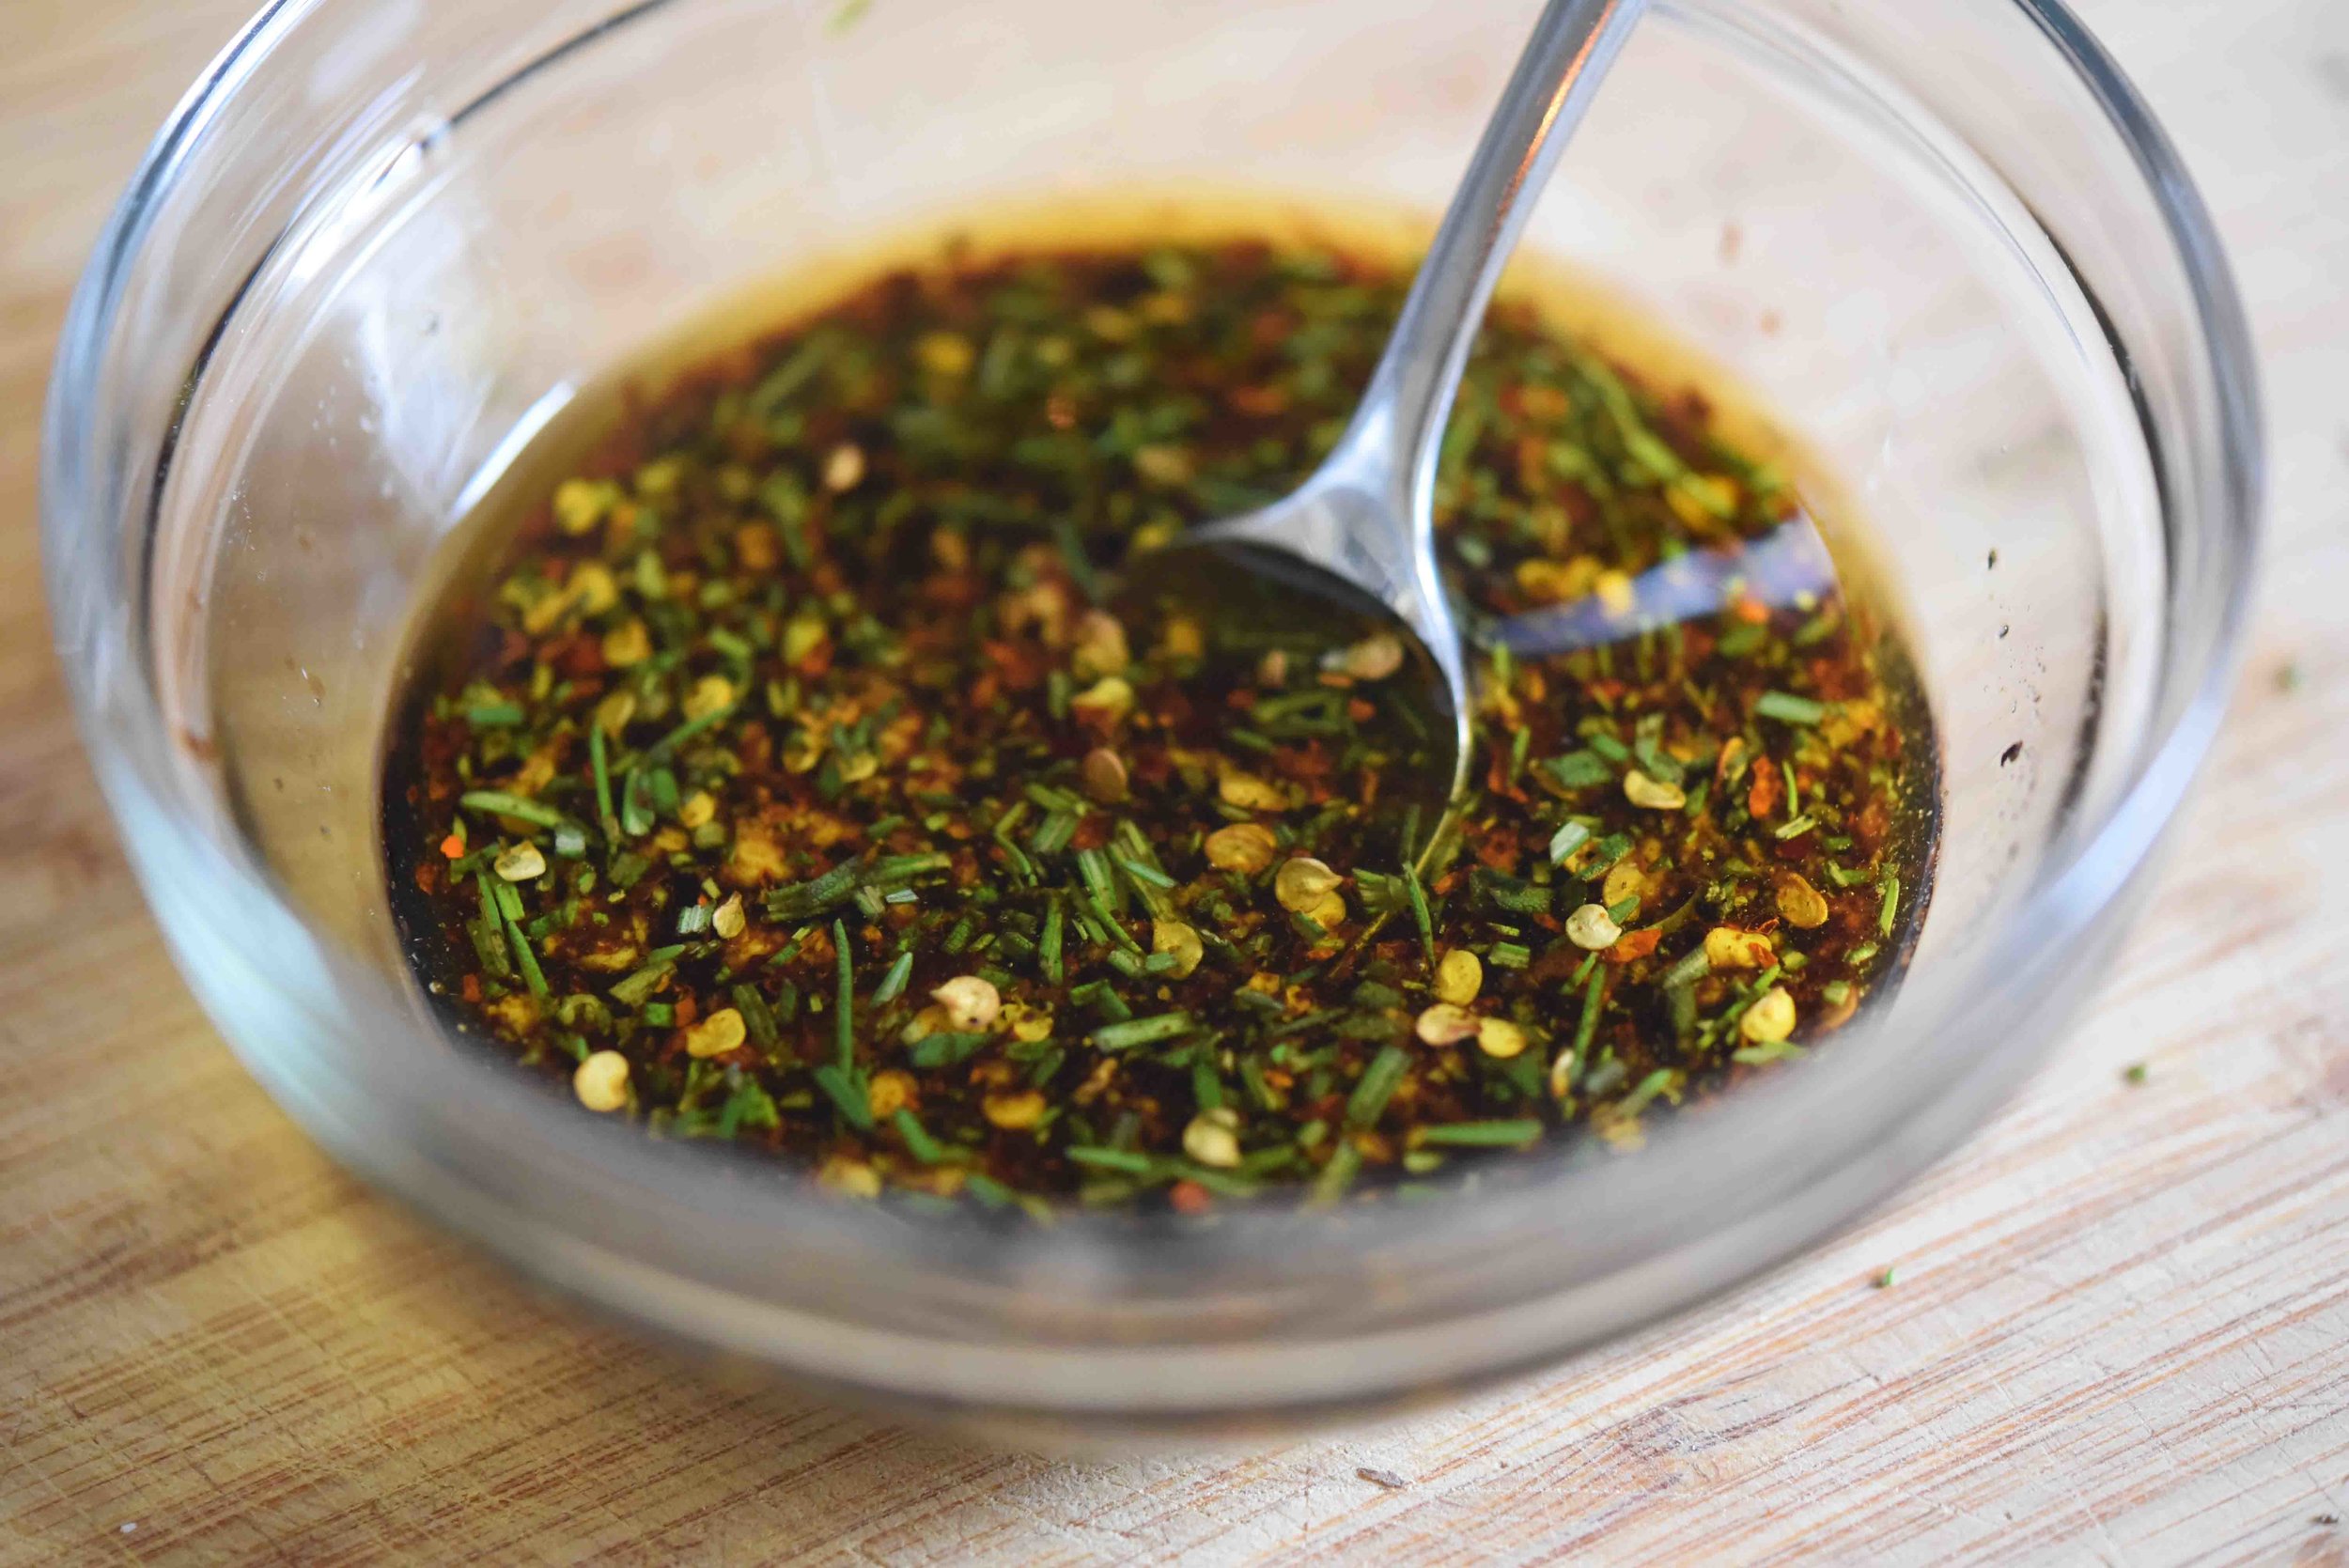
  3. Next, combine the vinegar, sugar, and red pepper flakes, whisking or stirring until the sugar has dissolved. Then pour this mixture over the veggie mixture, tossing the veggies to coat them evenly.
  4. Chill the salad for at least 30 minutes in the refrigerator. Be sure to drain off any excess liquid once again, before serving.
: @NikkiDinki

: @NikkiDinkiCooking
 

FIND more recipes like this in MEAT ON THE SIDE!


You might also like these recipes:

Balsamic Roasted Onions

Balsamic Roasted Onions 1(1).jpg

I love taking underrated vegetables, shining them up, and showing people just how much delicious-potential they have!

Balsamic Roasted Onions 2(1).jpg

Onions don’t generally get their own place on your dinner table...

Instead, they usually play the supporting role in dishes.

Balsamic Roasted Onions 3(1).jpg

The tick to getting them to take center stage is infusing them with flavor—in this case, balsamic, Dijon, and rosemary.

Balsamic Roasted Onions 4(1).jpg

Then add some sweetness to the mix, and let them roast up to sticky perfection in the oven.

Balsamic Roasted Onions 5(1).jpg

When you treat them right, they become a show-stopping side dish that will be gone before the main meal!

Balsamic Roasted Onions 6(1).jpg

Okay, Mr. Onion, it’s your time to shine!

Balsamic Roasted Onions 7(1).jpg

Balsamic Roasted Onions

servings: 6 to 8

Ingredients:

  • 4 medium Vidalia onions, cut into ½-inch slices (skins left on)
  • ½ cup balsamic vinegar
  • ¼ cup olive oil
  • 3 tablespoons honey, more for drizzling
  • 3 tablespoons Dijon mustard
  • 1 tablespoon finely chopped fresh rosemary leaves
  • 1 teaspoon kosher salt, more for sprinkling
  • 1 teaspoon ground black pepper
  • 1 teaspoon red pepper flakes

Directions:

  1. Place the onions in a large plastic food storage bag or shallow dish. In a small bowl, combine the balsamic, olive oil, honey, mustard, rosemary, salt, pepper, and pepper flakes. Pour this mixture over the onion slices and close the bag or cover the dish. Marinate the onions in the refrigerator for at least 4 hours, or overnight; be sure to occasionally shake the onions around in the bag or stir them in the dish ensure that the marinade gets into all parts of the onions.
  2. Preheat the oven to 400°F. Lay the onion slices in a single layer on a baking sheet, then bake them until the onions are very tender and dark in color—about 55 to 60 minutes, removing them from the oven to lightly baste the tops with more of the vinegar mixture every 15 minutes.
  3. After removing them from the oven, drizzle each of the onions with about ¼ teaspoon of honey and sprinkle each with a pinch of salt.
: @NikkiDinki

: @NikkiDinkiCooking
Balsamic Roasted Onions_SMALL(2).jpg
 

Find more recipes like this in Meat on the Side!


You might also like these recipes:

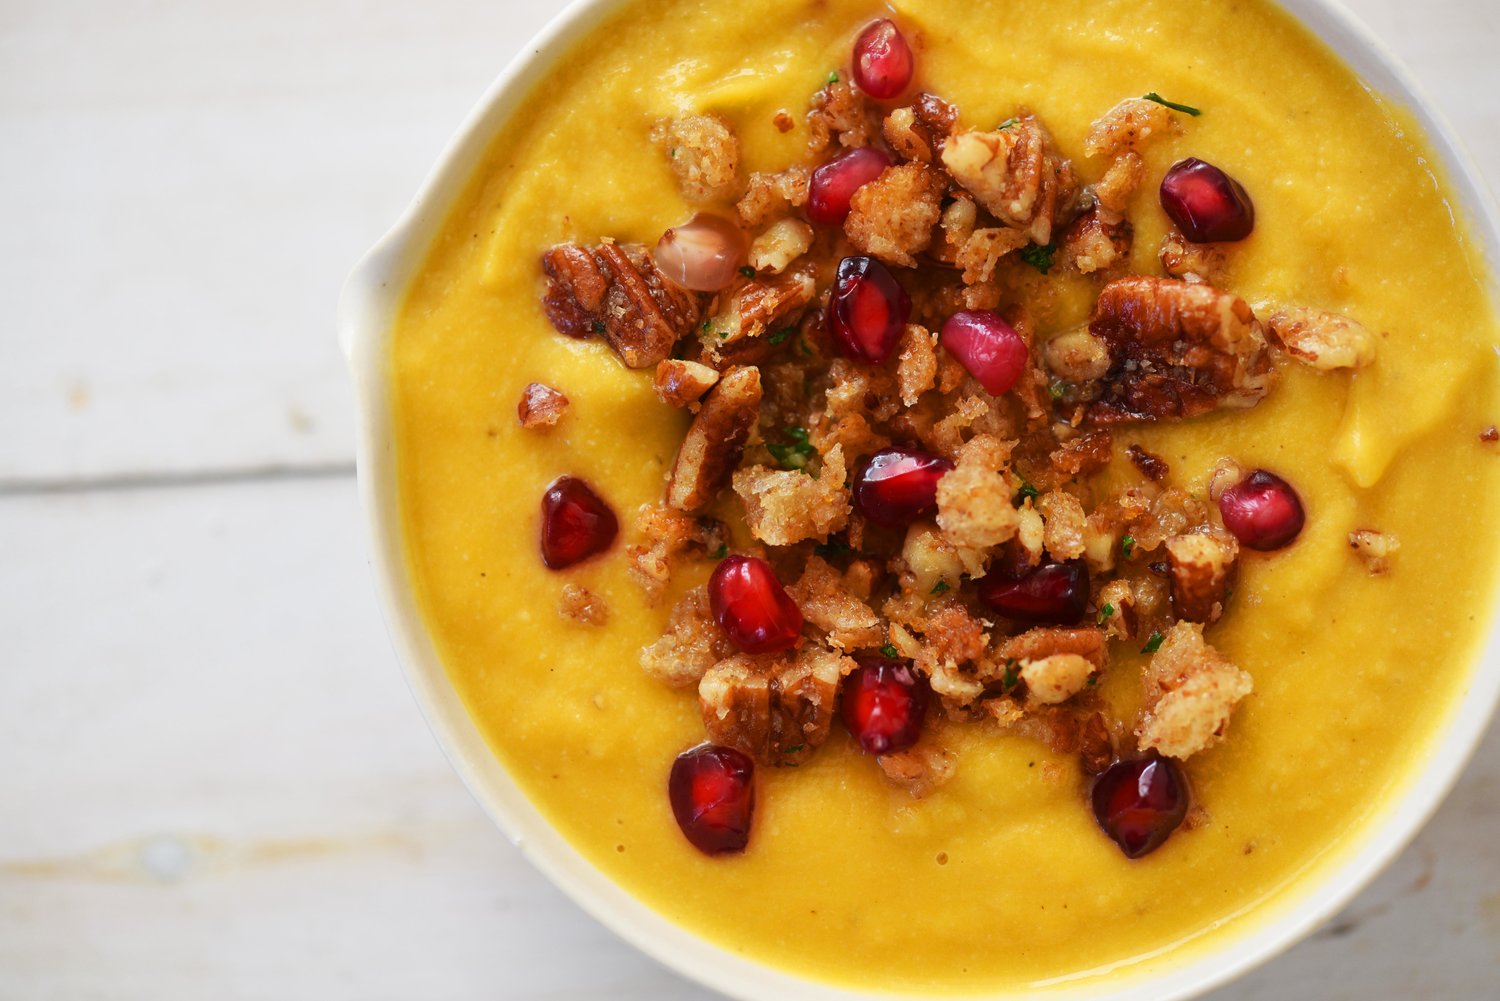
Creamy Roasted Butternut Squash Soup

When I knew I was bringing soups to The Wendy Williams Show, butternut squash soup was obviously at the top of the list.

Butternut Squash Soup medium(1).jpg

But knowing Wendy is vegan, I really had to rethink the classic recipe. 

Butternut Squash Soup 3.jpg

Without using chicken stock or cream—both of which can add so much flavor to soups!—I had to extract as much flavor as possible from my ingredients, while finding other ways to give the soup a creamy texture.

Butternut Squash Soup 1.jpg

I discovered roasting the squash was vital, as it really intensified the sweet taste of the squash.

And pairing the roasted squash with apple made it even better.

Butternut Squash Soup 2.jpg

A handful of cashews later, and my soup was even creamier and more velvety in texture than it would have been if I had added a cup of cream!

Butternut Squash Soup 5.jpg

In the end what I’ve really created is just a better soup—that also just happens to be vegan.

Creamy Roasted Butternut Squash Soup

servings: 6; makes about 16 cups of soup

Creamy Butternut Squash Soup:

  • 1 large butternut squash (3 pounds)
  • 4 tablespoons olive oil
  • 3 teaspoons kosher salt
  • ½ teaspoon ground black pepper
  • 1 yellow onion, finely diced
  • 3 gloves garlic, minced
  • 8 cups vegetable stock
  • 3 red apples (about 1 pound), peeled + coarsely chopped, some reserved for a garnish
  • 1 cup raw cashews
  • ¼ teaspoon ground ginger
  • ¼ teaspoon ground nutmeg

Topping:

  • 3 cups one-inch cubes sourdough bread (about 4 ounces)
  • 1 cup whole pecans (about 4 ounces)
  • 3 tablespoons extra virgin olive oil
  • 12 leaves fresh sage
  • 2 tablespoons loosely packed + finely chopped fresh parsley
  • ½ teaspoon kosher salt
  • 2 tablespoons pomegranate seeds

Creamy Butternut Squash Soup:

  1. Preheat the oven to 425°F. Peel the squash and cut it in half lengthwise. Use a soupspoon to scoop out the seeds and discard them. Cut the squash into ½-inch-thick slices and then into ½-inch chunks. Place them in a medium bowl and add 2 tablespoons of the oil, 1 teaspoon of the salt, and ¼ teaspoon of the pepper. Toss to coat; then spread on a rimmed baking sheet and bake until tender—about 50 minutes.
  2. Meanwhile, heat the remaining 2 tablespoons of olive oil in a large pot over medium-high heat. Add the onion and cook until it is tender and browned in spots—about 6 minutes. Add the garlic and cook for one minute more.
  3. Add the stock, apple, cashews, and 1 teaspoon of the salt to the pot and cook for 50 minutes. When the squash has finished cooking, remove it from the oven, add it to the pot with the stock, and cook the soup for 10-20 minutes more until the cashews are very soft.
  4. Transfer the soup to a blender and add the remaining 1 teaspoon of salt, the ginger, nutmeg, and the remaining ¼ teaspoon pepper. Blend until combined and then transfer the soup to serving bowls. Top with breadcrumbs, diced apple, and enjoy!

Topping:

  1. Preheat the oven to 400°F. Place the bread cubes on a (parchment-lined? No, nothing) baking sheet and cook them in the oven until they are dried out and toasty—about 5 minutes. Then transfer them to the bowl of a food processor and pulse until small bread crumbs form. Add the pecans and continue pulsing until the bread crumbs are fine and the pecan pieces are about the size of a pea.
  2. Meanwhile, in a medium skillet, heat the olive oil over medium-high heat. Once shimmering, add the sage leaves and fry them until they are crisp—about one minute. Then transfer them to a paper towel-lined plate to drain, reserving the oil in the skillet.
  3. Next, add the bread crumb mixture to the hot oil and toss until it is light brown and toasty—2-3 minutes. Remove the skillet from the heat and stir in the parsley and salt.
  4. Top the Creamy Butternut Squash Soup with the bread crumbs, fried sage, and pomegranate seeds.
: @NikkiDinki

: @NikkiDinkiCooking
Butternut Squash Soup 4.jpg
 

Find more recipes like this in Meat on the Side!


You might also like these recipes:

Mushroom Gravy

My “Meat On The Side” philosophy, at its simplest, is about eating less meat and more veggies.

But if you want to get a little more complex, it's also about infusing vegetables into your meals--not just to make those meals more nutritious, but to elevate those dishes--to make them better.

For this mushroom gravy, I’m creating a super-rich, bold mushroom stock that will heighten your traditional turkey pan gravy to a gravy that tastes like it was made by a master chef!

And if you'd like to make a vegan version--which will still taste better than almost any gravy you've ever tasted--you can thicken it up without adding the turkey drippings.

Oh, and yes, you heard me right…VEGAN!

Your vegan or vegetarian guests will love this seemingly magic gravy they can pour over everything!

And you can still make a separate version with your pan drippings for the rest of the group.

Just sauté up some Portobello mushrooms with browned onions, garlic, thyme and, rosemary.

Add some rehydrated dried porcini mushrooms…

...Strain…

...And thicken with an oil and flour roux (vegan version), or add some flour to your turkey pan to create a traditional turkey dripping roux.

Then the only thing left to do is to prepare yourself (and your guests!) to lick this gravy straight off the plate!

Mushroom Gravy

servings: 2 1/2 cups gravy

Ingredients:

  • ½ cup dried wild porcini mushrooms (0.7 ounce package)
  • 3 tablespoons olive oil
  • 1 medium Vidalia onion, finely diced
  • 1 teaspoon kosher salt
  • ¼ teaspoon ground black pepper
  • One 8-ounce package sliced Portobello mushrooms
  • 4 cloves garlic, minced
  • 1 teaspoon chopped fresh thyme leaves
  • ½ teaspoon chopped fresh rosemary leaves
  • ¼ cup sherry vinegar
  • 1 cup vegetable, turkey or chicken stock
  • 2 tablespoons all-purpose flour

Directions:

  1. Place the porcini mushrooms in a small bowl and cover them with 2 cups of boiling water. Set them aside and allow them to soak for 15 minutes.
  2. Meanwhile, heat 1 tablespoon of the olive oil in a large skillet over medium-high heat. Add the onion, salt, and pepper and cook until the onion browns (you want some color on them)—about 6 minutes. Then add the Portobello mushrooms and continue cooking the veggies until the mushrooms are very brown—about 6 minutes. Next, add the garlic, thyme, and rosemary and cook for 1 minute more.
  3. Pour in the sherry and then scrape the bottom of the skillet vigorously with a wooden spoon or spatula to loosen any brown bits so that they are incorporated into the mixture in the skillet. Cook until most of the liquid has evaporated—about 2 minutes.
  4. Next, add the vegetable stock along with the mushrooms and liquid from Step 1, being careful not to pour all the mushroom broth liquid into the skillet as there will be sediment at the very bottom of the bowl that you will not want to use. Cook until slightly reduced—about 4 minutes.
  5. Strain everything and then set the vegetables to the side (save them for another use or simply serve them as a side dish). Be sure to push on the mushrooms as you are straining in order to remove as much liquid from them as possible.
  6. Add the remaining 2 tablespoons of oil and the flour to a large pan over medium heat and whisk to combine, then allow to cook for 1 minute. Add the mushroom broth, whisking as you go, and cook until thickened—about 5 minutes. OR (for the non-vegan version), add the mushroom broth to your turkey pan once you remove the turkey. Scrape the bottom of the pan with a wooden spoon to loosen up any brown bits, allowing them to become part of the broth. Then pour the broth and brown bits into a liquid measuring cup (or glass bowl) and let it sit until the fat separates from the broth (placing the measuring cup in the refrigerator will speed up this process). Once separated, remove 2 tablespoons of the fat from the top of the measuring cup and add it back to your turkey pan over medium heat, along with the flour (you can discard any additional remaining fat in the measuring cup, but be sure to reserve the broth). Whisk the flour and fat mixture to combine and allow it to cook for 1 minute. Then whisk in the mushroom broth from the measuring cup and cook until thickened—about 5 minutes. *Read the “Keep It Simple” note for ideas about how to make this for a large group.

Notes:

  • Keep It Simple - This is a very rich gravy that you can stretch for a large group—especially if you are combining it with turkey drippings and/or using a turkey or chicken stock instead of veggie stock.
  • Also, for each additional cup of stock you use in this recipe, you will also need to use an additional 1 tablespoon of flour and 1 tablespoon of drippings/oil. For example, if you use 2 cups of stock instead of the 1 the recipe calls for, you will also need to increase the flour to 3 tablespoons and the drippings or oil to 3 tablespoons. Keep extra stock or water on hand to thin if necessary.
  • Find more information on mushrooms at thrivecuisine.com.
: @NikkiDinki

: @NikkiDinkiCooking
 

Find more recipes like this in Meat on the Side!


You might also like these recipes: