Banana Crêpes

Banana Crapes BIG.jpg

Some recipes are too good to be true…

And this is one of them.

Banana Crepes 1.jpg

I’m about to tell you that you can take a banana and an egg and make some of the best crêpes (or pancakes!) ever!

Banana Crepes 2.jpg

But seriously, it’s just a banana and an egg—THAT’S IT.

Okay, yes, there is some salt and vanilla, but those don’t technically count.

Banana Crepes 3.jpg

You blend them, you pour the batter out, and voila!

You end up with light, moist crêpes that can be eaten any way you like.

Banana Crepes 4.jpg

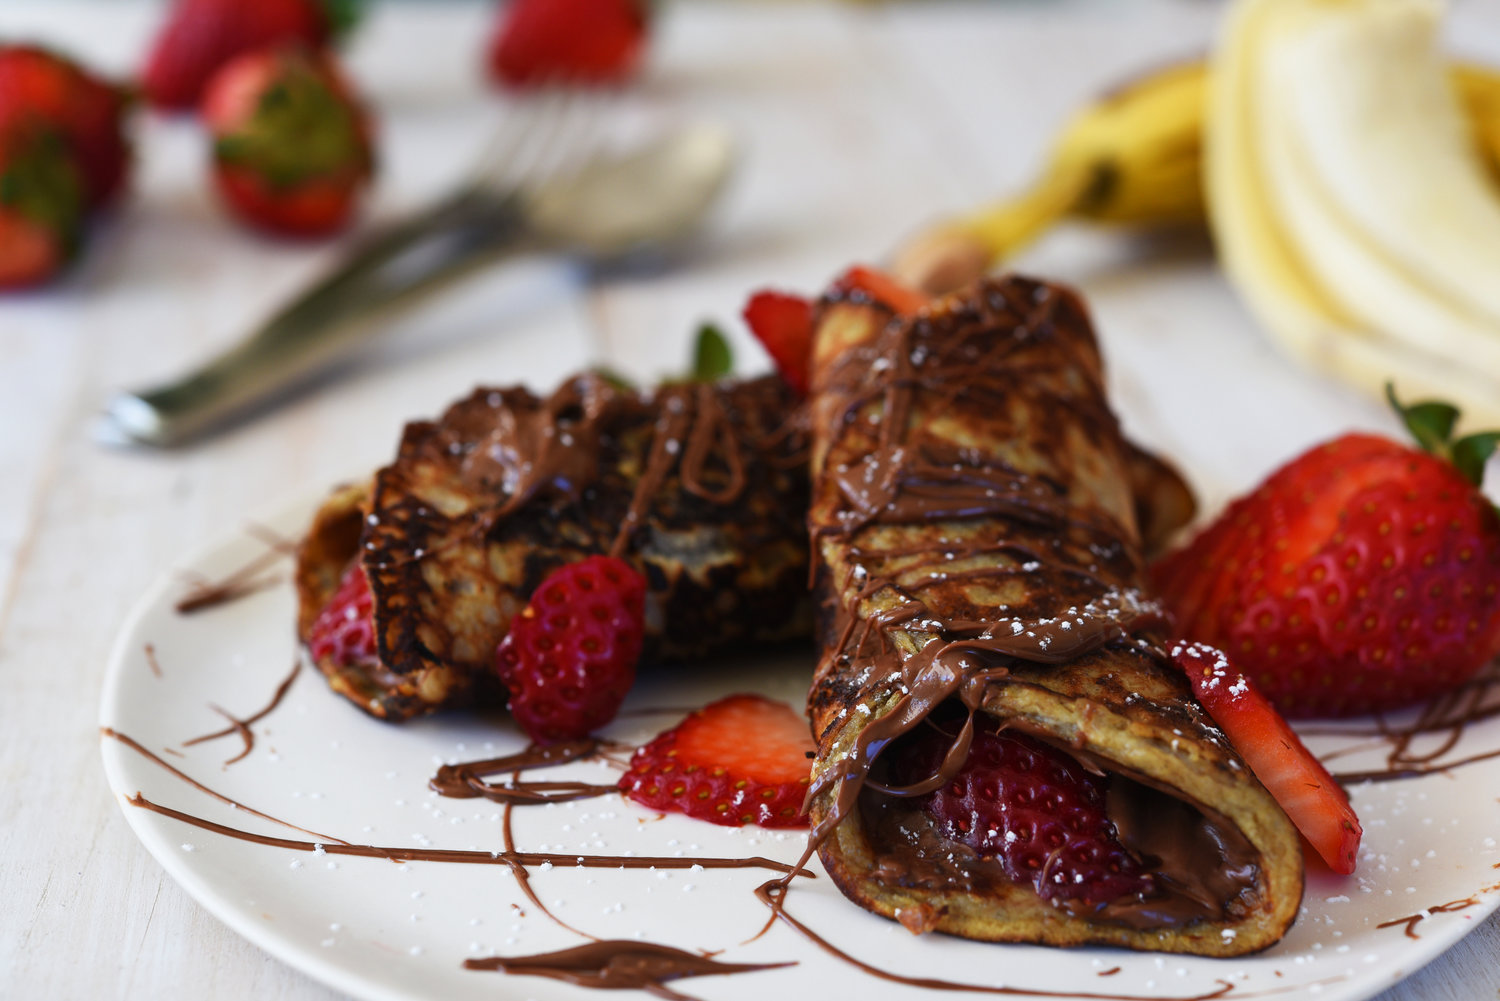
I like mine with Nutella and strawberries, because, well, that tastes amazing.

But in your kitchen, the crêpe-topping rules are up to you!

Banana Crepes 5.jpg

So try them!

There is literally no chance you will be disappointed.

And in the highly improbable case that you are, send those leftovers my way!

Banana Crepes 6.jpg

Banana Crêpes

servings: six 5-inch crêpes
Ingredients:

  • 3 large ripe bananas
  • 3 large eggs
  • 1 teaspoon vanilla extract
  • ¼ teaspoon kosher salt
  • 2 tablespoons unsalted butter
  • ½ cup Nutella Hazelnut Spread, plus more for a garnish
  • 6 strawberries, thinly sliced
  • Powdered sugar, for a garnish

Directions:

  1. To the bowl of a blender, add the bananas, eggs, vanilla extract, and salt. Blend these ingredients until they are smooth, then set them aside.
  2. Heat 1 teaspoon of the butter in a large cast iron or nonstick skillet over medium-low heat. Then make the crêpes one at a time by adding about ⅓ cup of the banana batter to the skillet, cooking each until its bottom is a deep golden brown—about 3 to 4 minutes. Then flip the crêpe over and cook it until the other side is also a deep golden brown—1 to 2 minutes more. Repeat this process with the remaining batter, wiping out the skillet and adding 1 teaspoon of butter between each crêpe.
  3. To serve, spread about 1 tablespoon of the Nutella over each crêpe. Then place a line of sliced strawberries slightly off center in each crêpe and roll them up, starting from the side closest to the strawberries. Drizzle the finished crêpes with more Nutella, then sprinkle with powdered sugar.
: @NikkiDinki

: @NikkiDinkiCooking
Banana Crepes 7.jpg
 

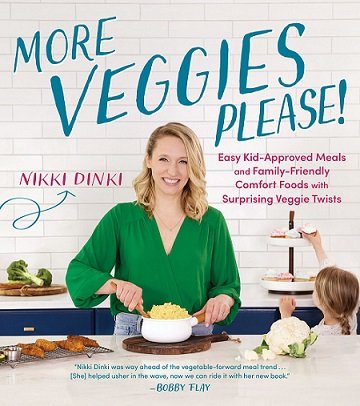
Find more recipes like this in MORE VEGGIES PLEASE!


You might also like these recipes:

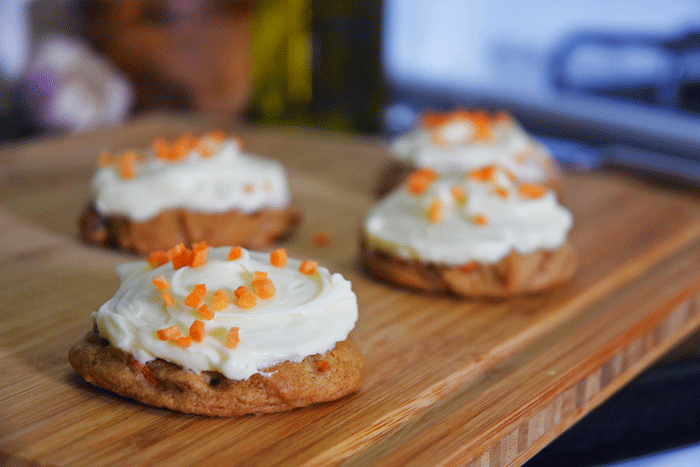
Carrot Cake Cookies with Cream Cheese Frosting


Easter is always a fun holiday--it’s relaxed, the weather always seems nice, and most importantly there is carrot cake!


The fact that I’m such a carrot cake fan is a little odd considering carrots are not one of my favorite veggies.


Read More

Acorn Squash Bread

Acorn-Squash-Bread--10.gif

Banana bread.

Zucchini bread.

Pumpkin bread.

All delicious, easy-to-make, moist and flavorful breads, thanks to the fruits and veggies they incorporate.

So let’s keep the Veggie Bread Train in business!

It's time to talk about Acorn Squash Bread!

Acorn-Squash-Bread--3.gif

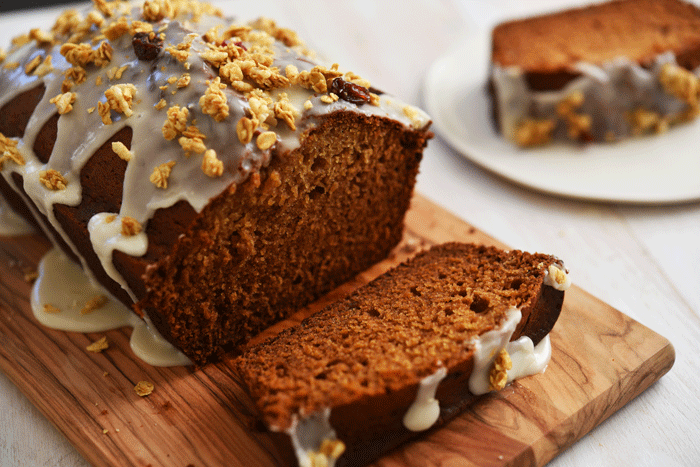
Prepared similarly to pumpkin bread, acorn squash bread uses the delicacy and sweetness of squash—along with spices like cinnamon and nutmeg—to make for a savory, but slightly sugary bread.

Acorn-Squash-Bread--4.gif

This bread is perfect for your Christmas Day table or as a cozy treat for Christmas morning when you're sitting around the tree drinking coffee and opening presents.

Acorn-Squash-Bread--5.gif

Just bake halves of acorns squash, scoop out the sweet flesh, mix with some pantry staples, and you’ve got an extremely addictive quick bread!

Acorn-Squash-Bread--6.gif

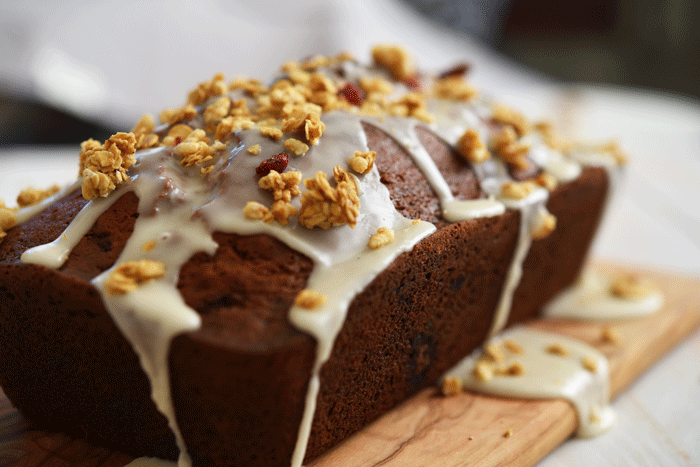
And to take it one step further, I drizzle mine with a little cider vanilla glaze—yummm.

Acorn-Squash-Bread--7.gif

Then sprinkle it with some granola for a sticky sweet and delightfully crunchy topping, and you've got a recipe your family won't stop asking you for!

Acorn Squash Bread

servings: 1 9 X 5-inch pan of bread (about 8 slices)

Ingredients:

  • 1 small acorn squash (about 1 pound)
  • 2 tablespoons olive oil
  • 1 teaspoon kosher salt
  • 1⅔ cup all-purpose flour
  • 1 teaspoon ground cinnamon
  • 1 teaspoon baking soda
  • ½ teaspoon baking powder
  • ¼ teaspoon ground nutmeg
  • ¼ teaspoon ground cloves
  • ¾ cup light brown sugar
  • ½ cup canola oil
  • ⅓ cup granulated sugar
  • ⅓ cup + 1 tablespoon cider
  • 2 large eggs
  • 1 teaspoon vanilla extract
  • 1 cup confectioner’s sugar
  • ⅓ cup granola

Directions:

  1. Preheat the oven to 425°F. Cut the squash in half lengthwise. Use a soupspoon to scoop out the seeds and discard them. Arrange the squash cut-side-up on a rimmed baking sheet and rub its flesh with the olive oil and ½ teaspoon of the salt. Bake the squash until the flesh is fork tender—about 45 minutes.
  2. Scoop out the flesh of the squash, add it to the bowl of a food processor, and puree until smooth (this should give you about 1 cup of puree). Then reduce the oven temperature to 350°F and grease a 9 X 5-inch bread loaf pan.
  3. In a large bowl, whisk together the flour, cinnamon, baking soda, baking powder, nutmeg, and cloves. In a second large bowl, whisk together the squash puree, light brown sugar, canola oil, granulated sugar, ⅓ cup of the cider, eggs, vanilla, and remaining ½ teaspoon of salt.
  4. Fold the wet mixture into the dry mixture until just combined. Then pour the batter into the loaf pan and bake until the edges of the bread are brown and a toothpick inserted into its center comes out clean—about 60-65 minutes. Let the bread cool in the pan for 15 minutes, then remove it from the pan and cool completely.
  5. Next, whisk together the confectioner’s sugar and the remaining 1 tablespoon of cider until a smooth glaze forms. Drizzle over the cooled bread, sprinkle with granola, and serve.

Notes:

  • To make muffins: Lower the oven temperature to 350 F after the squash is roasted. Make the batter and glaze as directed above. Divide the batter into 9 cups of a lined or greased muffin tin and bake until the edges are brown and a toothpick inserted in the center comes out clean, about 18-20 minutes. Let cool in the pan for 15 minutes, then remove muffins from the pan to cool completely. Drizzle cooled muffins with glaze, sprinkle with granola, and serve.
: @NikkiDinki

: @NikkiDinkiCooking
Acorn-Squash-Bread--9.gif
 

Find more recipes like this in Meat on the Side!


You might also like these recipes:

Cheesecake Parfaits

Cheesecake Parfait

Cheesecake Parfaits

servings: 6 to 8

Ingredients:

  • 1 pound cream cheese
  • 1 cup powdered sugar
  • 1 teaspoon lemon juice
  • 1 teaspoon vanilla extract
  • 1 cup sour cream or Greek yogurt
  • ¾ cup heavy cream
  • 1 teaspoon kosher salt
  • Assorted toppings such as fruit, preserves + cookies

Directions:

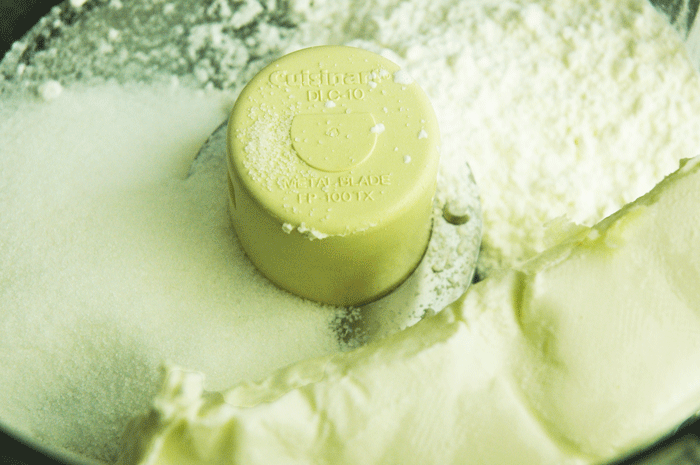
  1. In a stand mixer fitted with a paddle attachment, beat the cream cheese on medium speed until it is softened. Then add the powdered sugar and beat the mixture until it is smooth, scraping down the bowl to ensure there are no lumps.
  2. Add the lemon juice, vanilla extract, sour cream, heavy cream, and salt. Beat these ingredients until the mixture is very thick, about 5 minutes.
  3. Spoon the mixture into desired glasses, layering with toppings. Refrigerate the parfait until you are ready to serve it.
: @NikkiDinki

: @NikkiDinkiCooking

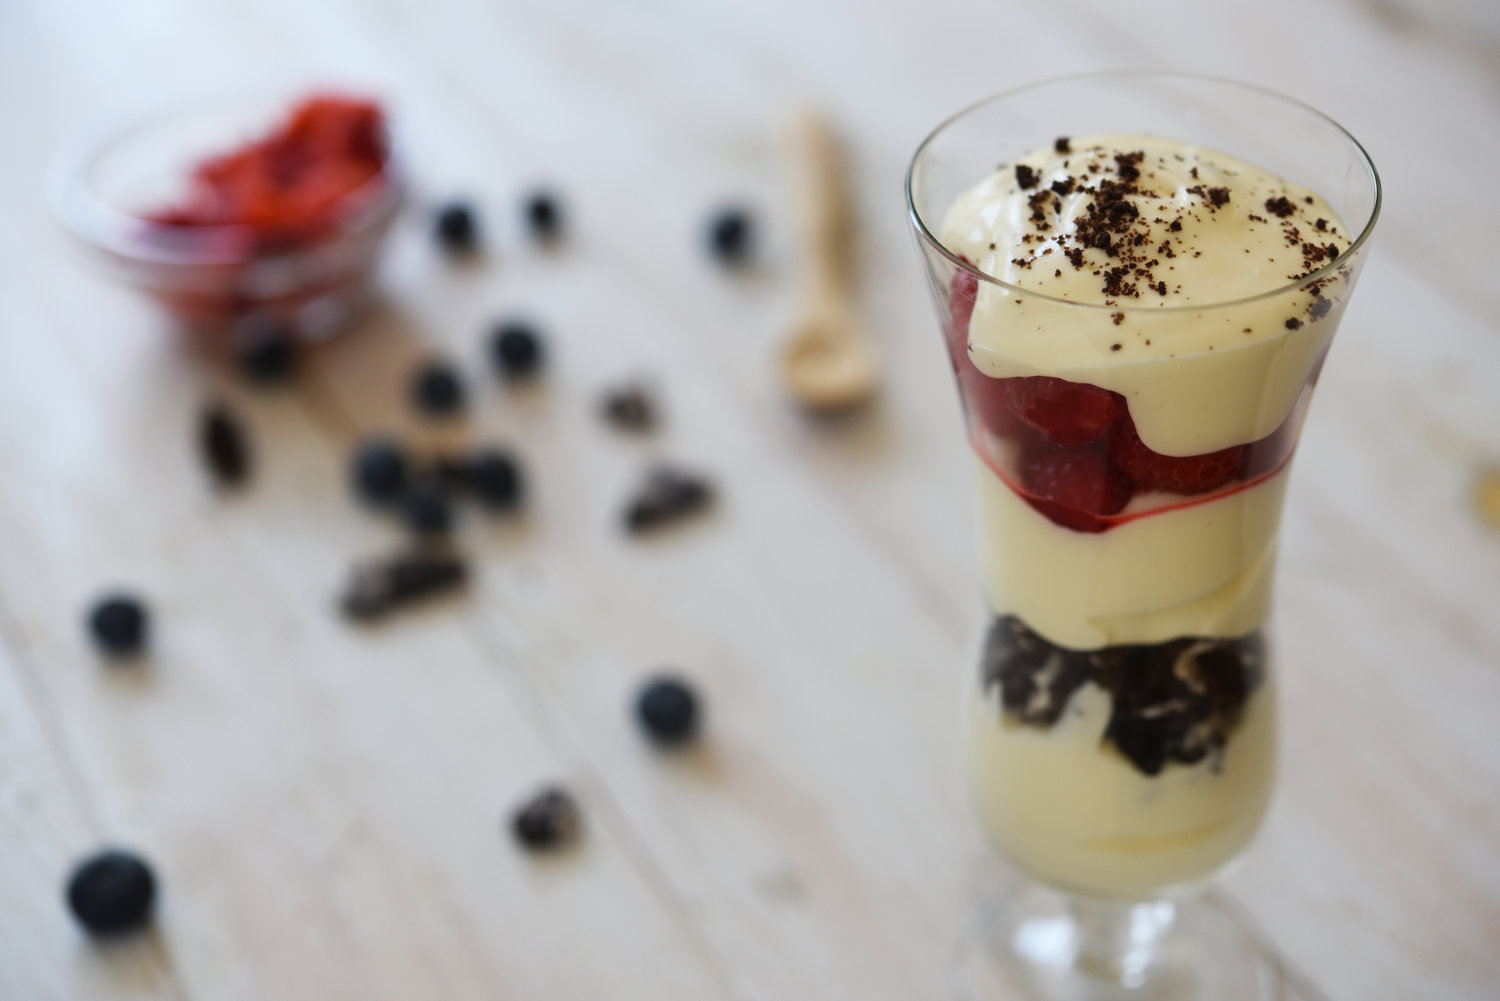
Remember that time my friend, Zac Young, and I made cheesecake parfaits?

Still SO my fave!

I mean, blueberries are like “fruit caviar!”

Zac Young and Nikki Dinki
 

Find more recipes like this in Meat on the Side!


YOU MIGHT ALSO LIKE THESE RECIPES:

Banana Carrot Spinach Oat Muffins

Banana Carrot Spinach Oat Muffins_SMALL.jpg

Stop.

Do not look at this muffin and say, "EW! It's green!"

Instead, I want you to close your eyes and imagine that you're eating a mini banana bread muffin.

Banana Carrot Spinach Oat Muffins 1.jpg

Now open your eyes.

This is when you discover that this same weird green muffin tastes just like banana bread.

Banana Carrot Spinach Oat Muffins 2.jpg

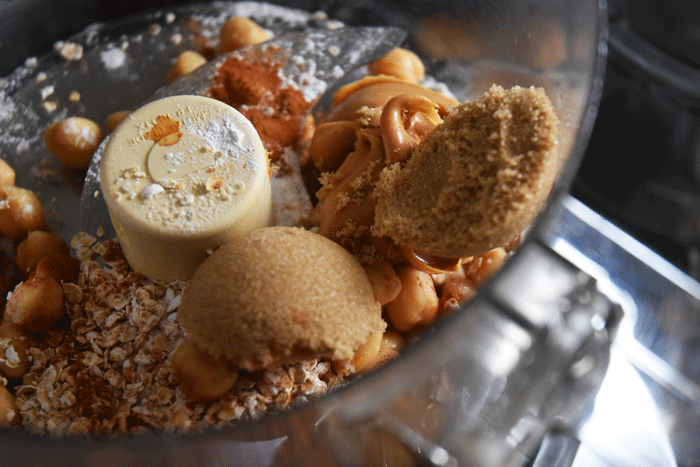
But instead of using banana bread ingredients, I’m using a bag of spinach, some carrots, oats, bananas, and a touch of maple syrup to create a muffin that packs some serious nutritional punch.

Banana Carrot Spinach Oat Muffins 3.jpg

And it's as simple as throwing everything in your food processor, blending it up, and baking.

Banana Carrot Spinach Oat Muffins 4.jpg

I’m telling you, every time I eat one, I have to remind myself that they're good for me.

Banana Carrot Spinach Oat Muffins 5.jpg

And if you’re on board, maybe your kids will be too.

And if you have a little one like mine, they might not yet realize that most kids think a green muffin is a scary thing. 

Banana Carrot Spinach Oat Muffins 7.jpg

Banana Carrot Spinach Oat Muffins

servings: 36 mini muffins

Ingredients:

  • 10 ounces frozen spinach, thawed + squeezed dry (about 1 cup after squeezed)
  • 2½ cups rolled oats, more for a garnish
  • 3 medium ripe bananas, sliced
  • 2 cups grated carrots (about 6 ounces)
  • ¼ cup maple syrup
  • 2 large eggs
  • 2 teaspoons baking powder
  • 1½ teaspoons ground cinnamon
  • 1 teaspoon vanilla extract
  • ½ teaspoon kosher salt

Directions:

  1. Preheat the oven to 350°F. Add the spinach to a blender or food processor and pulse until it is finely chopped and almost pureed.
  2. Add the oats, bananas, carrots, maple syrup, eggs, baking powder, cinnamon, vanilla, and salt to the spinach, then pulse until all ingredients are well-combined and the mixture is almost pureed, but not quite smooth. You may have to stop and stir the mixture a bit to make sure it doesn’t contain any large chunks.
  3. Scoop the batter evenly into 36 cups of a mini muffin tin prepared with cooking spray, then top each muffin with a light sprinkle of the reserved oats.
  4. Bake the muffins until a knife inserted into the center of one of the muffins comes out clean and dry —24 to 28 minutes.
: @NikkiDinki

: @NikkiDinkiCooking
Banana Carrot Spinach Oat Muffins 8.jpg
 

Find more recipes like this in Meat on the Side!


You might also like these recipes:

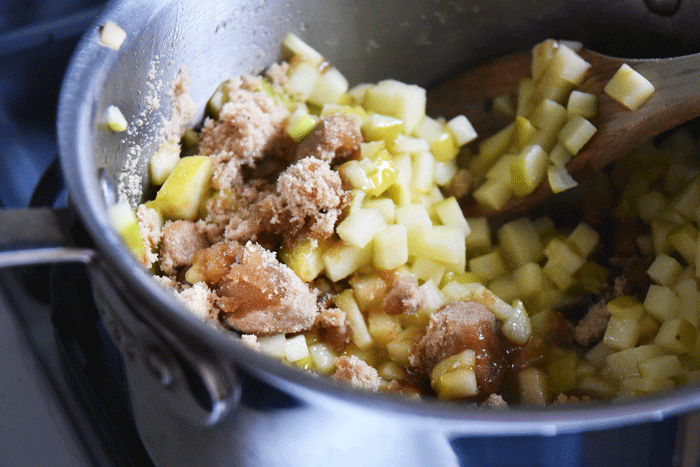
Caramel Apple Tarte Tatin


I’m a big fan of desserts with apples--if I’m at a restaurant and it has some sort of apple-licious dessert on the menu, you can put good money on the fact that it will soon be in my belly.


With winter in full swing, there have been a plethora of apple pie-inspired desserts at all my local spots and that means I have definitely been having my doctor-recommended apple-a-day.


Read More

No-Bake Granola Bars

No-Bake Granola Bars_SMALL(1).jpg

It's back-to-school time!

For a lot of families that means struggling to find time to make food that is healthy but also something your kids WILL eat.

This week, my goal is to bring you some nutritious recipes (well, maybe with the exception of one 😉) that both kids and adults will enjoy.

No-Bake Granola Bars 2(1).jpg

I love a good granola bar, so I thought that might be the perfect thing to kick off the weeksimple to make and great for school lunches or after school snacks.

A while back I started testing recipes in search of a great one I could make and keep on hand...

No-Bake Granola Bars 3(1).jpg

I tried baked ones, different combos of ingredients, and in the end found this relatively simple one the best by far.

No-Bake Granola Bars 4(1).jpg

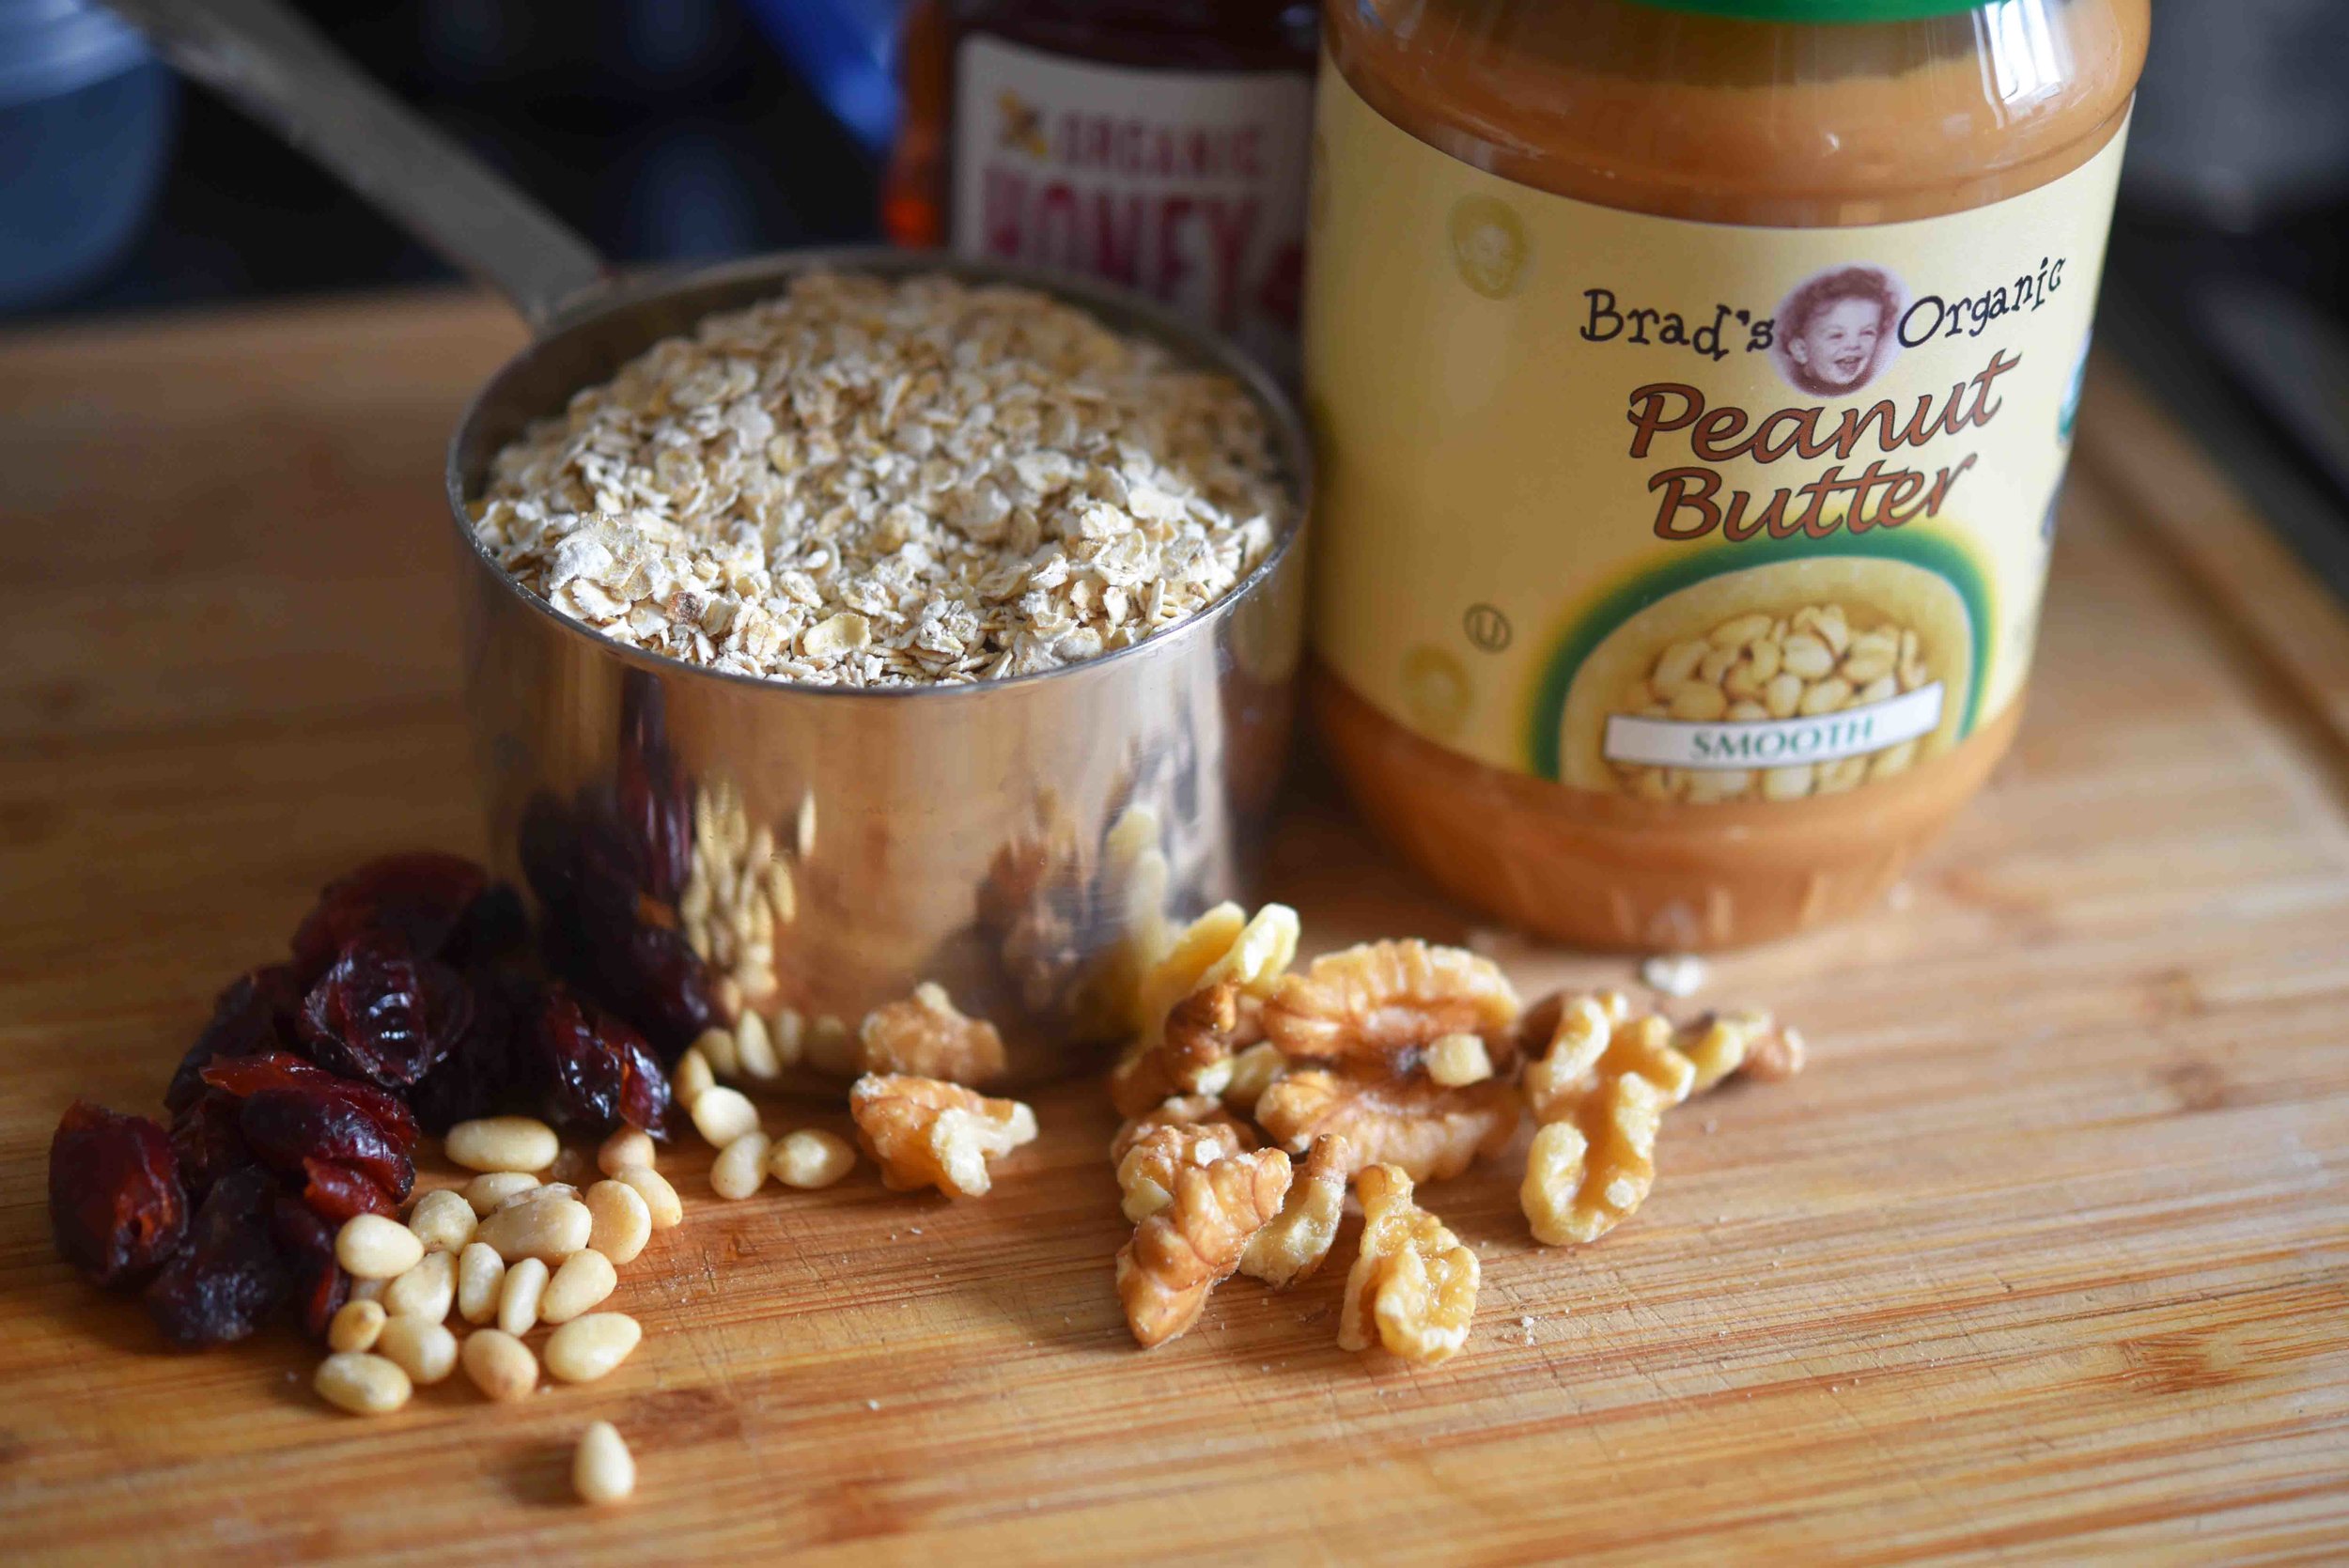
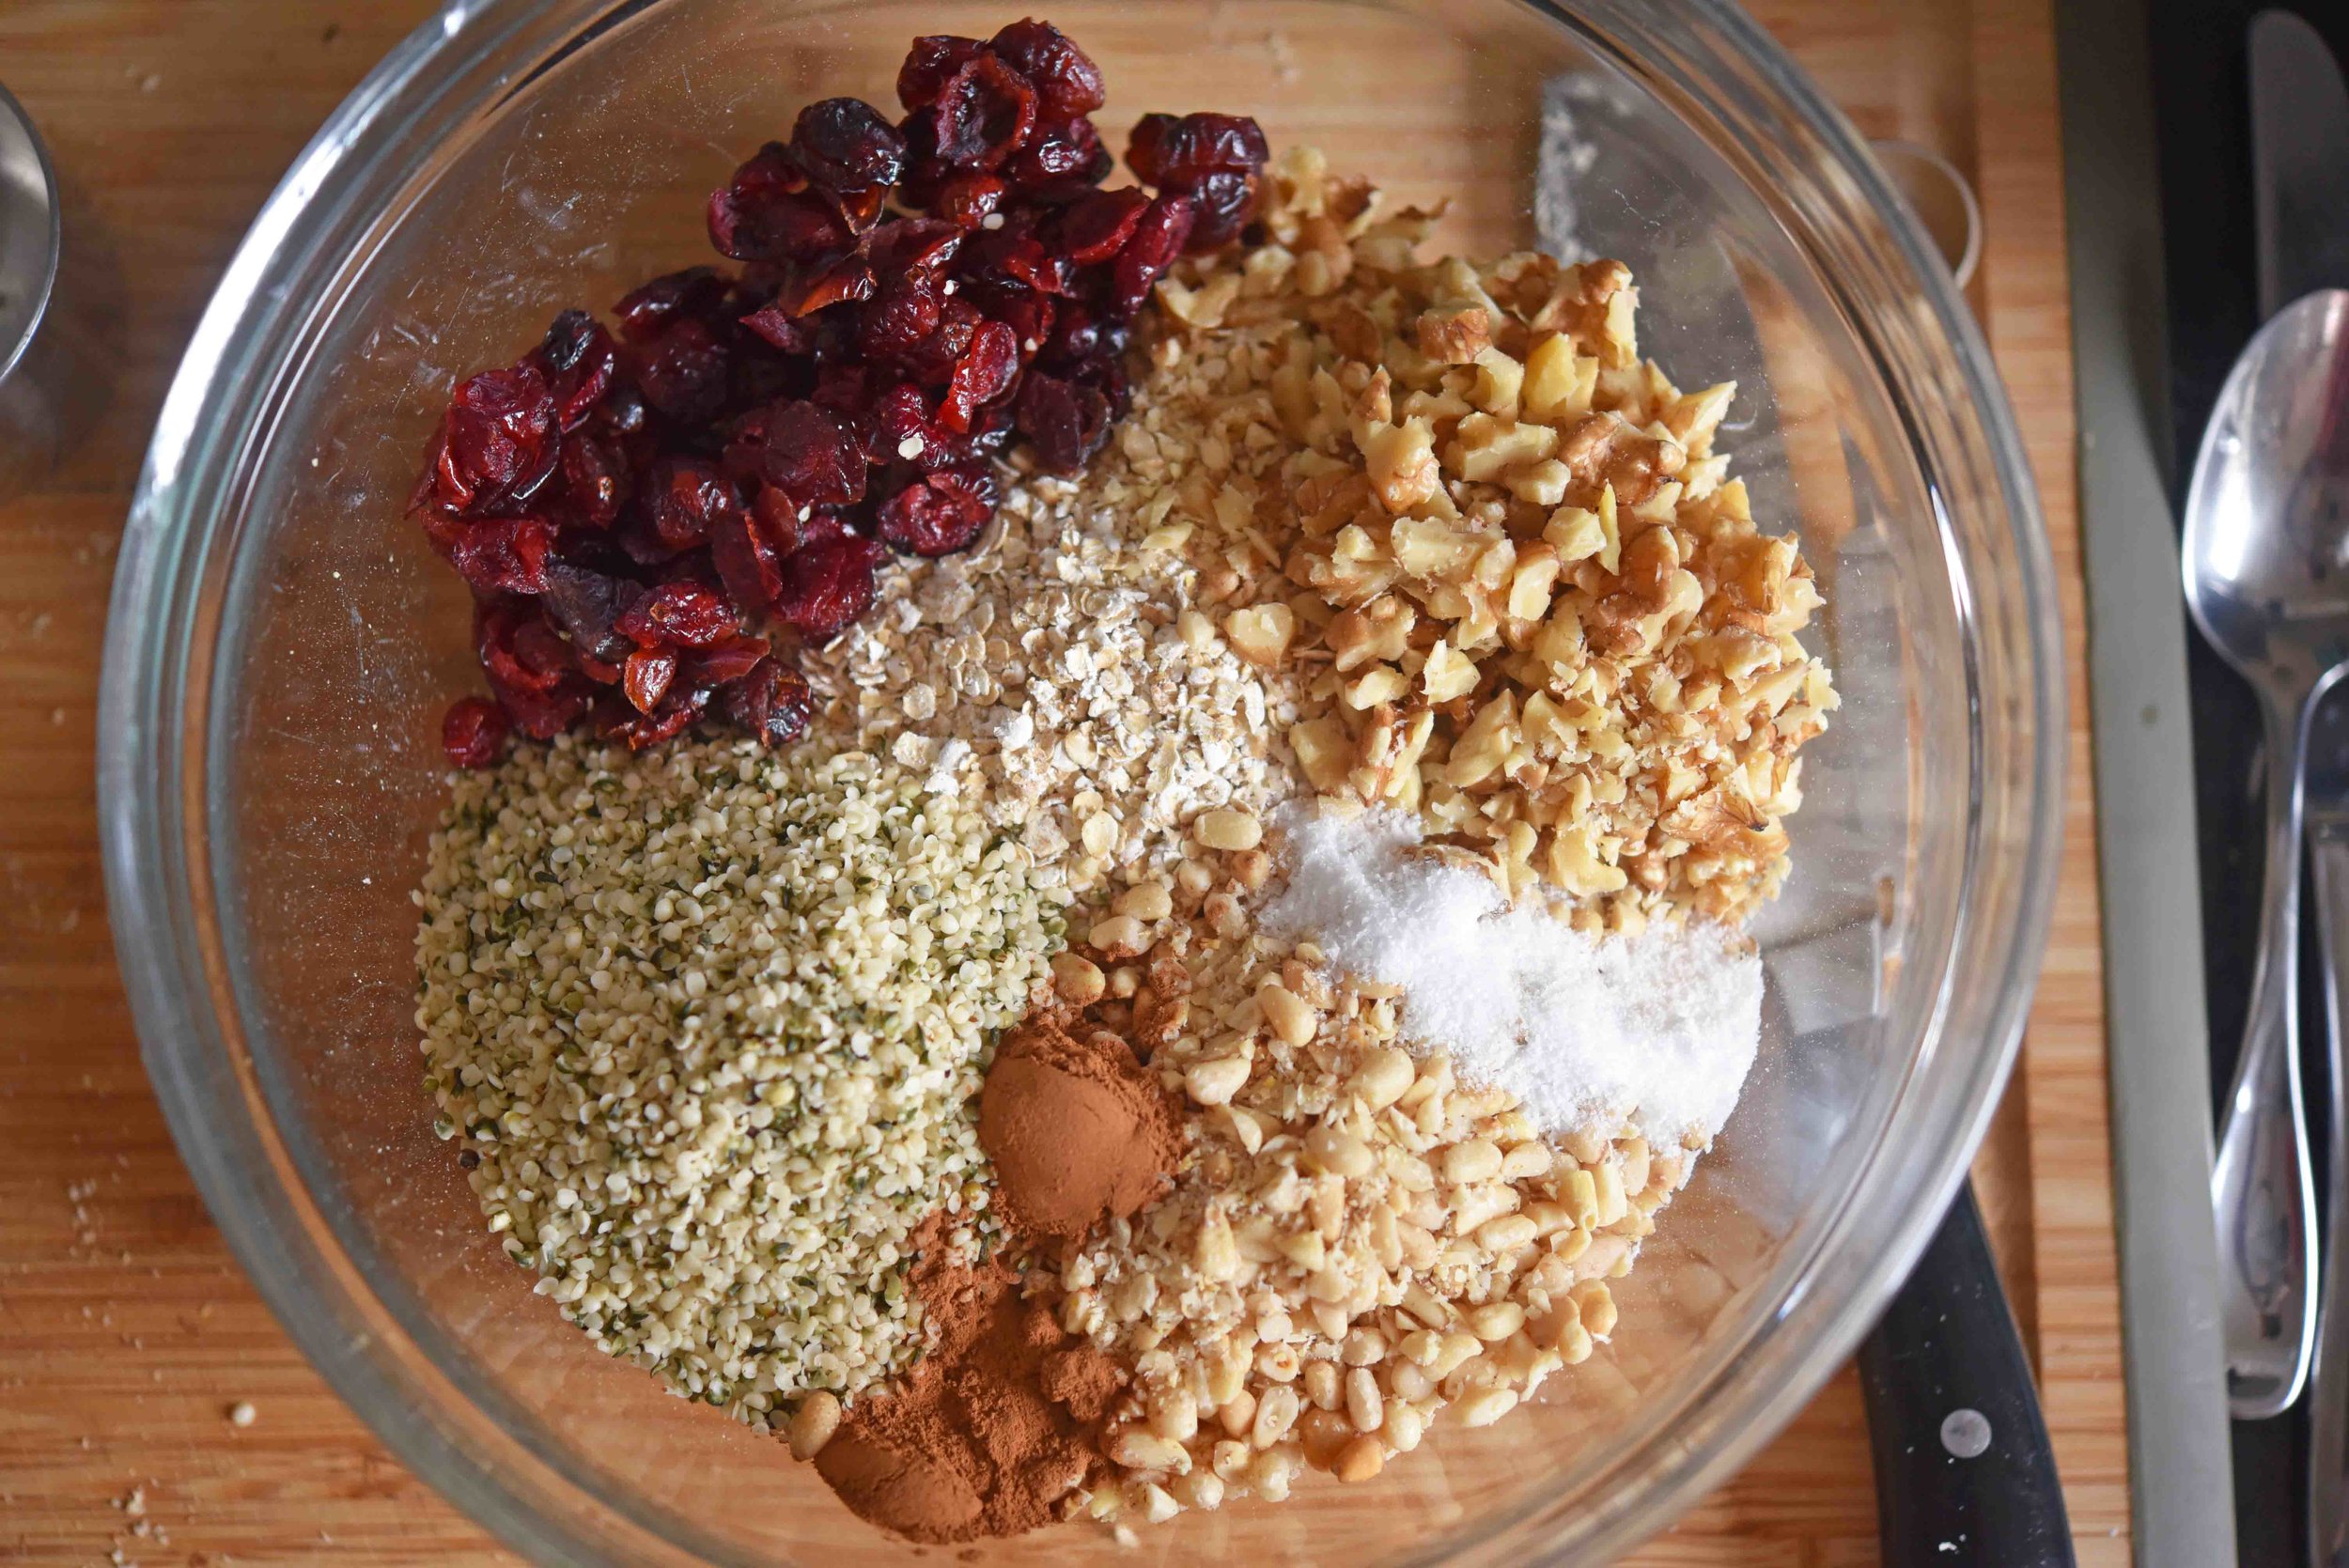
I’m using two kinds of nuts, some hemp seeds, oats, cranberries, and a little cinnamon.

Then I'm folding in peanut butter and honey to make a chewy bar that has some texture, but is still soft enough for my toddler.

No-Bake Granola Bars 5(1).jpg

It’s kind of amazing what mixing just a couple of ingredients can do...

And with NO BAKING!

No-Bake Granola Bars 7(1).jpg

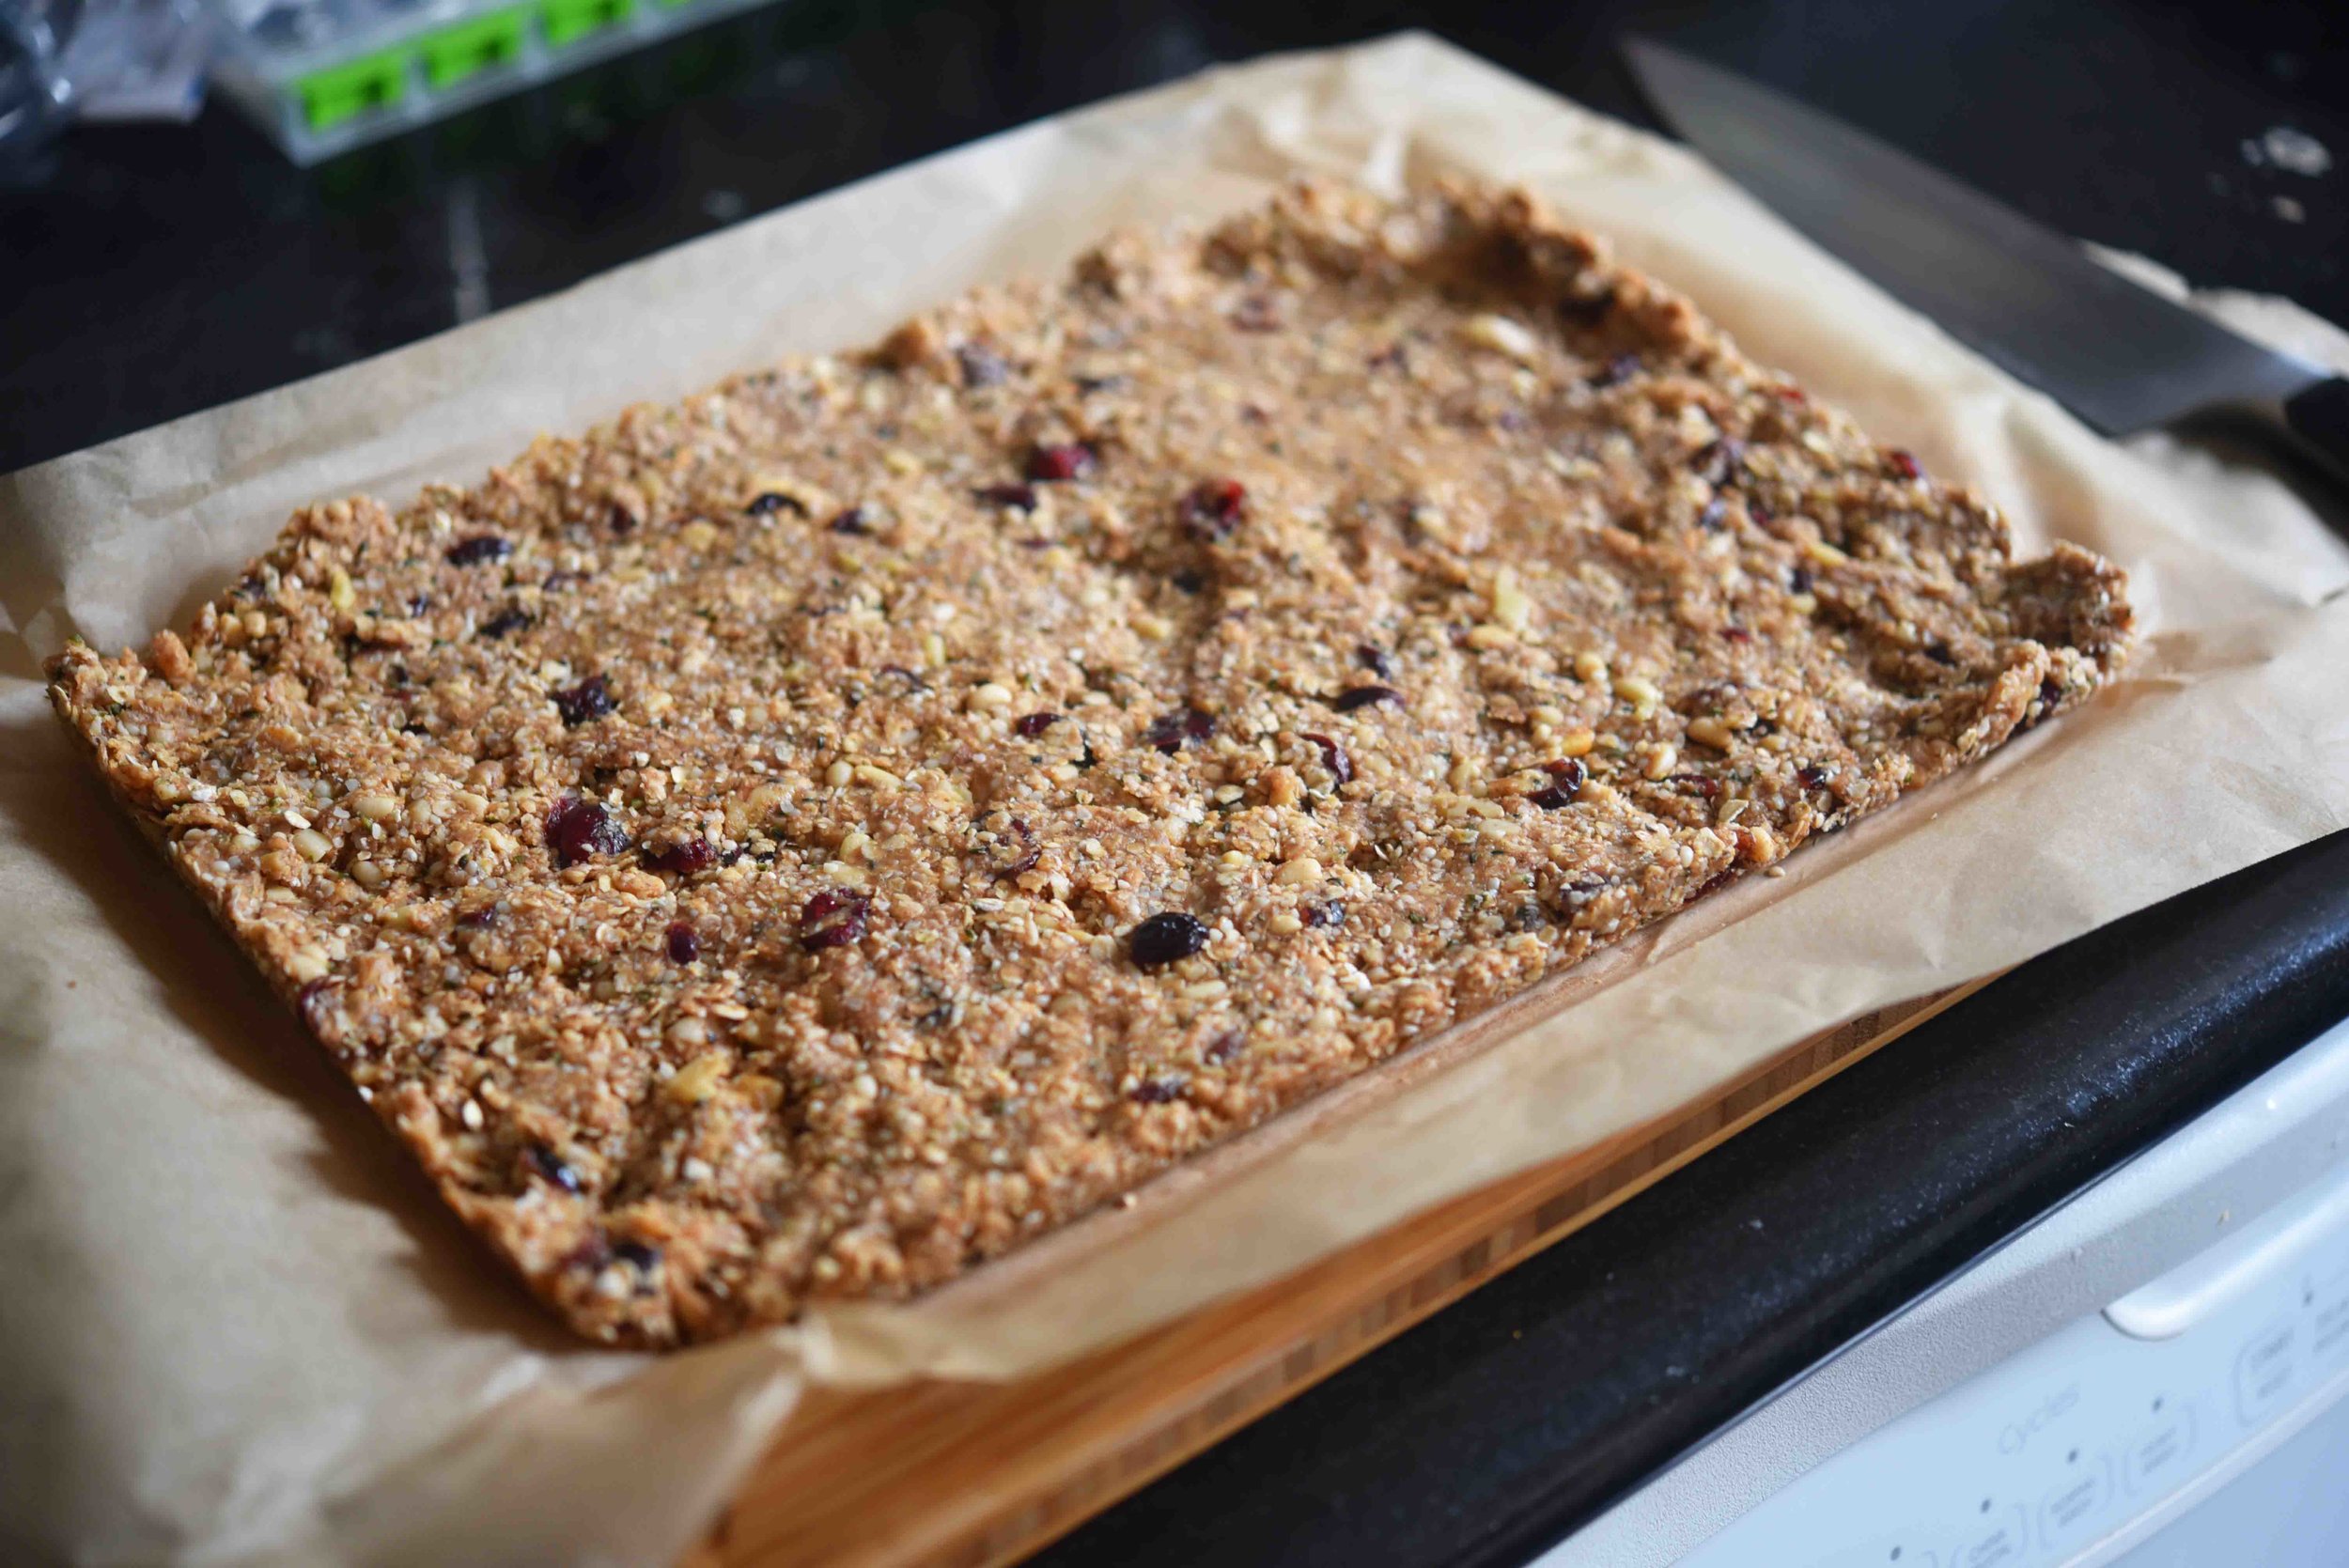
I made mine in a 9 by 13-inch pan (you press the granola bar mixture into a dish to form them into bars), but after eating a pan's-worth this week, I would say that you might want to try them in something a little smaller. That will allow them to be so thicker and hold together even better.

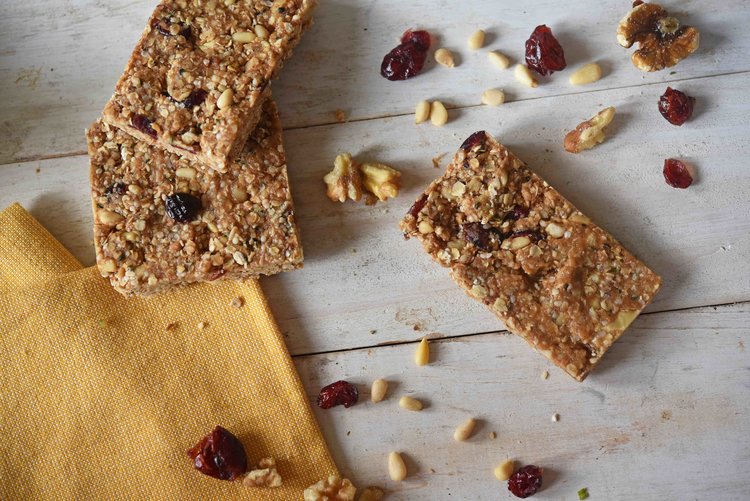
Really though, no matter what shape you make, they will be your family's new favorite snack!

No-Bake Granola Bars 8(1).jpg

No-Bake Granola Bars

makes: 16 bars

Ingredients:

  • 2 cups instant oats
  • ½ cup finely chopped pine nuts
  • ½ cup finely chopped walnuts
  • ½ cup hemp hearts
  • ½ cup dried cranberries
  • 1 teaspoon ground cinnamon
  • ¼ teaspoon kosher salt
  • ¾ cup honey
  • ⅓ cup smooth peanut butter

Directions:

  1. Line a baking dish, no bigger than 11 by 17 inches or 8 by 8 inches, with parchment paper, leaving the paper hang out about 2 to 3 inches over two of the sides (which will allow you to easily lift the finished granola bars from the dish); spray the parchment paper with cooking spray.
  2. In a large bowl, combine the oats, pine nuts, walnuts, hemp hearts, cranberries, cinnamon, and salt, then set aside.
  3. Add the honey and peanut butter to a small saucepan and cook them over medium heat until they are fully combined and just beginning to bubble—about 3 to 5 minutes.
  4. Pour the honey mixture over the oat mixture and stir to coat the dry ingredients evenly and fully.
  5. Firmly press the oat mixture evenly into the pan to ensure the granola bars stay together well; spraying your hands with cooking spray is helpful to prevent the mixture from sticking to them. Chill for at least two hours before cutting.
  6. Remove the granola bars from the pan using the edges of the parchment paper. Cut them into your desired size and enjoy! To store, place in an airtight container in the refrigerator.
: @NikkiDinki

: @NikkiDinkiCooking
No-Bake Granola Bars 9(1).jpg
 

Find more recipes like this in Meat on the Side!


You might also like these recipes:

Gingersnap Cookies with White Chocolate

My sister, Gina, is an incredible baker.

She makes desserts that are the epitome of #craveworthy.

They always satisfy that inner child in you who craves something rich, moist, and slightly over-the-top.

For Christmas she makes loads of cookies, packs them in her suitcase, and flies them to Buffalo where we all converge to celebrate the holiday season.

And when she arrives, she kicks me out of the kitchen and does her best to cover every inch of it in flour--making even more cookies and treats.

Gina is the Yin to my Yang, always taking on the desserts and leaving me to what I really do best.

Together, our foods are perfect complements, and so come Christmas it’s a bit of a Sweet vs. Savory Showdown.

And at the end of this fight, everyone is a winner.

Gingersnap Cookies with White Chocolate

servings: 3 dozen cookies

Ingredients:

  • 1 cup unsalted butter, at room temperature
  • 1 cup granulated sugar
  • ½ cup molasses
  • 2 tablespoons canola oil
  • 2¼ teaspoons baking soda
  • 1¼ teaspoons cinnamon
  • 1¼ teaspoons ground cloves
  • 1 teaspoon vanilla extract
  • 1 teaspoon salt
  • 1 teaspoon ground ginger
  • 2 large eggs
  • 3½ cups all-purpose flour
  • 1½ cups white chocolate chips
  • 1 cup granulated or turbinado sugar, for coating cookie dough balls

Directions:

  1. Preheat the oven to 350ºF. Then line two baking sheets with parchment paper and set aside.
  2. In the bowl of a stand mixer, cream together the butter and sugar until smooth. Then beat in the molasses, canola oil, baking soda, cinnamon, ground cloves, vanilla, salt, and ginger. Mix these ingredients until well combined.
  3. Next, add the eggs one at a time, beating the mixture until smooth. Slowly stir in the flour, then stir in the white chocolate chips.
  4. Scoop the dough into 1-inch balls, roll them in the granulated or turbinado sugar, and place them on the lined baking sheets, about 2 inches apart. Bake the cookies until they are set up and firm in the center—8-10 minutes; they will still be soft but will harden more as they cool.
  5. Remove the cookies from the oven and let them cool on the baking sheet for 5 minutes before transferring then to a wire cooling rack to cool completely.
: @NikkiDinki

: @NikkiDinkiCooking

Original recipe from Two Peas + Their Pod


Find more recipes like this in Meat on the Side!


You might also like these recipes:

Chocolate Clouds

chocolate-cloud-cookies-7-s.gif

My sister, Alecia, is One with the cookie the same way some people are One with nature.

And by “the cookie” I mean every cookie ever made.

Come December, she hosts an epic Christmas party and serves not one, not two, not five, but over 20 different types of cookies!

She starts making preparations weeks before and then freezes most of the cookies (and yes, they defrost beautifully!).

But there is one cookie that cannot be made ahead of time, and is also very, very delicate.

This cookie is so amazing, so unique, so incredibly delicious, that even though it's not the easiest to prepare in advance, Alecia ALWAYS makes it.

Chocolate Clouds are her favorite and they will always be on her table (and in lots of happy bellies!).

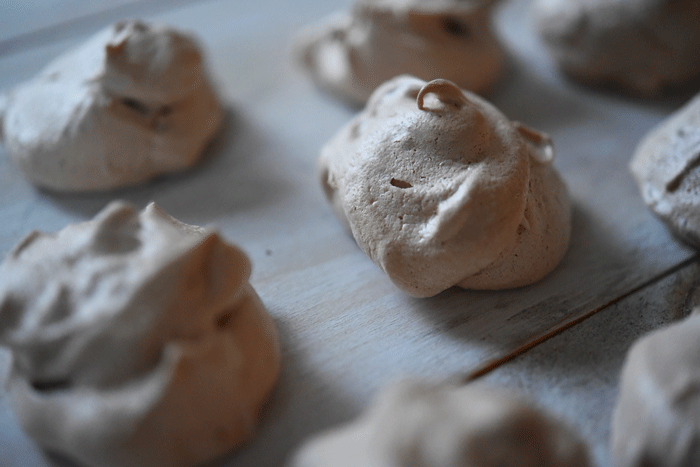
The airiness, chewiness, and crunchiness of a meringue cookie is already addicting--but when you fold in cocoa powder and chocolate chips, it becomes downright irresistible.

Since most of you are not lucky enough to come to the party, I’ve brought the party to you. I now present you with Alecia’s favorite cookies, Chocolate Clouds!

Chocolate Clouds

servings: 30 Cookies

Ingredients:

  • 3 egg whites, at room temperature
  • ¼ teaspoon cream of tartar
  • ¾ cup granulated sugar
  • 1 teaspoon vanilla extract
  • 2 tablespoons cocoa powder
  • 1 cup semi-sweet mini chocolate chips

Directions:

  1. Preheat the oven to 300ºF. Then line a cookie sheet with parchment paper or foil.
  2. In a large bowl, beat the egg whites and cream of tartar using an electric mixer set to high until soft peaks form. Next, gradually add the sugar and vanilla, beating well after each addition until stiff peaks hold, the sugar is dissolved, and the mixture is glossy. Then sift the cocoa onto the mixture and gently fold until just combined.
  3. Fold in the chocolate chips and then drop the mixture in heaping tablespoons onto the prepared cookie sheet. Smooth out the tops of each cloud slightly.
  4. Bake just until the chocolate clouds are dry and crisp on top—35 minutes. If the cookies are not coming off the pan easily, bake for longer. Remove them from the oven and allow them to cool slightly before peeling the paper from the clouds. Store covered, at room temperature.
: @NikkiDinki

: @NikkiDinkiCooking

Original recipe from Food.com


Find more recipes like this in Meat on the Side!


You might also like these recipes:

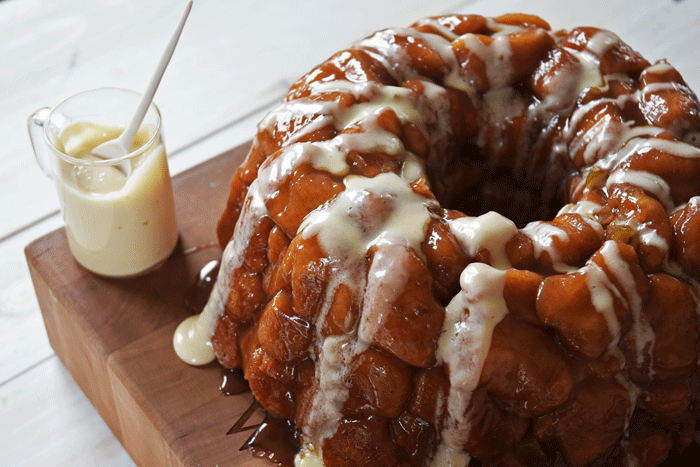
Little Baby's Caramel Apple Monkey Bread


Today I am 36 weeks pregnant with Little Baby.


This is the point when most women excitedly think about their new baby coming home—and they stress over the imminent labor that is coming and plan for the upcoming months of blissful chaos.


I am doing many of these things; I feel electric with excitement, I am obsessed with this little lady—but I am also consumed with fear. 


We lost our first daughter, Willa, at 40 weeks; she was big, strong, perfect. But she passed away.  After a traumatic labor, we came home to a quiet house and were forced to drastically readjust our visions of the future.


Now, two years later, I am having an intense case of déjà vu.


I’ve been here before—36 weeks pregnant, waddling around, having everyone and their mother ask when I’m due—but our baby didn’t come home.


Slowly we put her things away; we repacked and stored diapers, carriers, and bottles. And now, here I am blowing the dust off these things and feeling hopeful, but also a little bit like a fool.


My baby is coming home, right?


You might say “of course,” but the only experience we’ve had is one that ended with pictures, a lock of her hair and remembrances of the softness of her cheeks—things that we cherish, but not the lifetime of memories we thought we were promised.


Read More

Healthier Gluten-Free Chocolate Chip + Peanut Butter Cookies


Being pregnant seems to mean two things for me--a love of any task that I can do while fully reclined, and a need for all things sweet.


As I am trying to keep my sugar intake in check, I made a deal with myself to only have sweets if I make them myself, and to try to dip into my candy drawer only occasionally.


The only problem is that suddenly I’ll bake up a couple dozen cookies and there is only one place for them to go--my belly!


So I came up with a cookie recipe that I can feel good about--no matter how many cookies I consume.


Read More

4th of July Recipe Round Up


The 4th of July is just around the corner and that means fun, frolicking, and most importantly FOOD. Most years I find myself making sweet treats for my niece Lucy, as her birthday falls on the 4th. We all like to gather in Fire Island to celebrate as we sing happy birthday and watch the fire works.


To say Lucy loves dessert is an understatement, so I always try my best to put a smile on her sweet little sugar addicted face and make her some incredible treats. No matter what you are making this July 4th it should be easy, should make people smile and if it happens to also be red white and blue than even better. So here are some of my favorite July 4th recipes that will make your weekend that much more sweet.


Red, White + Blue Sangria  by Crista at Peace.Love.Quinoa

Let’s start this 4th of July with fizzy and refreshing white wine sangria's! In this recipe she finishes her sangria off with sparkling water; I think I'm going to skip that part and finish it with some bubbly champagne! The best part about sangria is you can use whatever wine, fruit and juice you like.


Read More

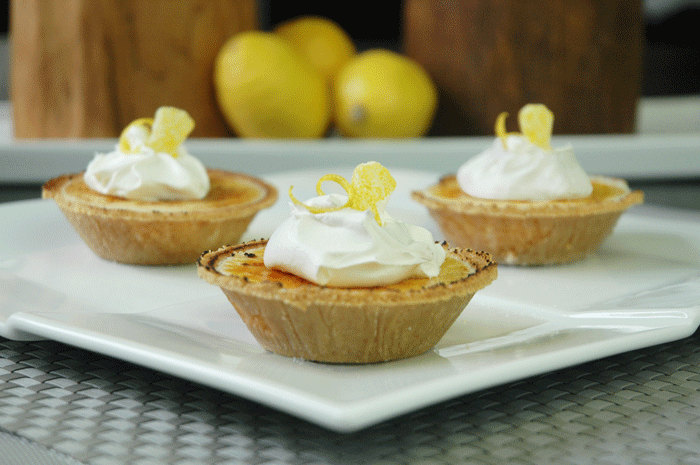
Willa's Lemonade Cheesecakes


“Where have you been?”

“What have you been doing?”

“Why haven't you posted a new recipe?”


These are frequent questions from my readers. And I’d love to tell you all that I've been busy filming my own show, or that I couldn't come to the computer because I was elbow deep in tomato sauce, but the truth is sadly something very different.


At 40 weeks and 1 day pregnant my husband and I lost our little girl. Her heart just stopped, and we don't know why. We never got to hear her voice, or see her smile, or know what she looks like when she first wakes up. We never got to have all those “firsts” that we had excitedly anticipated.


We were ready for her: diapers unpacked, tiny clothes in her dresser and a place for her to rest her head right next to mommy. It was supposed to be the week we brought her home, the week we stumbled our way through parenthood, laughing as we put diapers on backwards and figuring out the difference between a “boppy” and a “breast-friend”.


But that's just not what happened.


Read More

Carrot Cake


NYC can be a lonely place. You might be surrounded by people but it can be hard to make the city feel like home. In my 12+ years in the city I have carved out my own slice of home in the chaos. 


Things like a favorite local restaurant, a bartender that knows your drink and a nail place that doesn’t rush you for taking a million hours to choose a shade are all things that help. But let's face it, there is nothing like family to make a place your home.


Read More

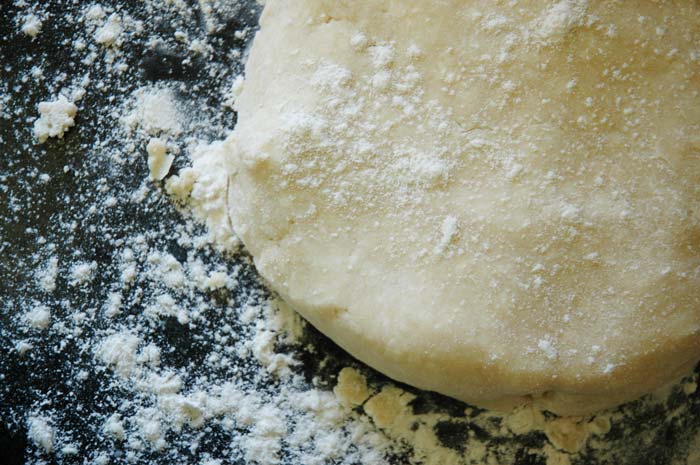
Pie Dough


People tell you all the time that things are easy.


I usually don't believe these people.


It's like when someone tells you to take a class at the gym and they reassure you that it's easy...


But when you can't walk like a normal human being for a week and sitting down makes you grunt a little, you learn to be skeptical.


Read More

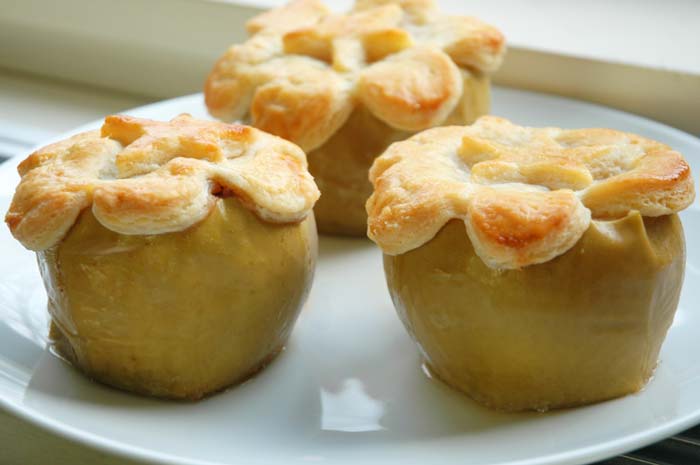
Apple Pies in Apples


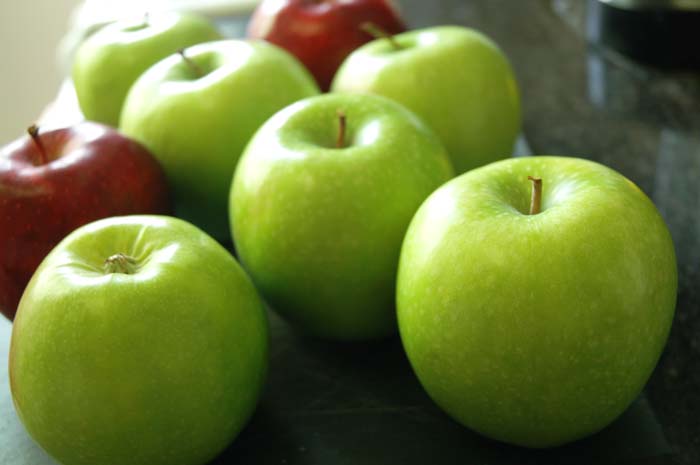
Today we are going to talk about cute things. Silly cute things. And no, I'm not referring to another YouTube video of a wet cat or a laughing baby...


And no, it's not a picture of two animals that don’t belong together and yet are best friends.


Oh! Like the one where the baby monkey is sleeping with the doggy and he's got his arm around him and you just know they will be BFF's till the end of time!


No!!


I’m talking about something cute…silly cute…that you can eat!


Something that says “hey, look at me” and when you do you think, “well hello, aren’t you beautiful, and precious, and...and...I MUST EAT YOU!!”


I'm talking about the crazy delicious idea of making an apple pie...


wait for it...


keep waiting...


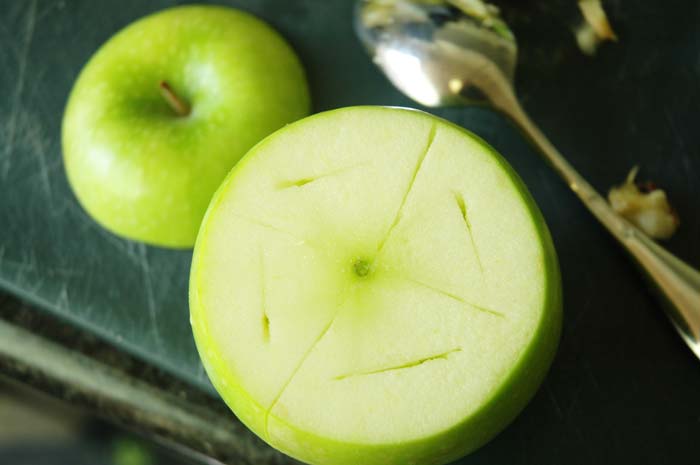
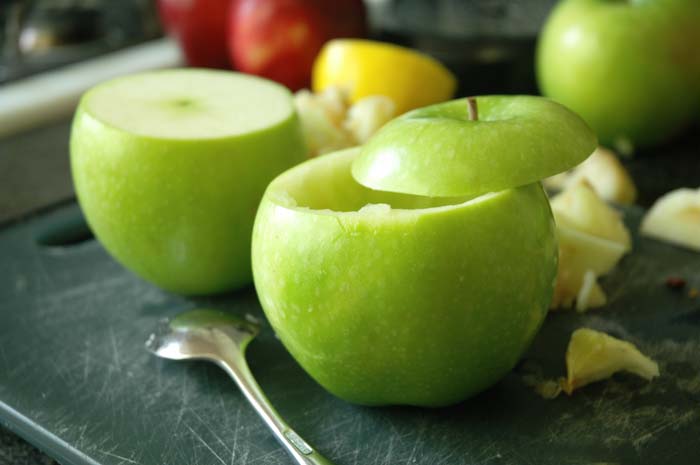
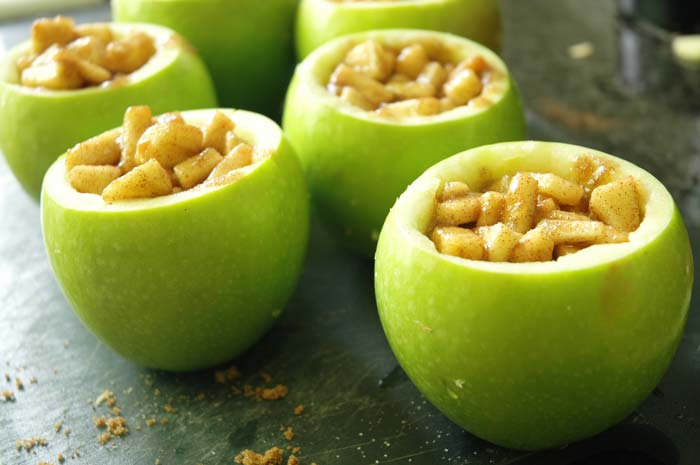
IN AN APPLE!


Read More

Brown Butter Nutella Stuffed Cookies


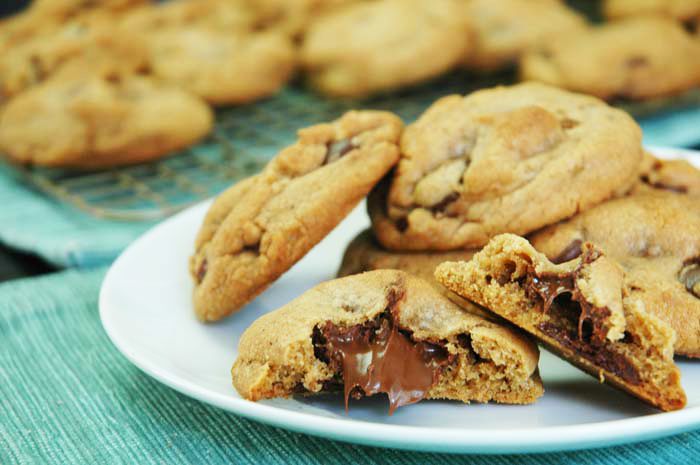
As a society we like things on a stick, things that are fried and things that are STUFFED! 


The idea of something stuffed inside of something else is a simple but exciting idea. It's a mystery and a surprise. 


You have something already delicious, like a doughnut, a potato or a turkey and then you take these things to a whole new level. You stuff the doughnut with jelly, load up the potato and then of course there is the ingenious idea of stuffing a turkey with a chicken and a duck! 


You have made something new! You have taken something and not just made it the best it can be, but even better. You have STUFFED IT!!


Now let's talk about cookies. We all like cookies and many times I judge my cookies like I do my books...by its cover of course. 


I look at the outside, I see if it's thick or thin, smooth or bumpy. And far before I bite into it I have made a certain judgement about this cookie. 


Read More

Cream Cheese Frosting

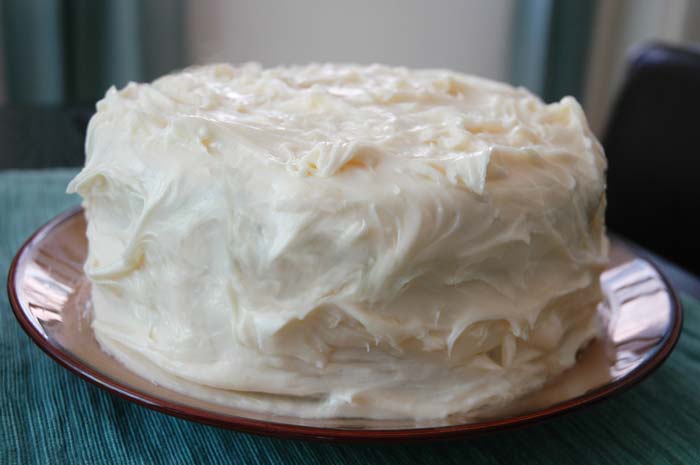
Cream Cheese Frosting

servings: 3½ cups, enough for a 2-layer cake

Ingredients:

  • 2 sticks unsalted butter, softened (1 cup)
  • 2 bars cream cheese, softened (16 ounces)
  • 3 cups confectioners' sugar
  • 2 teaspoons vanilla extract
  • Pinch of kosher salt

Directions:

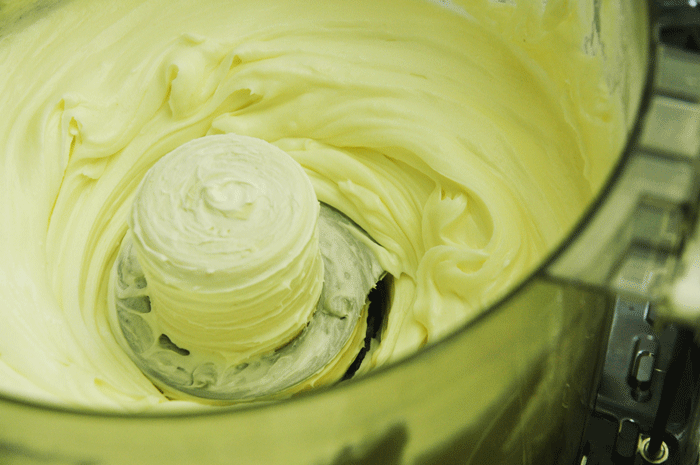
  1. Add the room temperature butter and cream cheese to a mixer and mix until they are well combined. Then add the sugar, vanilla, and salt and mix until smooth.
  2. Taste and add more sugar if desired. Enjoy spread on your favorite cookies or cake!
: @NikkiDinki

: @NikkiDinkiCooking


You might also like these recipes: