Silent Recipe!: Veggie Burgers

Burger Time—VEGGIE Burger Time!

I may not be Bobby Flay, but hey, that’s okay, because I’ve got THE secret to making the perfect veggie burgers…

It's been my goal for awhile now to make a bang-up version of a veggie burger.

But every time I really thought about it, I was super intimidated.

I mean, all of those weird ingredients, lots of chopping, and then the fear that after the first bite, the whole thing might just fall apart.

So instead of tackling this daunting task head-on, I've avoided it like the plague.

I just told myself that someday I'd make a better—no, a perfect—veggie burger.

More perfect than any other one out there.

And so when the time came for me to face my fear, I came up with something that makes me wonder what I was so afraid of in the first place.

My Ultimate Veggie Burgers have no weird ingredients, are super dense (for that BIG bite experience!), and look better than some of the best beef patties you've ever laid eyes on!

And my big secret?! Well, watch the Silent Recipe video, and you’ll see…

This Veggie Burger is a game changer.

Ultimate Veggie Burgers

servings: 4 large or 6 small patties

Ingredients:

  • One 15-ounce can brown lentils, rinsed + drained (1½ cup cooked lentils)
  • 8 ounces baby bella mushrooms, sliced (about 3 cups)
  • 1½ cups cooked brown rice
  • ½ cup walnuts halves + pieces
  • ¼ cup all-purpose flour
  • 2 tablespoons barbeque sauce
  • 1 large egg
  • 1¼ teaspoon kosher salt
  • 1 teaspoon garlic powder
  • 1 teaspoon finely chopped fresh rosemary leaves
  • ¼ teaspoon smoked paprika
  • 1 tablespoon olive oil

Directions:

  1. Preheat the oven to 400°F. Spread the lentils and mushrooms on a parchment-lined or lightly sprayed baking sheet and roast them until the lentils are dry and crisp on the outside and the mushrooms are dry and shrunken to half their original size—25 minutes.
  2. Use a wooden spoon to move the mushrooms to the side, then spread the cooked rice in the open space. Return the pan to the oven and cook until the rice is lightly toasted in places and the lentils are very dry—15 minutes.
  3. While the beans, mushrooms, and rice are cooking, place the walnuts in the bowl of a food processor and pulse them until they are coarsely ground. When the lentils, mushrooms, and rice have finished roasting, add them to the food processor and pulse until well-combined, but not completely smooth. Then add the flour, barbeque sauce, egg, salt, garlic powder, rosemary, and paprika and pulse just until all ingredients are combined.
  4. Next, form the mixture by hand into either 4 large patties or 6 small ones. Then heat the oil in a large skillet over medium-high heat. Add the patties and cook them until they are well-browned and crisp—about 3 to 4 minutes per side.

Notes:

  • ¾ cup dried lentils should yield the 1½ cups cooked lentils you need in this recipe. Also, ½ cup uncooked brown rice should yield the 1½ cups cooked rice needed.
  • If you prefer to bake the patties rather than sautéing them, place them on a lightly-sprayed unlined tray and bake them at 400°F until they are golden brown and crispy on the outside, flipping halfway through—about 20 minutes.
  • You can omit the flour for a gluten-free patty. The patties will be slightly less stable, but still very good.
  • To prepare from frozen, bake patties at 400°F for 13 to15 minutes.
: @NikkiDinki

: @NikkiDinkiCooking
 

Find more recipes like this in Meat on the Side!


You might also like these recipes:

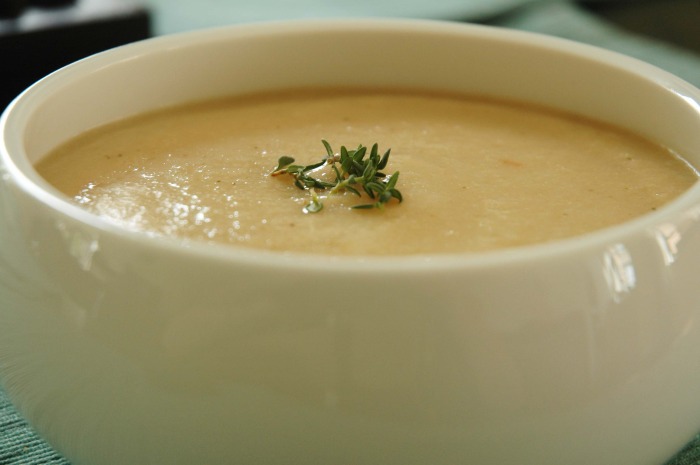
Cauliflower Soup


$4.99!

Almost Five Dollars!!

That’s how much it costs for a can of average quality soup at my grocery store. FIVE DOLLARS, PEOPLE!! And what’s in that can?? Not a whole lot...


Making soup is just like making any of your favorite dishes…pureeing it up…and thinning it out with a little chicken stock...well kind of...


The bottom line is that making your own soup saves you a ton of money, plus you can get some great nutrition in a filling, flavorful and many times low-cal little package.


Have I sold you yet???


Read More

Veggie Queso + Homemade Doritos


Queso with Squash + Cauliflower

Makes 2 cups of queso


½ tablespoon extra-virgin olive oil

½ large yellow onion, coarsely chopped (about ¾ cups)

2 garlic cloves, sliced

¼ medium head cauliflower, cut into large chunks, (about ½ pound or 1½ cups)

⅛ small butternut squash, peeled and cut into 1-inch chunks (about ½ pound or 1¼ cups)

1 cup chicken stock

½ teaspoon kosher salt, more to taste

6 ounces sharp cheddar cheese, shredded (about 1½ cups)

4 ounces Monterey Jack cheese, shredded (about 1 cup)

½ cup jarred salsa

Chips, for dipping


1. Heat the oil in a large saucepan set over medium heat. Add the onion and garlic and sauté until tender, 5 to 7 minutes. Stir in the cauliflower, squash, chicken stock, and the ½ teaspoon salt. Bring this mixture to a boil, and then reduce the heat to a simmer. Cook covered, stirring occasionally, until the vegetables are tender—about 20 minutes. This should give you about ¼ cup liquid along with the veggies.


2. Place the mixture in a blender and process it until it is completely smooth. Add more stock or water if there is not enough liquid to blend easily.


3. Transfer the mixture back to the saucepan over low heat. Add the cheddar and Monterey Jack and stir until the cheese melts. Add the salsa and stir to combine. Taste the queso; add more salt if necessary and more stock if your mixture is too thick. Serve with tortilla chips and enjoy hot!


Homemade Doritos

Makes 56 chips

Read More

Garlic + Parmesan Mashed Cauliflower

Mashed potatoes are wonderful, am I right?!

But when you’re looking for a healthier, more nutritious option—let’s talk about mashed cauliflower!

These days, it's not uncommon to have a Thanksgiving Day guest who steers clear of gluten.

And even if you don't, we all want to cook up something that will have everyone at the Thanksgiving table seriously wanting—maybe even needing—to go back for seconds.

It just so happens that you can serve your gluten-free friends and get everyone and their brother excited about the same fabulous food. I’m talking about a mouth-watering, velvety, cheesy side dish…

mashed cauliflower!

And not only is this dish healthy and incredibly delicious, but super simple!

Start by steaming up a little cauliflower and garlic…

Puree it with some cream cheese, Parmesan, and chives… 

And you'll find your result is the creamiest, most flavorful side dish.

It’s definitely worthy of a place next to (or in place of!) your traditional mashed potatoes.

Garlic + Parmesan Mashed Cauliflower

makes: 3 cups

Ingredients:

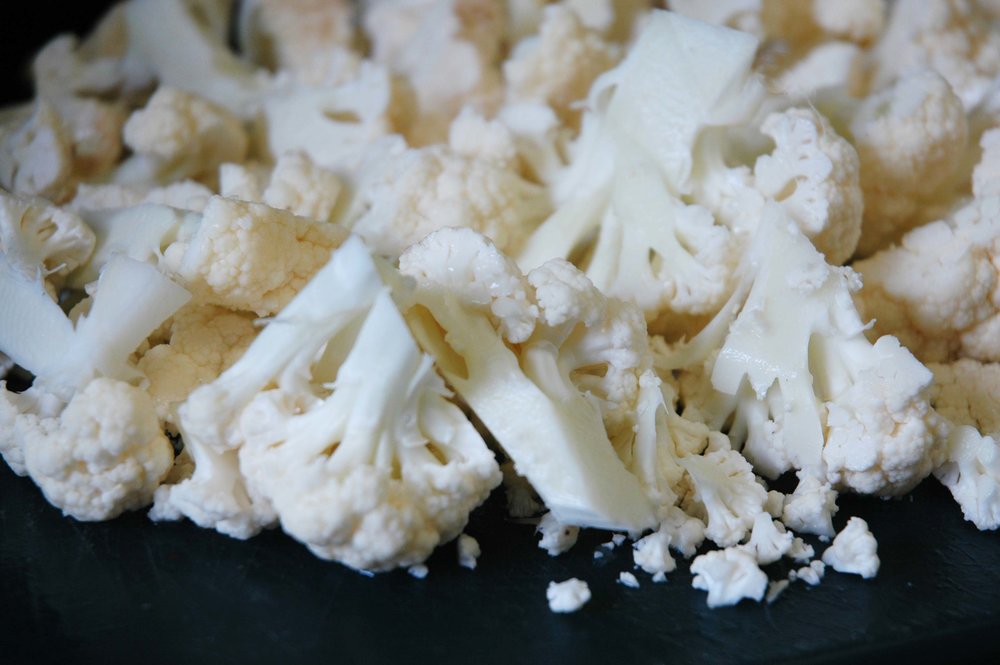
  • 1 medium head cauliflower (2 pounds), broken or cut into bite-size florets
  • 3 garlic cloves, minced
  • 4 ounces cream cheese, at room temperature
  • ⅓ cup grated Parmesan cheese
  • 1½ teaspoons kosher salt
  • ¼ teaspoon ground black pepper
  • 1 tablespoon finely chopped chives

Directions:

  1. Add the cauliflower and garlic to a large pot and fill it with just enough water so that the vegetables are covered. Simmer until the veggies are tender—about 10 minutes, then drain.
  2. Next, place the cauliflower and garlic mixture in the bowl of a food processor. Add the cream cheese, parmesan, salt, and pepper, and pulse until the mixture is smooth, but with some small lumps. When you are finished, it should look similar to mashed potatoes.
  3. Add the chives to the mixture in the food processor and pulse only a few times—just to combine. Then remove the cauliflower mash from the food processor, place in your favorite serving dish, and enjoy!
: @NikkiDinki

: @NikkiDinkiCooking
 

Find more recipes like this in Meat on the Side!


You might also like these recipes:

Buffalo Cauliflower Wings

In my book, Meat On The Side, I have a Cauliflower Wing recipe...

Cauliflower 2.jpg

I roast cauliflower and toss it with my famous (and famously simple!) Buffalo sauce.

Then I douse it with blue cheese and shaved celery, for a “salad” worthy of an Oscar (Or whatever type of award is appropriate for a salad. Probably not an Oscar, huh?).

It’s an easy and light way to get your Buffalo fix.

However, I've been playing with the whole cauliflower + Buffalo sauce thing for awhile now, and I've recently come up with a new version.

This one has just a few more calories and takes just a little more time, but in the end you are left with something that will really, truly satisfy your craving for wings.

The batter is simple—a combination of flour and milk...

You whisk it up, add some cauliflower, and suddenly start to see the magical way a piece of cauliflower can become a wing.

Once baked, you simply toss these "wings" with Buffalo sauce and, most importantly, prepare yourself to eat them all!

It’s a plate of wings that are baked—not fried! And it's cauliflower—not chicken!

Really, what more could you ask for?!

No need to send a thank you gift, just remember you owe me. ;)

Buffalo Cauliflower Wings

servings: Makes 40-50 cauliflower “wings”

Ingredients:

  • 1½ cups all-purpose flour
  • 1¼ cups whole milk
  • ¾ cup + 2 tablespoons Frank’s RedHot Original Cayenne Pepper Sauce
  • 4 teaspoons Worcestershire sauce
  • 2 teaspoons kosher salt
  • 1 teaspoon garlic powder
  • ¼ teaspoon ground black pepper
  • 1 medium head cauliflower, broken or cut into bite-size florets
  • 8 tablespoons unsalted butter (1 stick)
  • 2 tablespoon distilled white vinegar
  • 2 tablespoon light brown sugar

Directions:

  1. Preheat the oven to 475°F. Line two rimmed baking sheets with foil. Spray the foil generously with nonstick cooking spray.
  2. In a large bowl, whisk together the flour, milk, 2 tablespoons of the hot sauce, 3 teaspoons of the Worcestershire sauce, the salt, garlic powder, and black pepper.
  3. Toss the cauliflower in the batter, then spread it on the baking sheets. Bake the cauliflower until it is slightly browned in spots—about 20 minutes.
  4. While the cauliflower bakes, in a small pot, whisk together the remaining ¾ cup hot sauce, the butter, vinegar, brown sugar, and remaining 1 teaspoon Worcestershire sauce.
  5. Once the cauliflower is browned, remove it from the oven and toss it well in the Buffalo sauce. Turn on the broiler, to high if you have that option. Then return the cauliflower to the baking sheets and cook it under the broiler until it is crispy and browned in spots—2-3 minutes more. Remove the cauliflower from the oven and toss or brush it with the remaining sauce. Enjoy by serving with blue cheese.

Notes:

  • Freezing Instructions: To enjoy later, freeze the completed Buffalo Cauliflower Wings in a single layer (not touching) on a baking sheet lined with foil. Once they are frozen, remove the wings from the baking sheet, place them in a food storage bag, and put them back in the freezer until you are ready to eat them. To reheat, begin by preheating the oven to 375°F and lightly spraying a baking sheet with cooking spray. Cook the wings until they are warmed through, 10-15 minutes, depending on their size.
: @NikkiDinki

: @NikkiDinkiCooking
 

Find more recipes like this in Meat on the Side!


You might also like these recipes:

Balsamic Roasted Onions

Balsamic Roasted Onions 1(1).jpg

I love taking underrated vegetables, shining them up, and showing people just how much delicious-potential they have!

Balsamic Roasted Onions 2(1).jpg

Onions don’t generally get their own place on your dinner table...

Instead, they usually play the supporting role in dishes.

Balsamic Roasted Onions 3(1).jpg

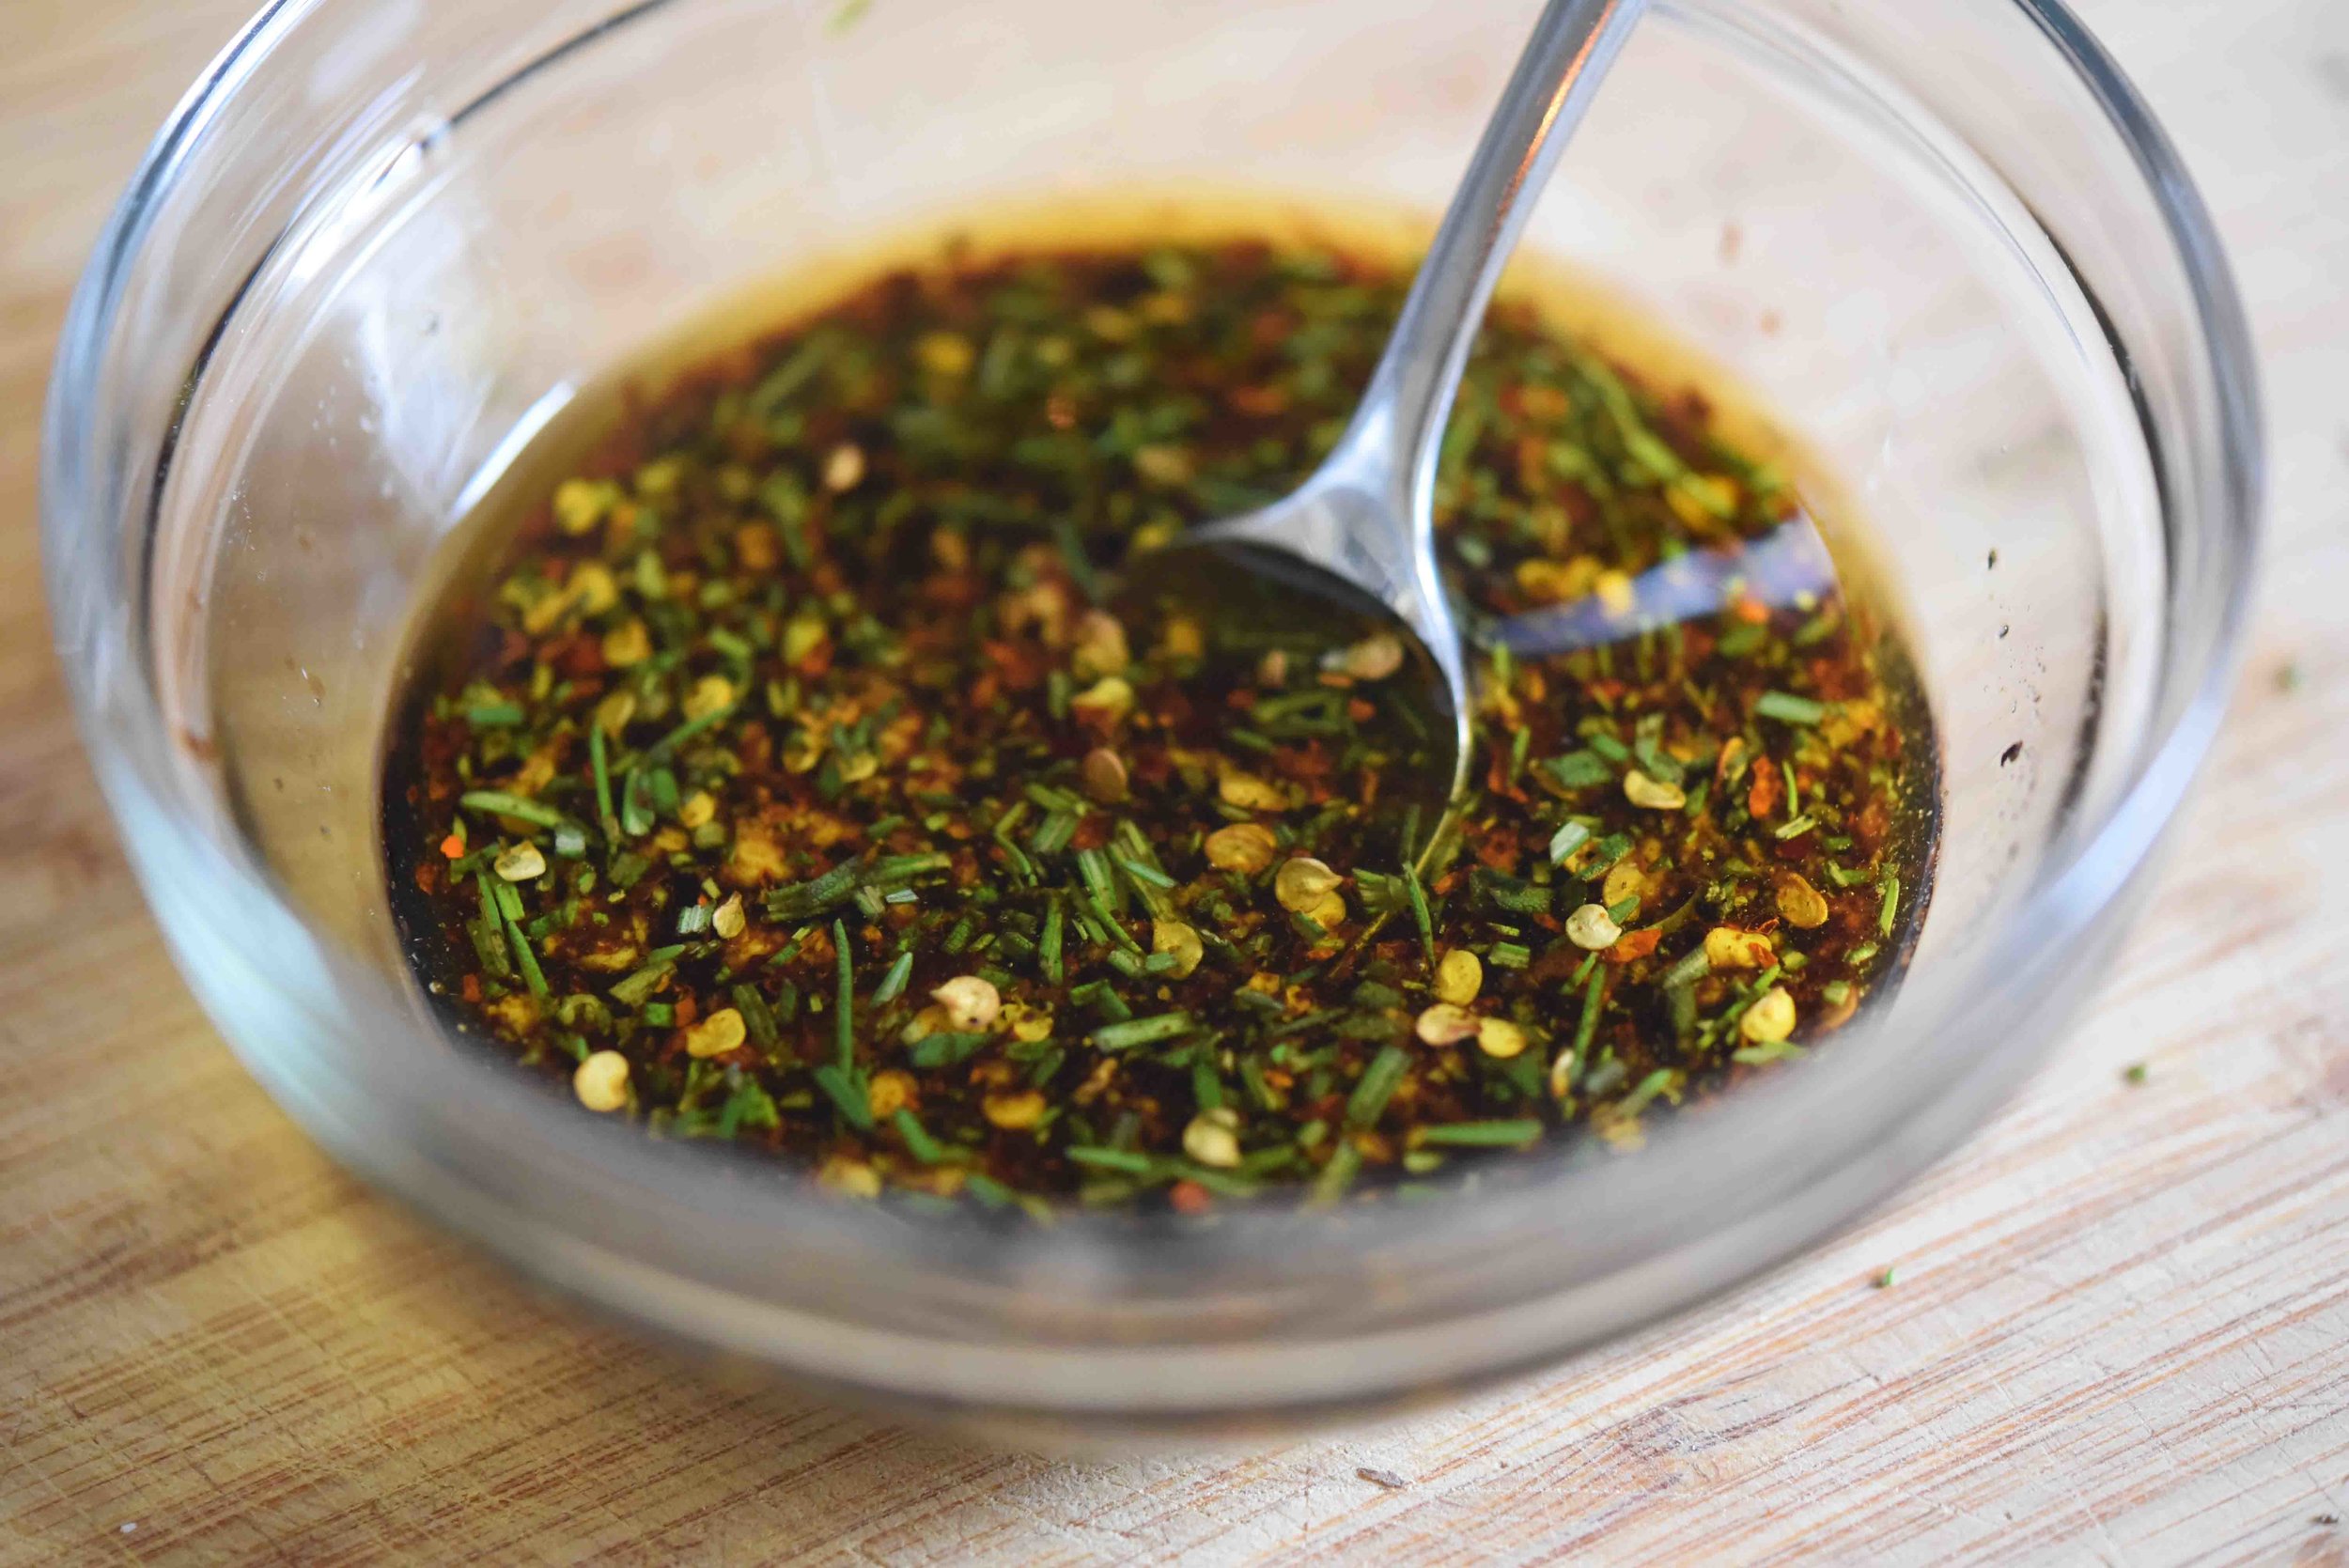
The tick to getting them to take center stage is infusing them with flavor—in this case, balsamic, Dijon, and rosemary.

Balsamic Roasted Onions 4(1).jpg

Then add some sweetness to the mix, and let them roast up to sticky perfection in the oven.

Balsamic Roasted Onions 5(1).jpg

When you treat them right, they become a show-stopping side dish that will be gone before the main meal!

Balsamic Roasted Onions 6(1).jpg

Okay, Mr. Onion, it’s your time to shine!

Balsamic Roasted Onions 7(1).jpg

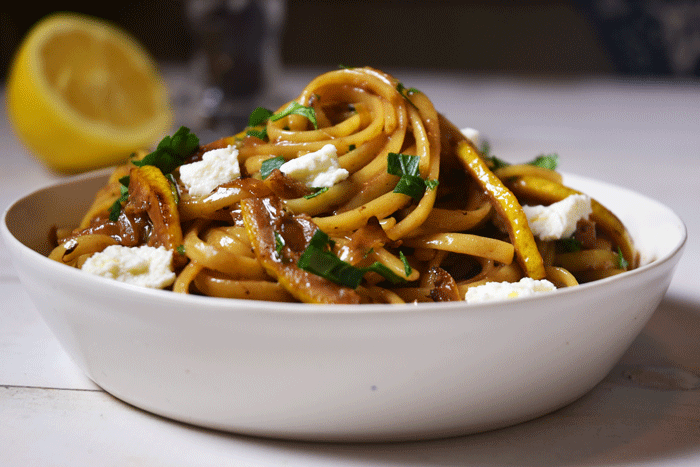
Balsamic Roasted Onions

servings: 6 to 8

Ingredients:

  • 4 medium Vidalia onions, cut into ½-inch slices (skins left on)
  • ½ cup balsamic vinegar
  • ¼ cup olive oil
  • 3 tablespoons honey, more for drizzling
  • 3 tablespoons Dijon mustard
  • 1 tablespoon finely chopped fresh rosemary leaves
  • 1 teaspoon kosher salt, more for sprinkling
  • 1 teaspoon ground black pepper
  • 1 teaspoon red pepper flakes

Directions:

  1. Place the onions in a large plastic food storage bag or shallow dish. In a small bowl, combine the balsamic, olive oil, honey, mustard, rosemary, salt, pepper, and pepper flakes. Pour this mixture over the onion slices and close the bag or cover the dish. Marinate the onions in the refrigerator for at least 4 hours, or overnight; be sure to occasionally shake the onions around in the bag or stir them in the dish ensure that the marinade gets into all parts of the onions.
  2. Preheat the oven to 400°F. Lay the onion slices in a single layer on a baking sheet, then bake them until the onions are very tender and dark in color—about 55 to 60 minutes, removing them from the oven to lightly baste the tops with more of the vinegar mixture every 15 minutes.
  3. After removing them from the oven, drizzle each of the onions with about ¼ teaspoon of honey and sprinkle each with a pinch of salt.
: @NikkiDinki

: @NikkiDinkiCooking
Balsamic Roasted Onions_SMALL(2).jpg
 

Find more recipes like this in Meat on the Side!


You might also like these recipes:

Ultimate Veggie Burgers

ULTIMATE VEGGIE BURGERS!!!

It's been my goal for awhile now to make a bang-up version of a veggie burger.

But every time I really thought about it, I was super intimidated.

I mean, all of those weird ingredients, lots of chopping, and then the fear that after the first bite, the whole thing might just fall apart.

So instead of tackling this daunting task head-on, I've avoided it like the plague.

I just told myself that someday I'd make a better—no, a perfect—veggie burger.

More perfect than any other one out there.

And so when the time came for me to face my fear, I came up with something that makes me wonder what I was so afraid of in the first place.

My Ultimate Veggie Burgers have no weird ingredients, are super dense (for that BIG bite experience!), and look better than some of the best beef patties you've ever laid eyes on!

Like all amazing things we can't have right away, the reward is SO worth the wait!

Ultimate Veggie Burgers

servings: 4 large or 6 small patties

Ingredients:

  • One 15-ounce can brown lentils, rinsed + drained (1½ cup cooked lentils)
  • 8 ounces baby bella mushrooms, sliced (about 3 cups)
  • 1½ cups cooked brown rice
  • ½ cup walnuts halves + pieces
  • ¼ cup all-purpose flour
  • 2 tablespoons barbeque sauce
  • 1 large egg
  • 1¼ teaspoon kosher salt
  • 1 teaspoon garlic powder
  • 1 teaspoon finely chopped fresh rosemary leaves
  • ¼ teaspoon smoked paprika
  • 1 tablespoon olive oil

Directions:

  1. Preheat the oven to 400°F. Spread the lentils and mushrooms on a parchment-lined or lightly sprayed baking sheet and roast them until the lentils are dry and crisp on the outside and the mushrooms are dry and shrunken to half their original size—25 minutes.
  2. Use a wooden spoon to move the mushrooms to the side, then spread the cooked rice in the open space. Return the pan to the oven and cook until the rice is lightly toasted in places and the lentils are very dry—15 minutes.
  3. While the beans, mushrooms, and rice are cooking, place the walnuts in the bowl of a food processor and pulse them until they are coarsely ground. When the lentils, mushrooms, and rice have finished roasting, add them to the food processor and pulse until well-combined, but not completely smooth. Then add the flour, barbeque sauce, egg, salt, garlic powder, rosemary, and paprika and pulse just until all ingredients are combined.
  4. Next, form the mixture by hand into either 4 large patties or 6 small ones. Then heat the oil in a large skillet over medium-high heat. Add the patties and cook them until they are well-browned and crisp—about 3 to 4 minutes per side.

Notes:

  • ¾ cup dried lentils should yield the 1½ cups cooked lentils you need in this recipe. Also, ½ cup uncooked brown rice should yield the 1½ cups cooked rice needed.
  • If you prefer to bake the patties rather than sautéing them, place them on a lightly-sprayed unlined tray and bake them at 400°F until they are golden brown and crispy on the outside, flipping halfway through—about 20 minutes.
  • You can omit the flour for a gluten-free patty. The patties will be slightly less stable, but still very good.
  • To prepare from frozen, bake patties at 400°F for 13 to15 minutes.
: @NikkiDinki

: @NikkiDinkiCooking
 

Find more recipes like this in Meat on the Side!


You might also like these recipes:

Creamy Roasted Butternut Squash Soup

When I knew I was bringing soups to The Wendy Williams Show, butternut squash soup was obviously at the top of the list.

Butternut Squash Soup medium(1).jpg

But knowing Wendy is vegan, I really had to rethink the classic recipe. 

Butternut Squash Soup 3.jpg

Without using chicken stock or cream—both of which can add so much flavor to soups!—I had to extract as much flavor as possible from my ingredients, while finding other ways to give the soup a creamy texture.

Butternut Squash Soup 1.jpg

I discovered roasting the squash was vital, as it really intensified the sweet taste of the squash.

And pairing the roasted squash with apple made it even better.

Butternut Squash Soup 2.jpg

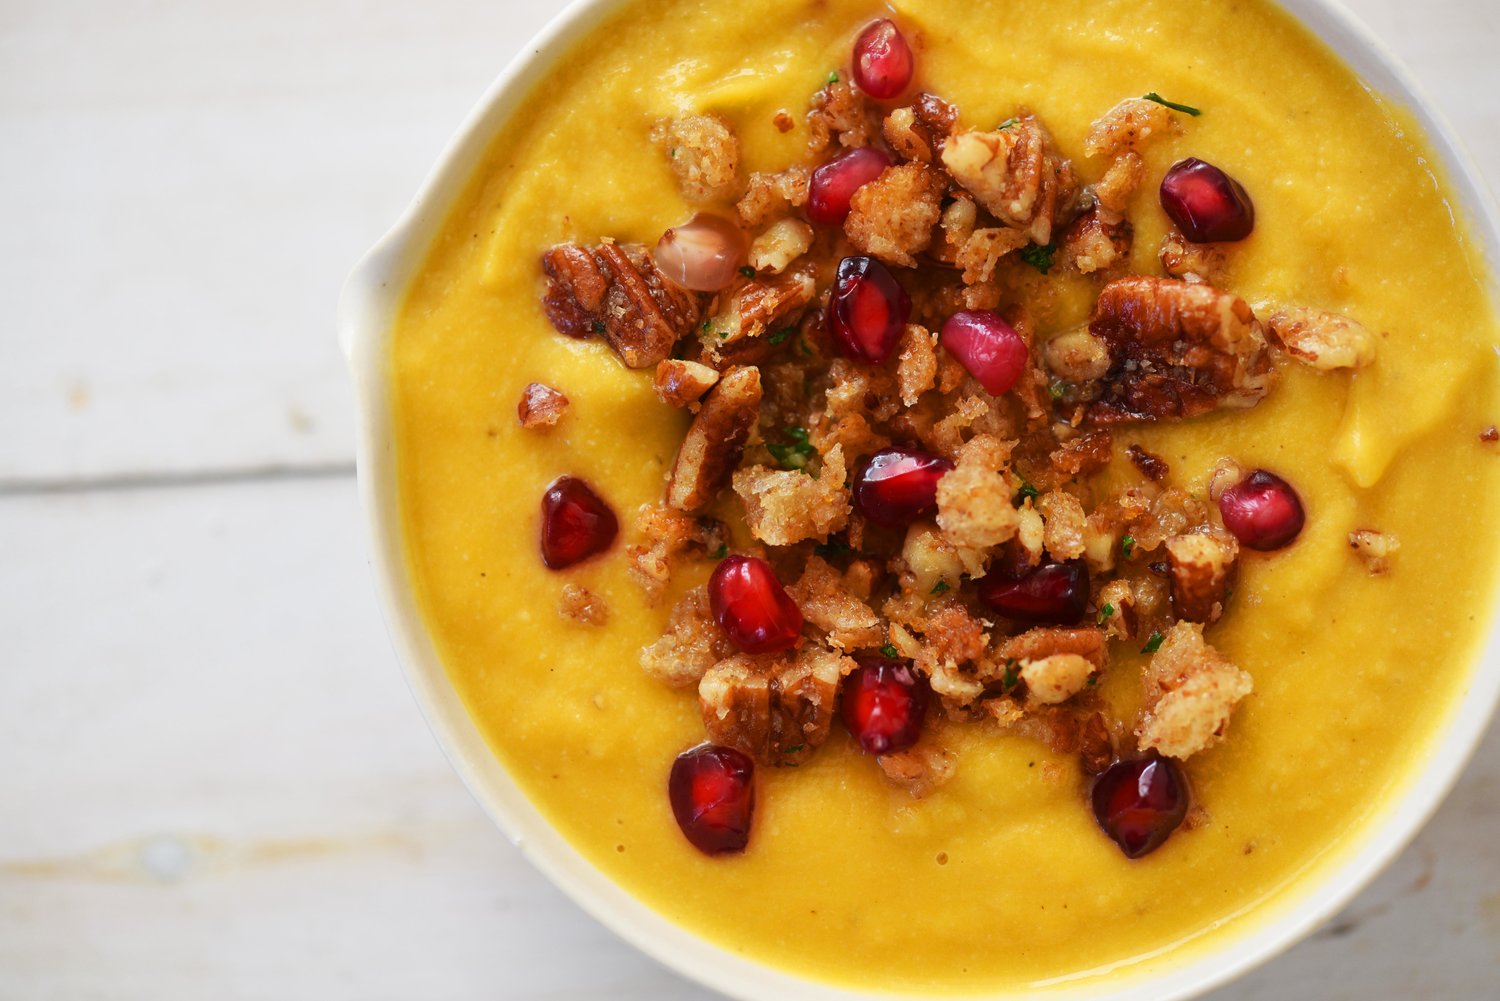
A handful of cashews later, and my soup was even creamier and more velvety in texture than it would have been if I had added a cup of cream!

Butternut Squash Soup 5.jpg

In the end what I’ve really created is just a better soup—that also just happens to be vegan.

Creamy Roasted Butternut Squash Soup

servings: 6; makes about 16 cups of soup

Creamy Butternut Squash Soup:

  • 1 large butternut squash (3 pounds)
  • 4 tablespoons olive oil
  • 3 teaspoons kosher salt
  • ½ teaspoon ground black pepper
  • 1 yellow onion, finely diced
  • 3 gloves garlic, minced
  • 8 cups vegetable stock
  • 3 red apples (about 1 pound), peeled + coarsely chopped, some reserved for a garnish
  • 1 cup raw cashews
  • ¼ teaspoon ground ginger
  • ¼ teaspoon ground nutmeg

Topping:

  • 3 cups one-inch cubes sourdough bread (about 4 ounces)
  • 1 cup whole pecans (about 4 ounces)
  • 3 tablespoons extra virgin olive oil
  • 12 leaves fresh sage
  • 2 tablespoons loosely packed + finely chopped fresh parsley
  • ½ teaspoon kosher salt
  • 2 tablespoons pomegranate seeds

Creamy Butternut Squash Soup:

  1. Preheat the oven to 425°F. Peel the squash and cut it in half lengthwise. Use a soupspoon to scoop out the seeds and discard them. Cut the squash into ½-inch-thick slices and then into ½-inch chunks. Place them in a medium bowl and add 2 tablespoons of the oil, 1 teaspoon of the salt, and ¼ teaspoon of the pepper. Toss to coat; then spread on a rimmed baking sheet and bake until tender—about 50 minutes.
  2. Meanwhile, heat the remaining 2 tablespoons of olive oil in a large pot over medium-high heat. Add the onion and cook until it is tender and browned in spots—about 6 minutes. Add the garlic and cook for one minute more.
  3. Add the stock, apple, cashews, and 1 teaspoon of the salt to the pot and cook for 50 minutes. When the squash has finished cooking, remove it from the oven, add it to the pot with the stock, and cook the soup for 10-20 minutes more until the cashews are very soft.
  4. Transfer the soup to a blender and add the remaining 1 teaspoon of salt, the ginger, nutmeg, and the remaining ¼ teaspoon pepper. Blend until combined and then transfer the soup to serving bowls. Top with breadcrumbs, diced apple, and enjoy!

Topping:

  1. Preheat the oven to 400°F. Place the bread cubes on a (parchment-lined? No, nothing) baking sheet and cook them in the oven until they are dried out and toasty—about 5 minutes. Then transfer them to the bowl of a food processor and pulse until small bread crumbs form. Add the pecans and continue pulsing until the bread crumbs are fine and the pecan pieces are about the size of a pea.
  2. Meanwhile, in a medium skillet, heat the olive oil over medium-high heat. Once shimmering, add the sage leaves and fry them until they are crisp—about one minute. Then transfer them to a paper towel-lined plate to drain, reserving the oil in the skillet.
  3. Next, add the bread crumb mixture to the hot oil and toss until it is light brown and toasty—2-3 minutes. Remove the skillet from the heat and stir in the parsley and salt.
  4. Top the Creamy Butternut Squash Soup with the bread crumbs, fried sage, and pomegranate seeds.
: @NikkiDinki

: @NikkiDinkiCooking
Butternut Squash Soup 4.jpg
 

Find more recipes like this in Meat on the Side!


You might also like these recipes:

Banana Carrot Oat Muffins

Banana Oat Carrot Muffins_SMALL.jpg

My daughter, Ivy, loves all carbs (I can’t imagine where she gets it from 😉).

She'll also gobble up anything that looks like a muffin.

And from a mom point-of-view, I know muffins are the perfect food to freeze and pull out as needed.

Banana Oat Carrot Muffins 1.jpg

So I challenged myself to make a super healthy muffin that would taste just as delicious as a regular not-as-healthy one.

My goal was to make this muffin so tasty that not only would Ivy eat it, but the big kids in the house (my husband and I) would gobble it up as well.

Banana Oat Carrot Muffins 2.jpg

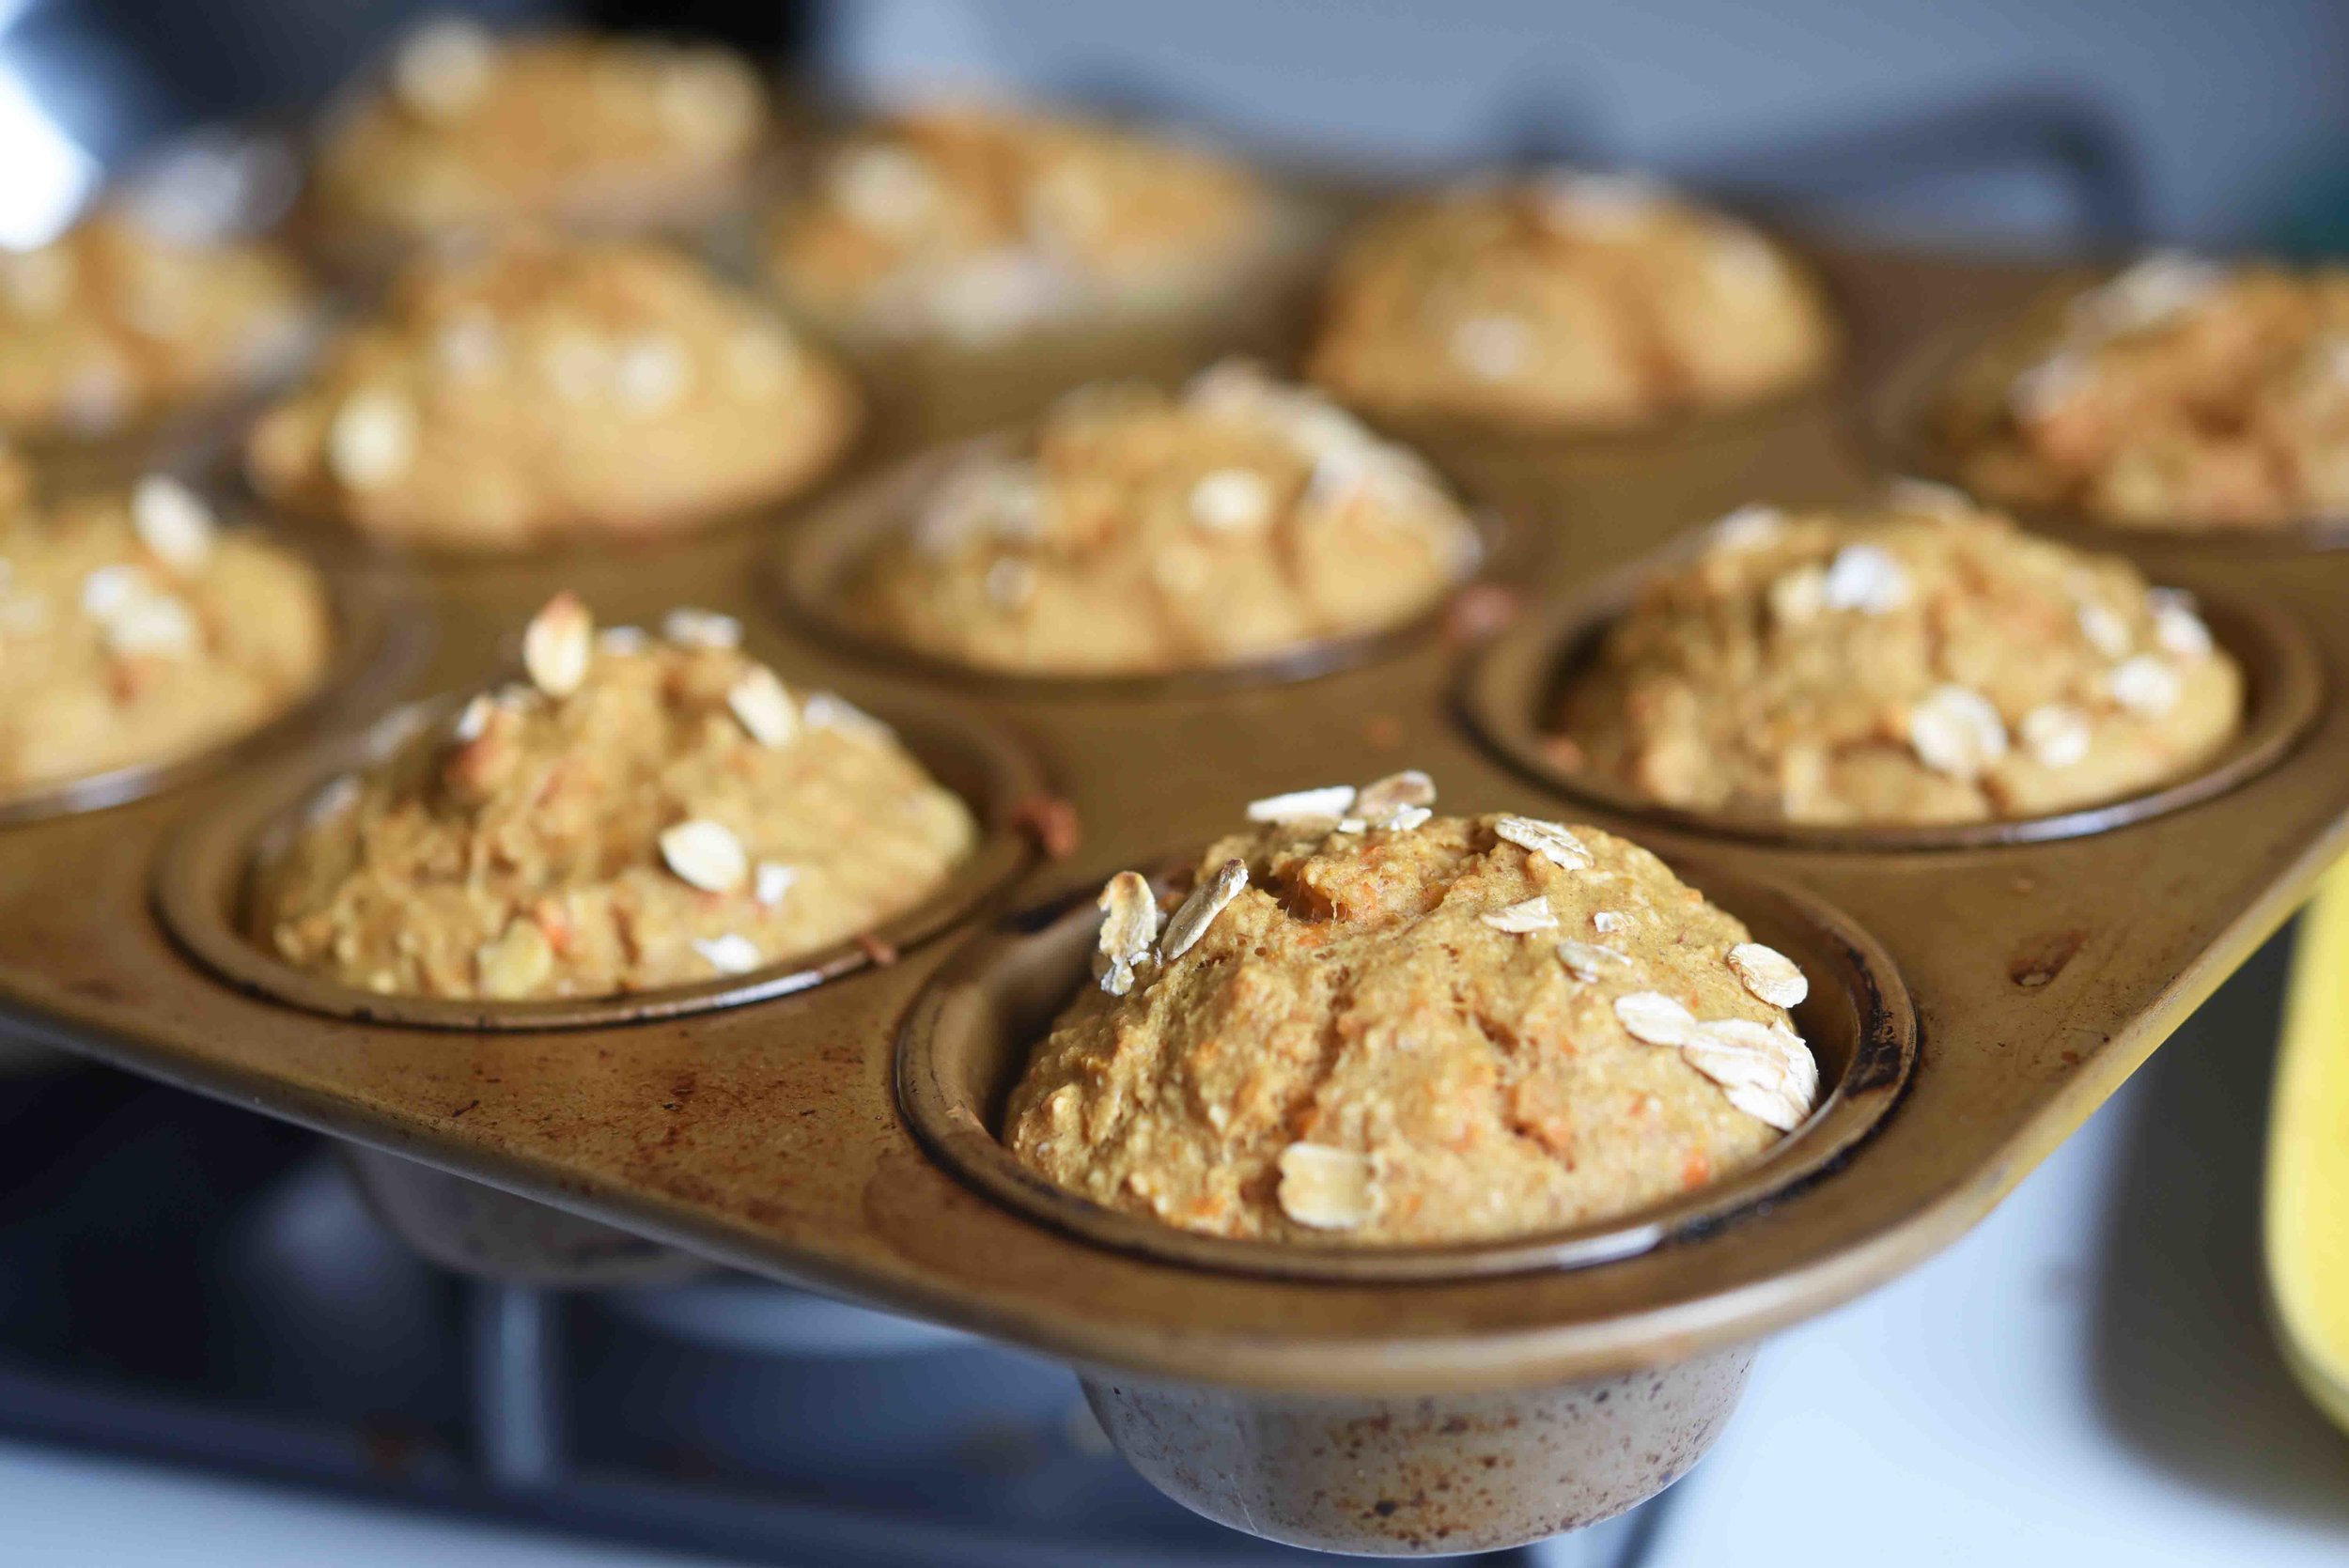
The result is a muffin basically made of bananas, carrots, oats, and a touch of maple syrup. You puree all of these ingredients up and put the batter in the cups of a muffin tin.

These muffins couldn’t be easier to make and they actually taste like banana bread!

Whenever I’m eating one I have to remind myself how healthy they are because all I’m thinking is, I’m in muffin heaven.

Banana Oat Carrot Muffins 3.jpg

Now don’t get me wrong, they're a little denser than a regular muffin (they're all oats instead of flour, so that's why that happens).

And they're a touch more moist than you might be used to (this makes them perfect when re-heated though!).

But the fact that you can eat ten of these and still feel like Healthy Eating Champion of the World makes it all worth it!

Banana Oat Carrot Muffins 4.jpg

Banana Carrot Oat Muffins

makes: 36 mini muffins

Ingredients:

  • 2½ cups rolled oats, more for a garnish
  • 3 medium ripe bananas, sliced
  • 2 cups grated carrots (about 6 ounces)
  • ¼ cup maple syrup
  • 2 large eggs
  • 2 teaspoons baking powder
  • 1½ teaspoons ground cinnamon
  • ½ teaspoon kosher salt

Directions:

  1. Preheat the oven to 350°F. Add the oats, bananas, carrots, maple syrup, eggs, baking powder, cinnamon, and salt to the to a blender or food processor, then pulse until all ingredients are well-combined and the mixture is almost pureed, but not quite smooth. You may have to stop and stir the mixture a bit to make sure it doesn’t contain any large chunks.
  2. Scoop the batter evenly into 36 cups of a mini muffin tin prepared with cooking spray, then top each muffin with a light sprinkle of the reserved oats.
  3. Bake the muffins until a knife inserted into the center of one of the muffins comes out clean and dry —24 to 28 minutes.
: @NikkiDinki

: @NikkiDinkiCooking
Banana Oat Carrot Muffins 5.jpg
 

Find more recipes like this in Meat on the Side!


You might also like these recipes:

No-Bake Granola Bars

No-Bake Granola Bars_SMALL(1).jpg

It's back-to-school time!

For a lot of families that means struggling to find time to make food that is healthy but also something your kids WILL eat.

This week, my goal is to bring you some nutritious recipes (well, maybe with the exception of one 😉) that both kids and adults will enjoy.

No-Bake Granola Bars 2(1).jpg

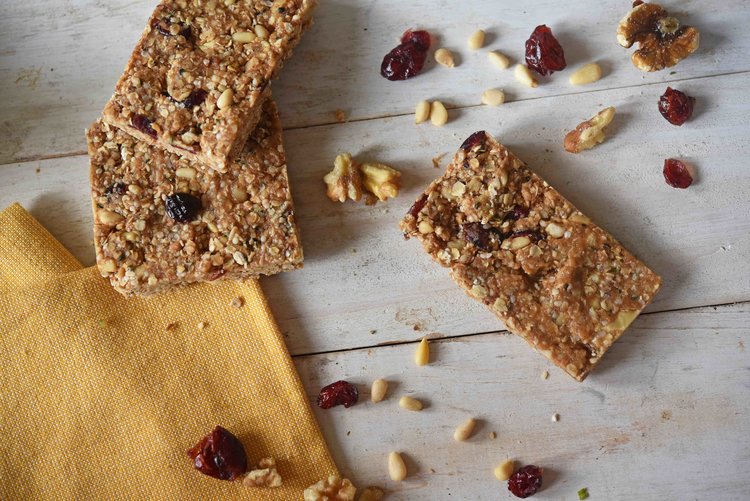
I love a good granola bar, so I thought that might be the perfect thing to kick off the weeksimple to make and great for school lunches or after school snacks.

A while back I started testing recipes in search of a great one I could make and keep on hand...

No-Bake Granola Bars 3(1).jpg

I tried baked ones, different combos of ingredients, and in the end found this relatively simple one the best by far.

No-Bake Granola Bars 4(1).jpg

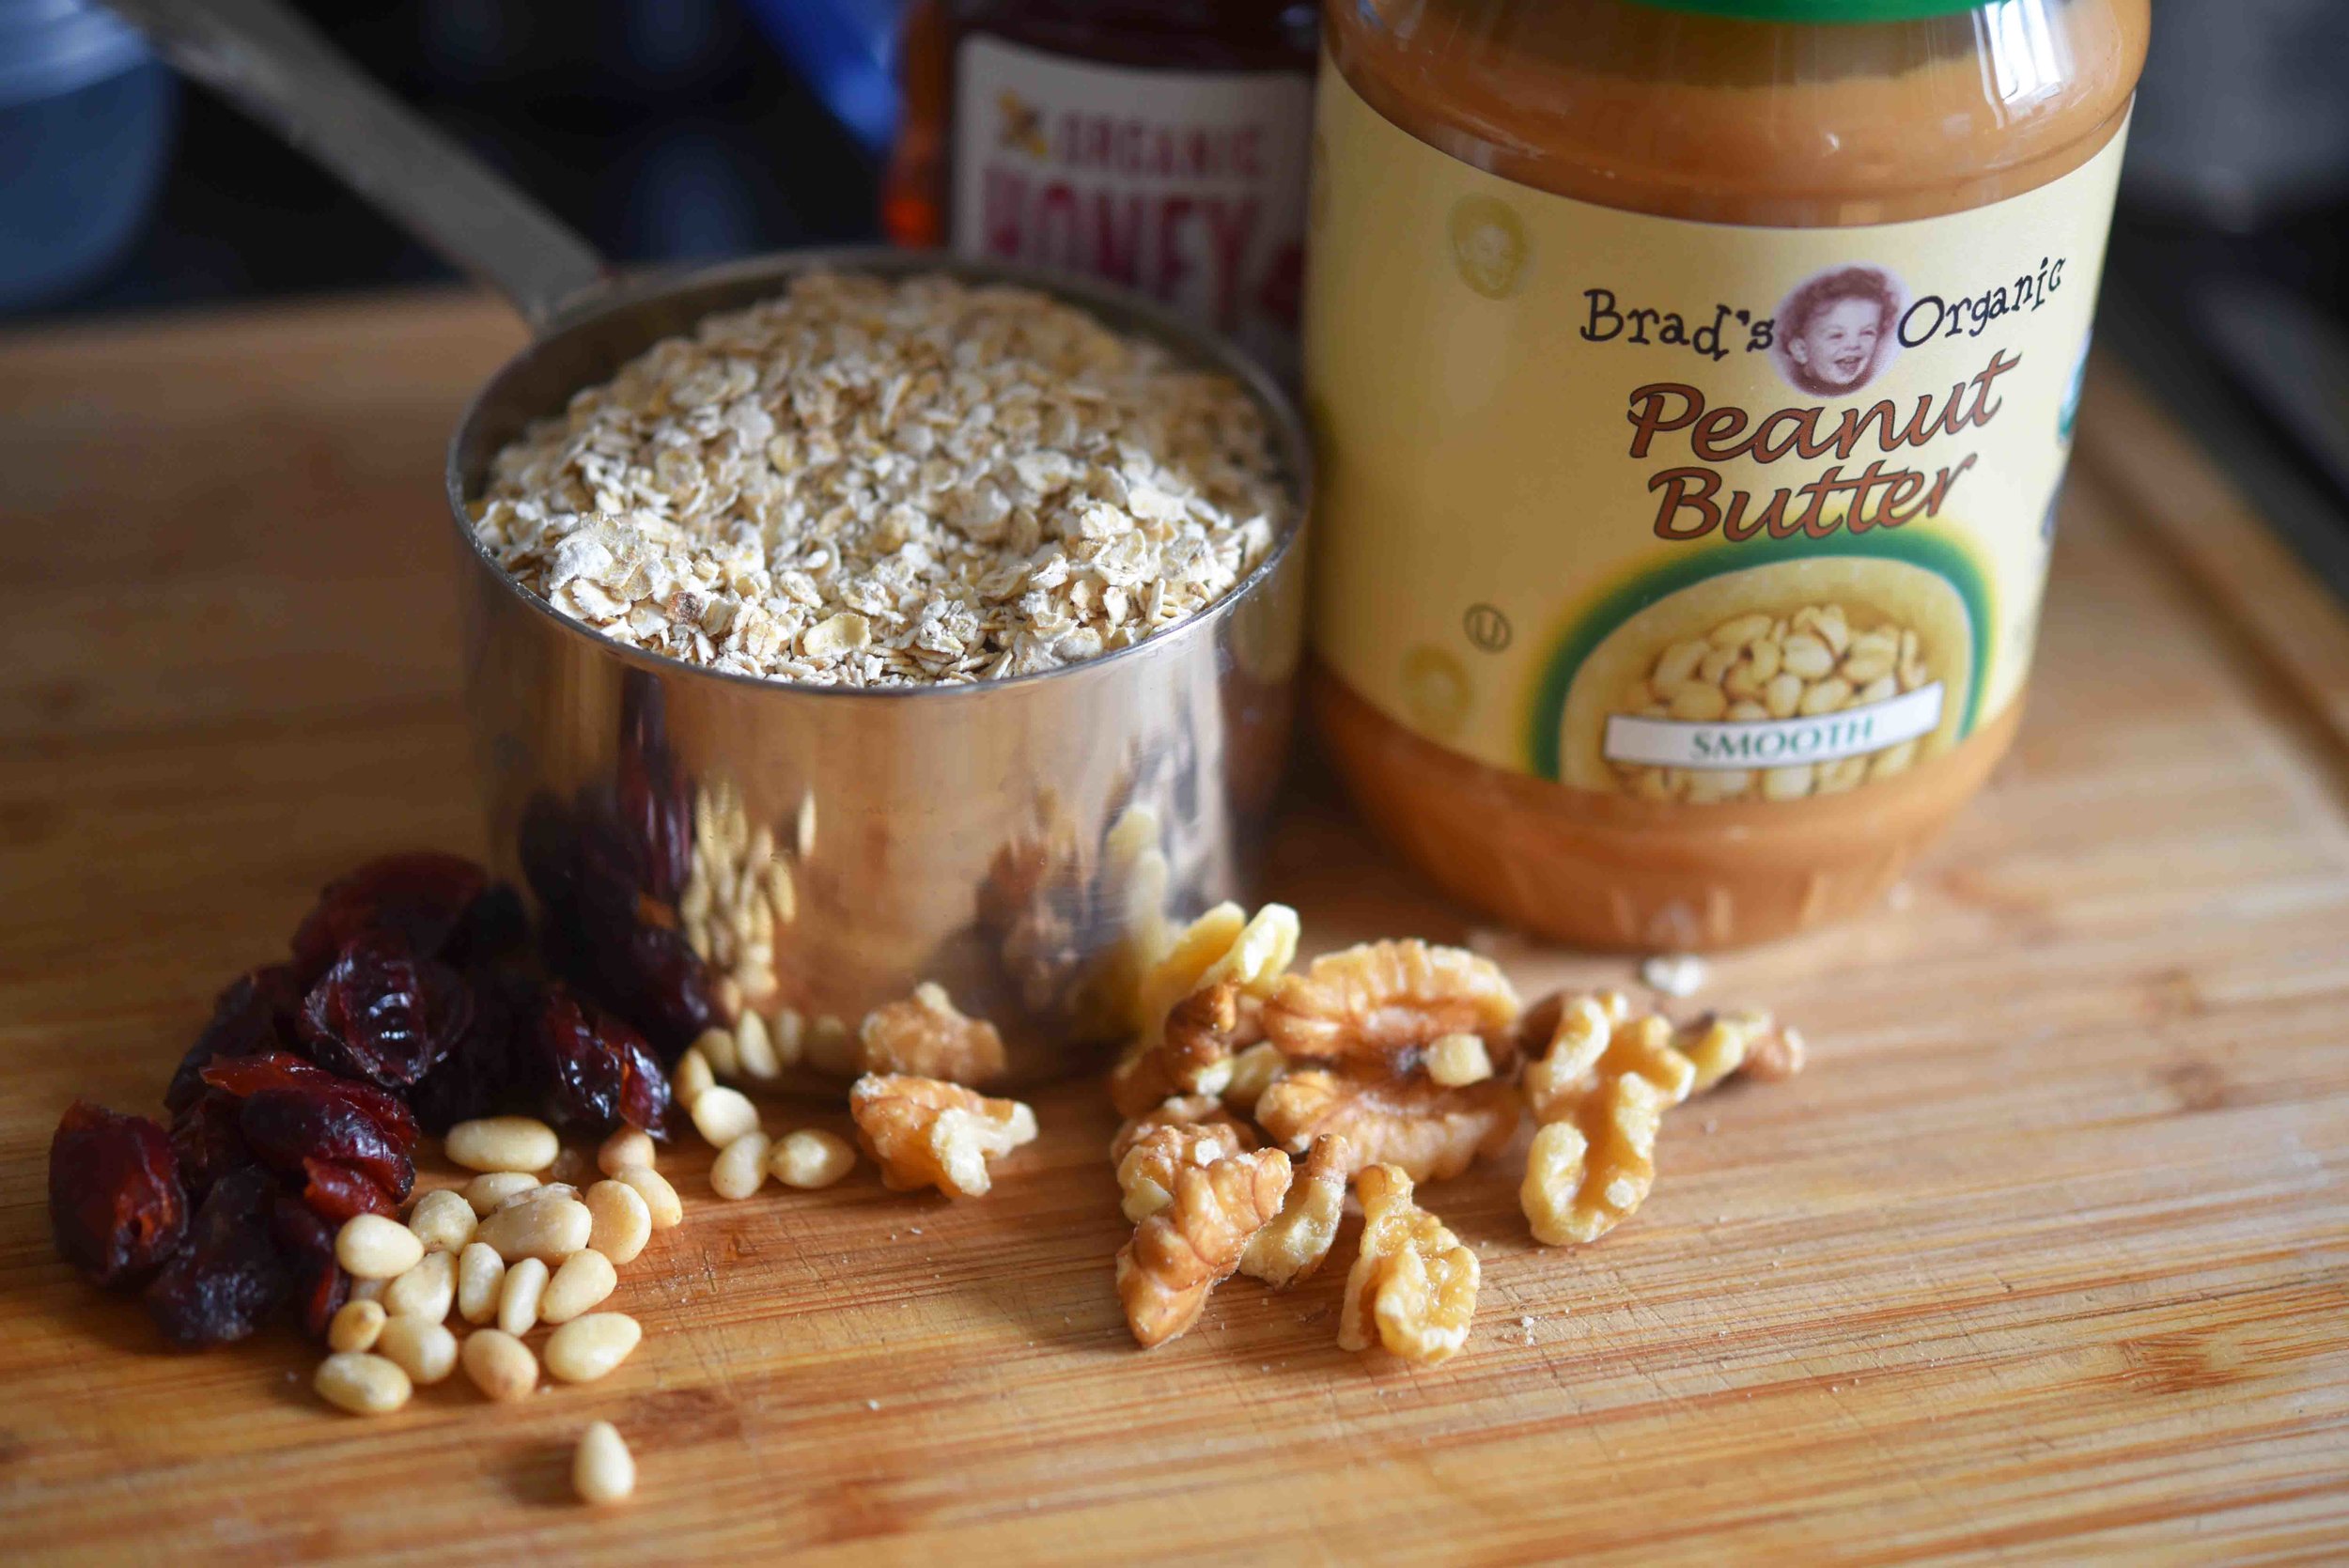
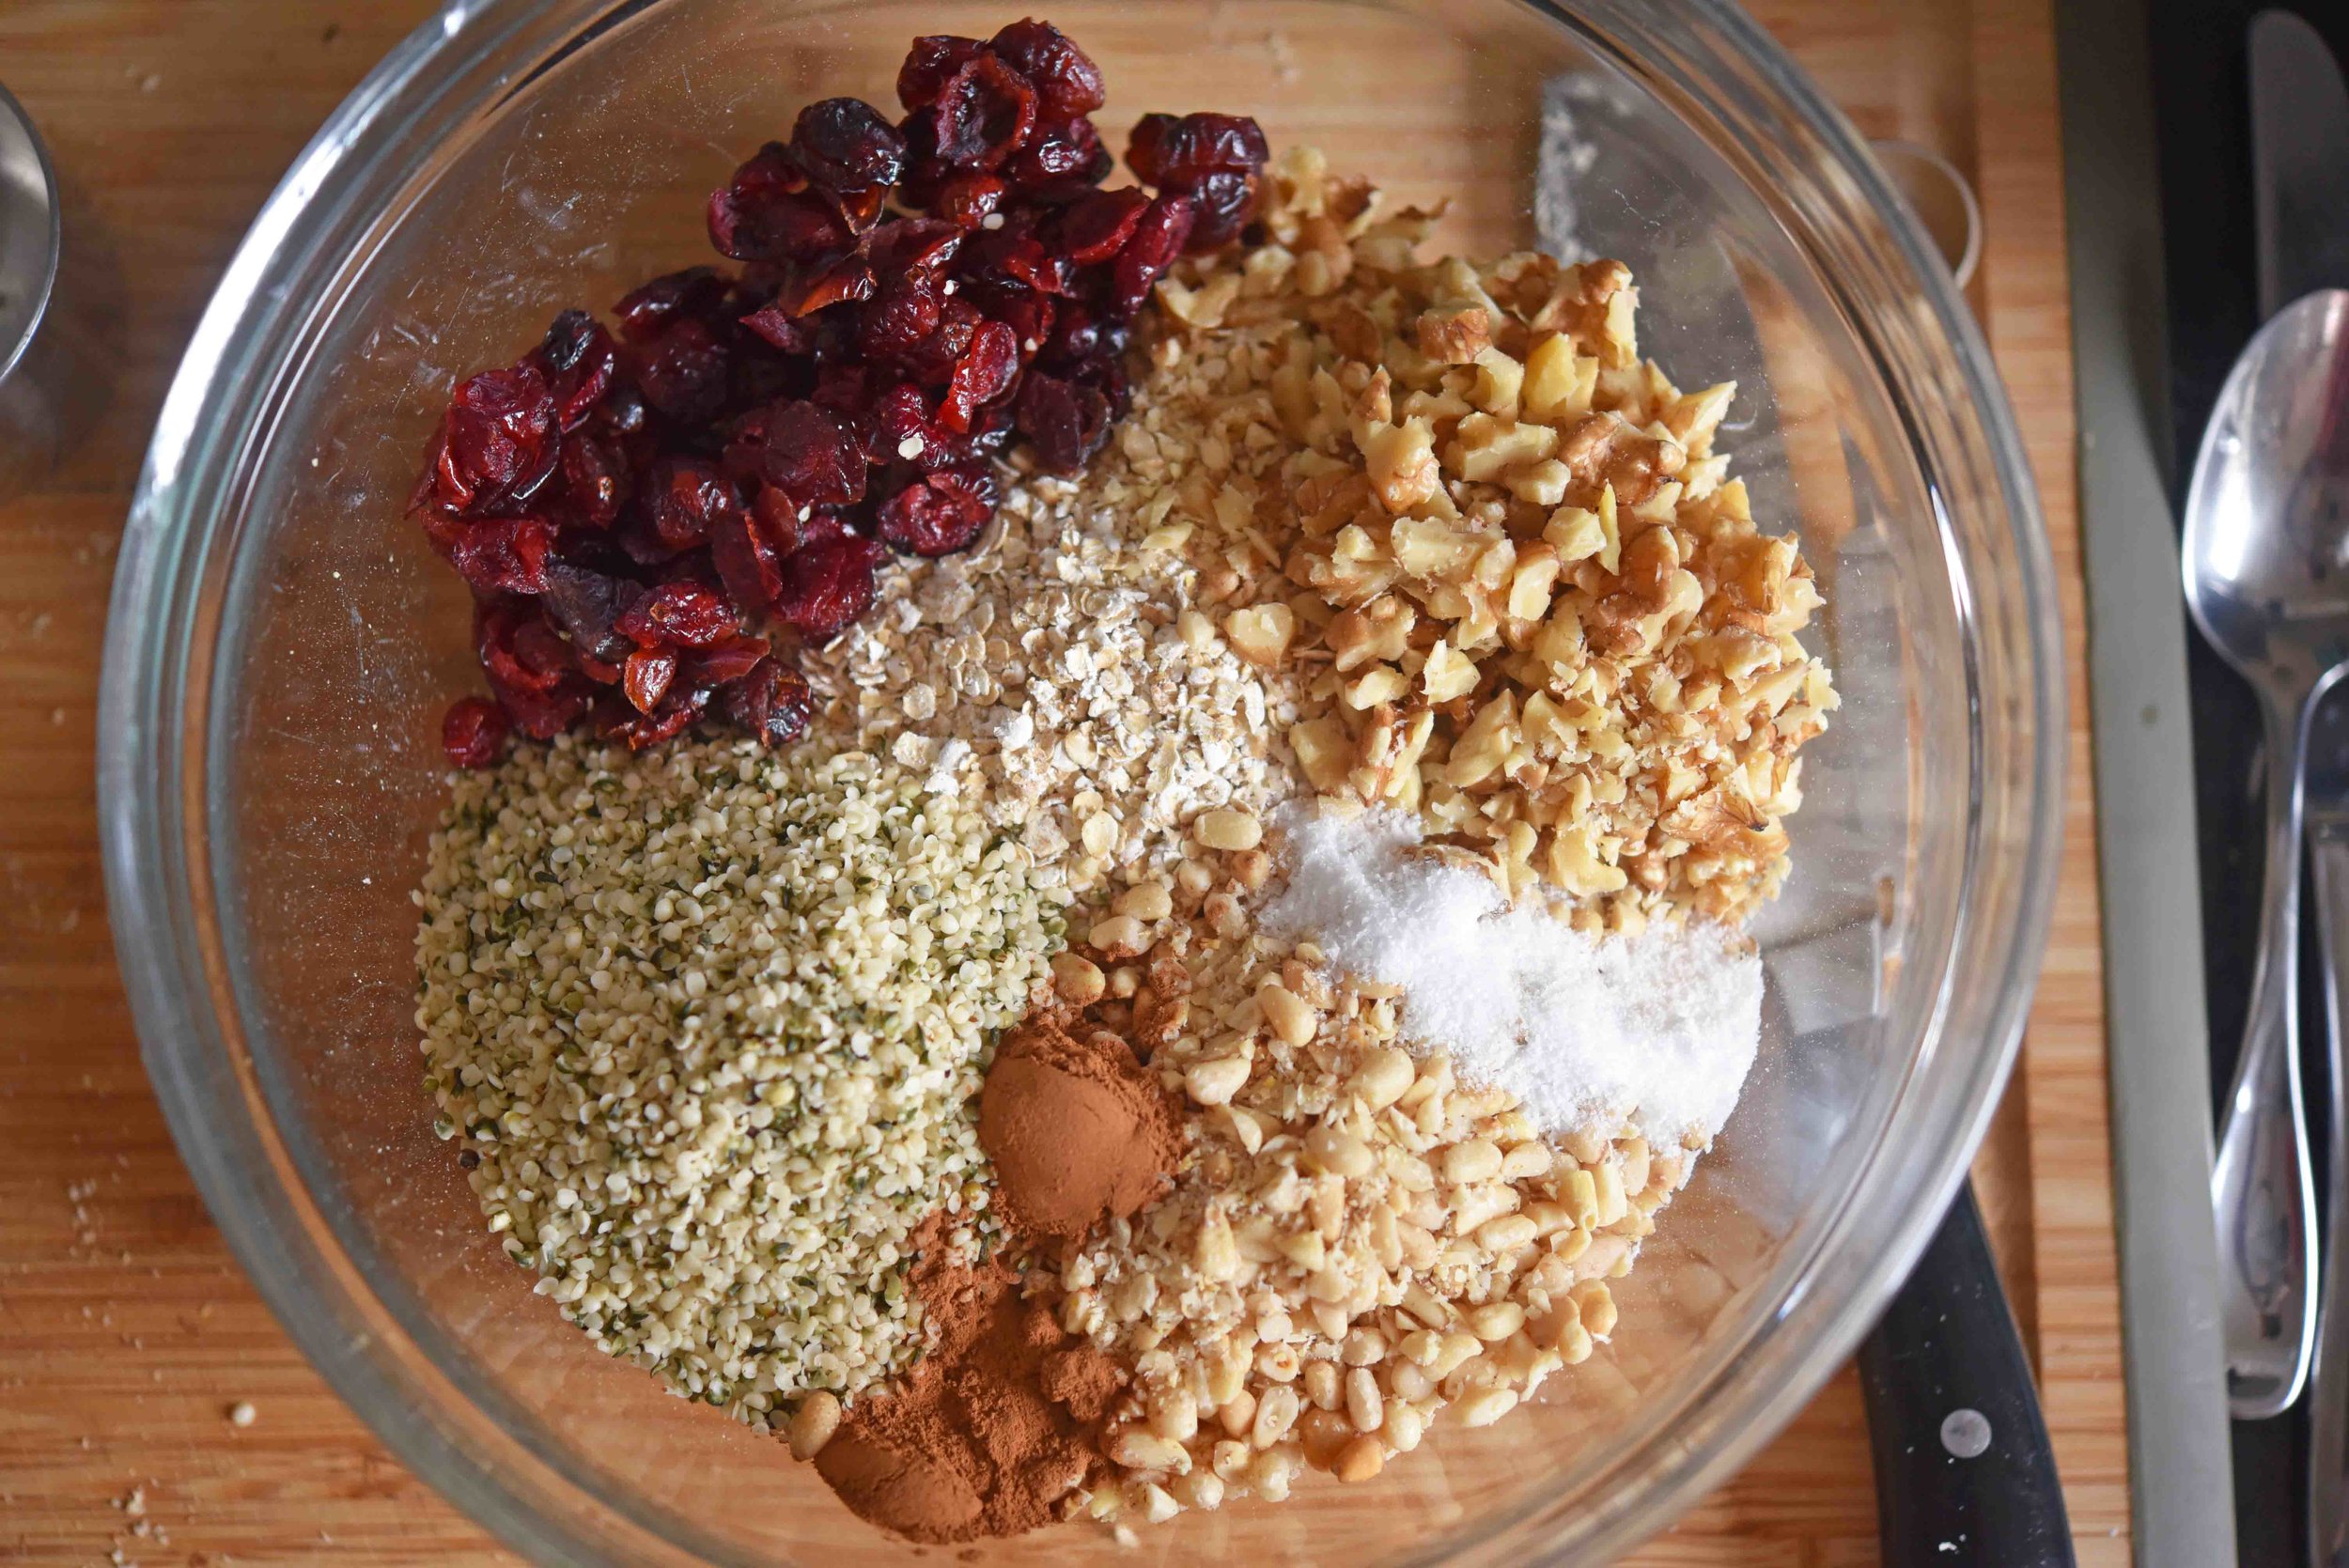
I’m using two kinds of nuts, some hemp seeds, oats, cranberries, and a little cinnamon.

Then I'm folding in peanut butter and honey to make a chewy bar that has some texture, but is still soft enough for my toddler.

No-Bake Granola Bars 5(1).jpg

It’s kind of amazing what mixing just a couple of ingredients can do...

And with NO BAKING!

No-Bake Granola Bars 7(1).jpg

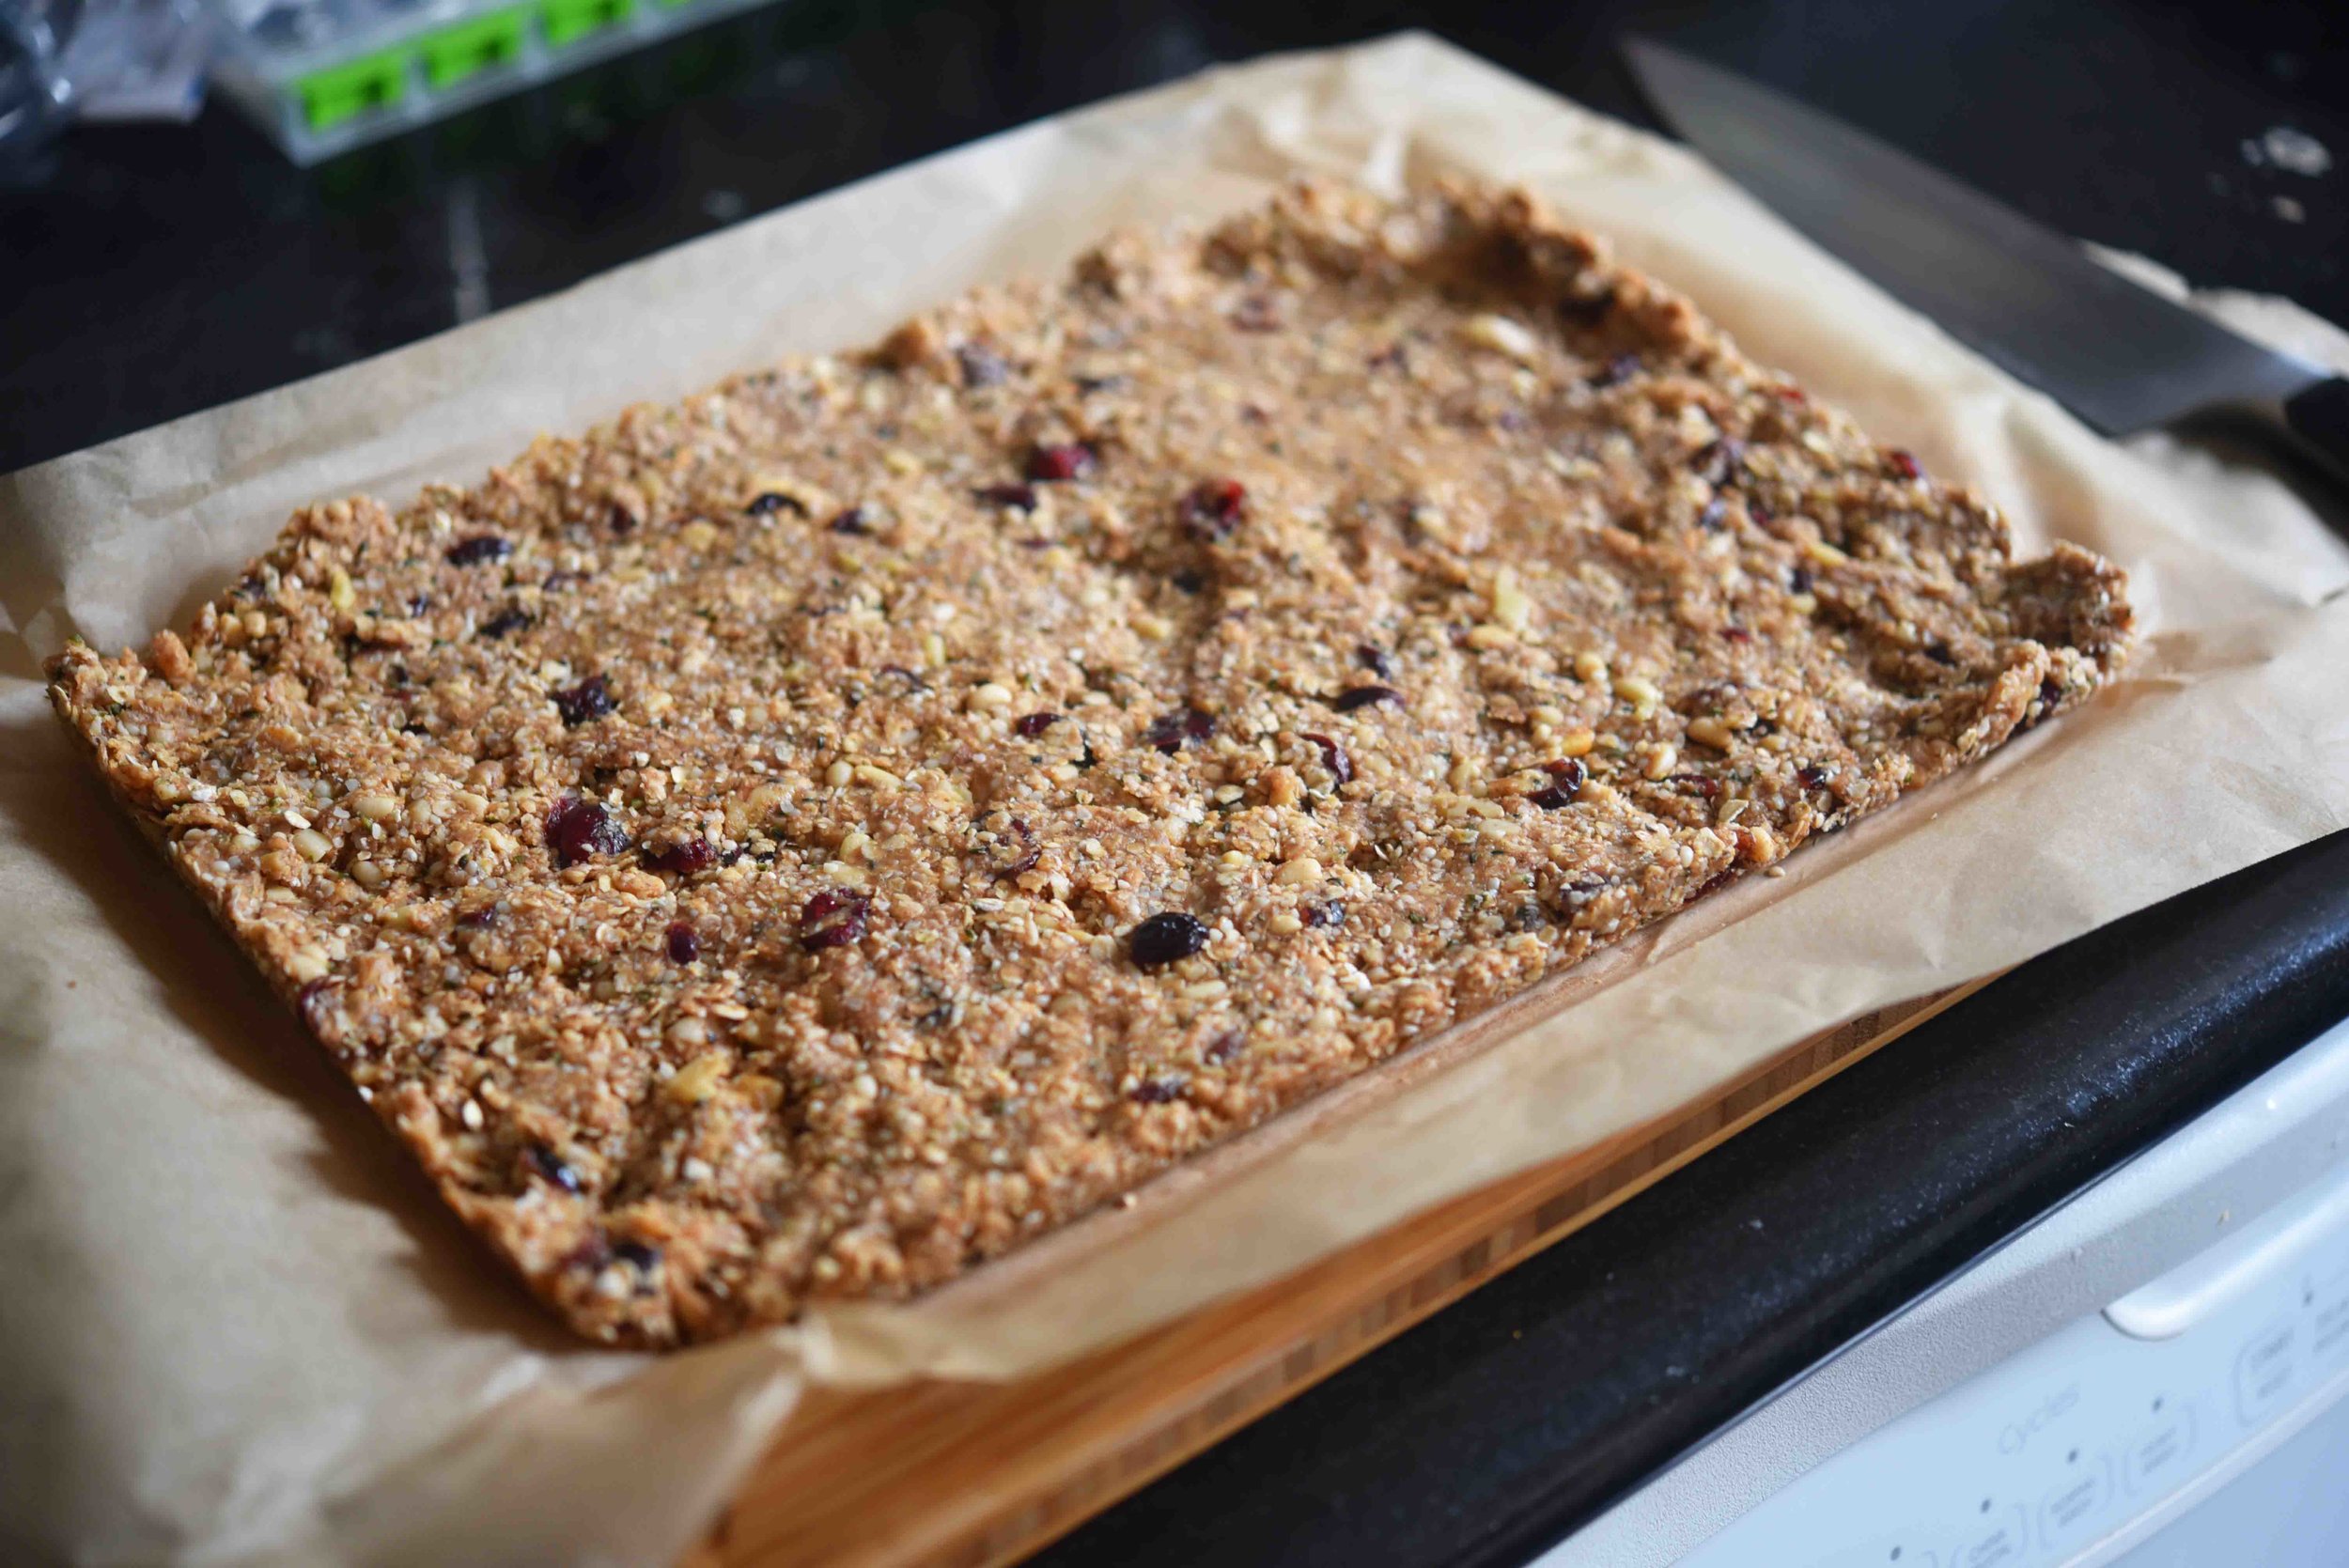
I made mine in a 9 by 13-inch pan (you press the granola bar mixture into a dish to form them into bars), but after eating a pan's-worth this week, I would say that you might want to try them in something a little smaller. That will allow them to be so thicker and hold together even better.

Really though, no matter what shape you make, they will be your family's new favorite snack!

No-Bake Granola Bars 8(1).jpg

No-Bake Granola Bars

makes: 16 bars

Ingredients:

  • 2 cups instant oats
  • ½ cup finely chopped pine nuts
  • ½ cup finely chopped walnuts
  • ½ cup hemp hearts
  • ½ cup dried cranberries
  • 1 teaspoon ground cinnamon
  • ¼ teaspoon kosher salt
  • ¾ cup honey
  • ⅓ cup smooth peanut butter

Directions:

  1. Line a baking dish, no bigger than 11 by 17 inches or 8 by 8 inches, with parchment paper, leaving the paper hang out about 2 to 3 inches over two of the sides (which will allow you to easily lift the finished granola bars from the dish); spray the parchment paper with cooking spray.
  2. In a large bowl, combine the oats, pine nuts, walnuts, hemp hearts, cranberries, cinnamon, and salt, then set aside.
  3. Add the honey and peanut butter to a small saucepan and cook them over medium heat until they are fully combined and just beginning to bubble—about 3 to 5 minutes.
  4. Pour the honey mixture over the oat mixture and stir to coat the dry ingredients evenly and fully.
  5. Firmly press the oat mixture evenly into the pan to ensure the granola bars stay together well; spraying your hands with cooking spray is helpful to prevent the mixture from sticking to them. Chill for at least two hours before cutting.
  6. Remove the granola bars from the pan using the edges of the parchment paper. Cut them into your desired size and enjoy! To store, place in an airtight container in the refrigerator.
: @NikkiDinki

: @NikkiDinkiCooking
No-Bake Granola Bars 9(1).jpg
 

Find more recipes like this in Meat on the Side!


You might also like these recipes:

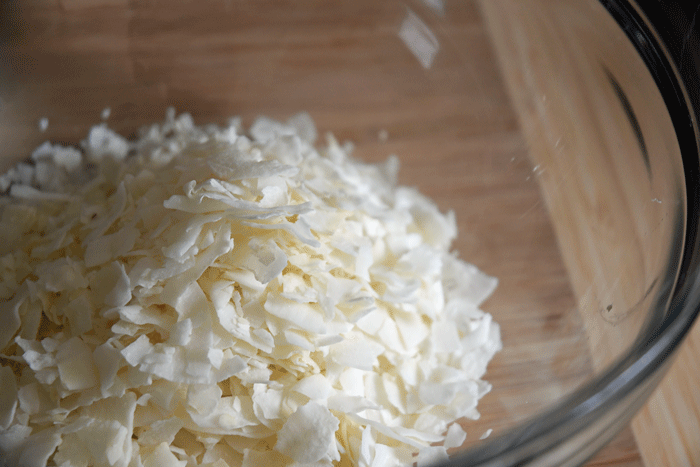
Coconut Bacon


On my show Junk Food Flip, Bobby Deen and I go around and transform comfort food into delicious dishes that you can actually eat every day.


Read More

Spicy Brussels Sprout + Lentil Soup

So great being on The Wendy Williams Show today! Check out the clip--and the recipe!--for my Spicy Brussels Sprout + Lentil Soup.

Spicy Lentil + Brussels Sprout Soup

servings: 4 Makes about 8 cups of soup

Ingredients:

  • 2 tablespoon olive oil
  • 1 ½ cups yellow onion (1 medium onion), finely chopped
  • 1 cup red pepper (1 large pepper), finely chopped
  • 1 cup carrots (about 3 medium carrots), finely chopped
  • 1 cup celery (2 stalks of celery), finely chopped
  • 4 cloves garlic, minced
  • 2 ½ teaspoons kosher salt *check
  • ¼ teaspoon ground black pepper
  • 8 cups veggie or chicken stock
  • 1 ½ cups brown or green lentils
  • 1 pound Brussels sprouts (7-9 large Brussels sprouts), shredded (2.5 cups packed)
  • 1 ½ tablespoons chipotle peppers in adobo sauce*
  • 1 avocado, pitted + chopped into ¼- to ½-inch dice
  • Juice of 1 lime
  • 2 tablespoons finely chopped cilantro

Directions:

  1. Heat the oil in a large pot over medium heat, and add the onion, peppers, carrots, celery, garlic, 1 teaspoon of the salt, and the pepper. Cook this mixture until the veggies are tender—about 7 minutes.
  2. Then add the stock, lentils, 1 ½ cup packed shredded Brussels Sprout, chipotles, and another 1 teaspoon of salt to the pot and bring to a simmer. Cook 35-40minutes until the lentils are al dente. Taste soup and add salt if necessary and more stock or water if soup is too thick
  3. Meanwhile, in a medium bowl, toss the remaining 1 cup of Brussels sprouts, the avocado, lime juice, and remaining ½ teaspoon of salt together until well combined.
  4. To serve, divide the soup into serving bowls and top it with the Brussels sprout mixture from Step 4 and some cilantro.

Notes:

  • Puree or finely chop the entire can of chipotles in adobo and use 1.5 tablespoons for this recipe. Store the remaining in the bottom of a Ziploc bag in the freezer and cut of tablespoon amounts as needed.
: @NikkiDinki

: @NikkiDinkiCooking
 

Find more recipes like this in Meat on the Side!


YOU MIGHT ALSO LIKE THESE RECIPES:

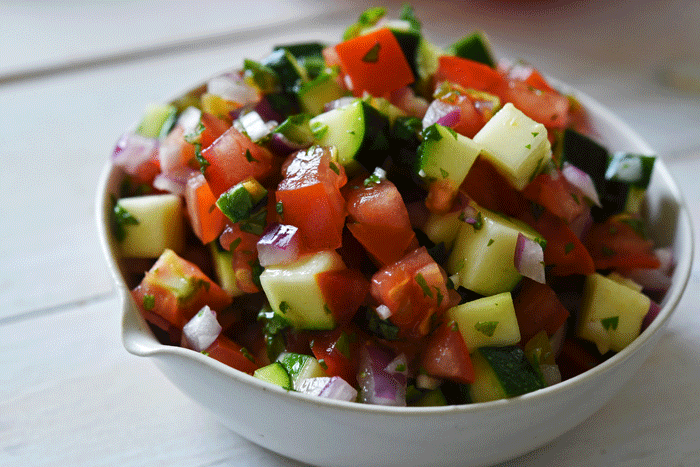
Zucchini Salsa


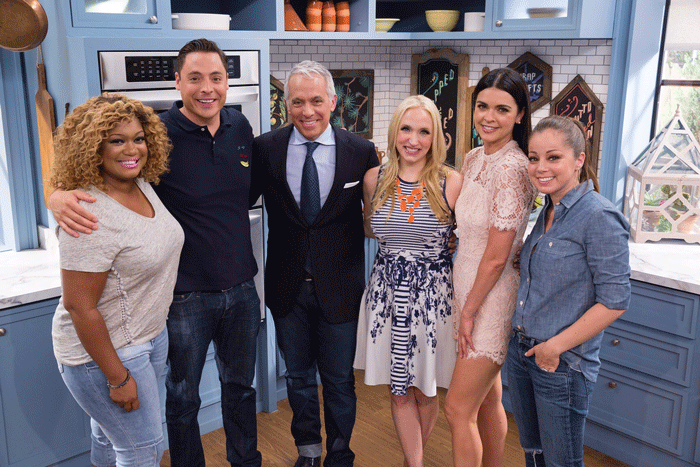
Recently I was honored to appear on the Food Network television show The Kitchen.


The show includes five amazing co-hosts who introduce viewers to a bunch of awesome recipes, cocktails, and crafts.


Before showing up, I knew I had to bring my A-game—and a recipe that would make people sit up and listen.


Read More

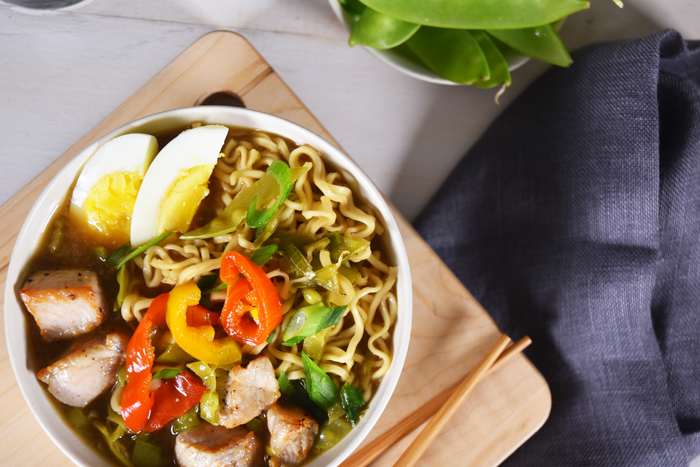
Ramen with Pork, Eggs + Snow Peas


As a kid there was not much I loved more than a bowl of ramen noodle soup.


And to my absolute delight Ramen places are popping up all over New York City like beacons of hope in the cold and snowy streets.


Read More

Chili Spiced Cucumbers


I’m obsessed with parties, and any party of mine is bound to have an endless array of appetizers. In order to get the variety I want and not lose my mind making my 10th labor-intensive app, I always like to include some appetizers of the “silly easy” variety.


And these cucumbers are just that, they get a bath of lime juice, a sprinkle of chili powder and sugar, and a hit of salt, resulting in a crisp, tangy, spicy, salty treat that takes minutes to make.


Read More

Pear + Cucumber Salad with Tuna Croutons


It’s a Wednesday night, I’ve invited my husband to the terrace for a summer meal and a chance to actually look each other in the eye and talk after an already busy week.


The weekend was filled with indulgences like Jalapeno Poppers, berry pies and clams doused in oil and bread crumbs.


Read More

Breakfast Bowls with Wheat Berries + Kale


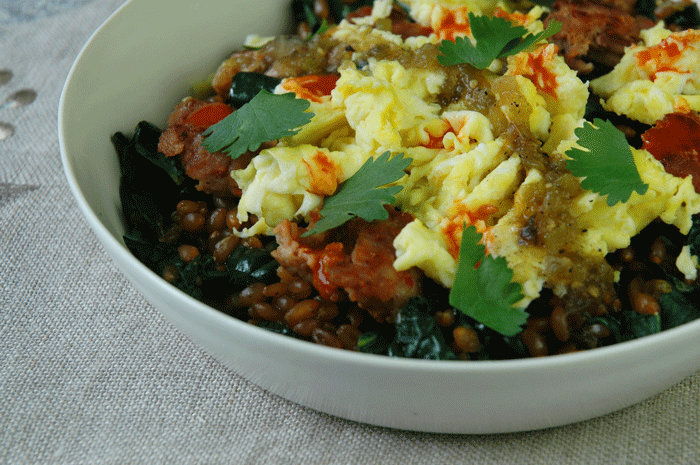
Sometimes after too many nights out, and too many pizzas in, you just need to eat something really healthy. Something to make you feel good about yourself again (because that half a pizza, mozzarella sticks and brownie the size of your face, are still making your stomach turn).


You’re in luck because I have just the dish for you! And guess what? In addition to being  healthy, it also tastes so so SO good!!!


Read More

Pickled Strawberry + Giant Corn Salad

>


The word “balance” is thrown out a lot in our lives.


You’re supposed to have a balance between work and play; we all need physical balance, especially when in a crow pose in yoga class or trying to balance our love of chocolate with our love of fitting into our jeans is always a challenge. When it comes to our food, that little word is thrown around like peanuts at a baseball game.


Read More

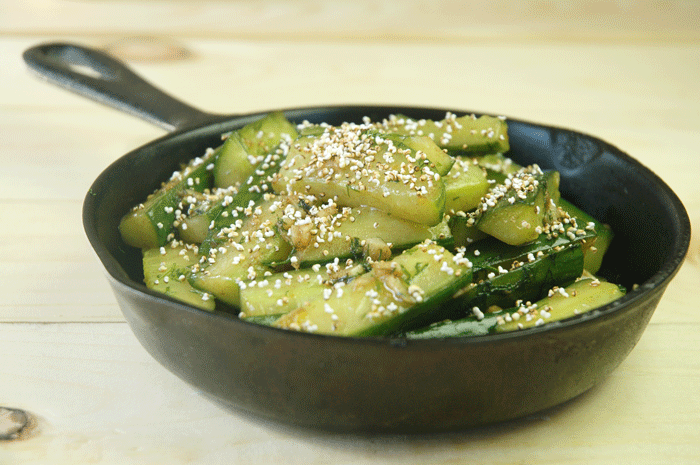
Brown Butter Cucumbers with Popped Amaranth


Today was a day full of exciting stuff:  I stole someone’s car and drove out to Long Island to buy plants for my garden terrace, I tried out a new hair color that’s a little less Barbie doll (but still banging blonde), and I made the most delicious and exciting side dish.


How can a side dish be exciting? Oh now you have opened a can of worms. It's simple; this dish is exciting because I'm preparing a vegetable, in this case cucumber, in a totally different way.


Read More